I’ve cooked steak in professional kitchens, tiny apartments, outdoor grills, and rushed weeknight setups, and one lesson keeps proving itself: great steak at home depends more on technique than equipment or price.
Readers often tell me that steak feels intimidating because results change every time. Sometimes it turns out perfect, sometimes chewy, sometimes gray inside. Once you understand a few reliable cooking methods, those inconsistencies disappear, and steak becomes one of the easiest impressive meals to cook, especially when starting with cuts like chuck eye steak.
To answer you quickly before we dive deeper:
Use high heat, choose the right method for your steak thickness, and stop cooking based on temperature rather than time.
Different methods suit different situations. Some nights you want speed. Other times you want grill flavor. Thick steaks need different handling than thin ones. Knowing which method to use removes guesswork.
Let’s start with the main ways I cook steak at home and when each works best.
Best Methods to Cook Steak at Home
Every steak method aims for the same result: a flavorful crust outside and a juicy interior inside. The difference lies in how heat reaches the meat and how much control you have during cooking.
Over years of cooking, these methods have proven the most reliable for home kitchens.
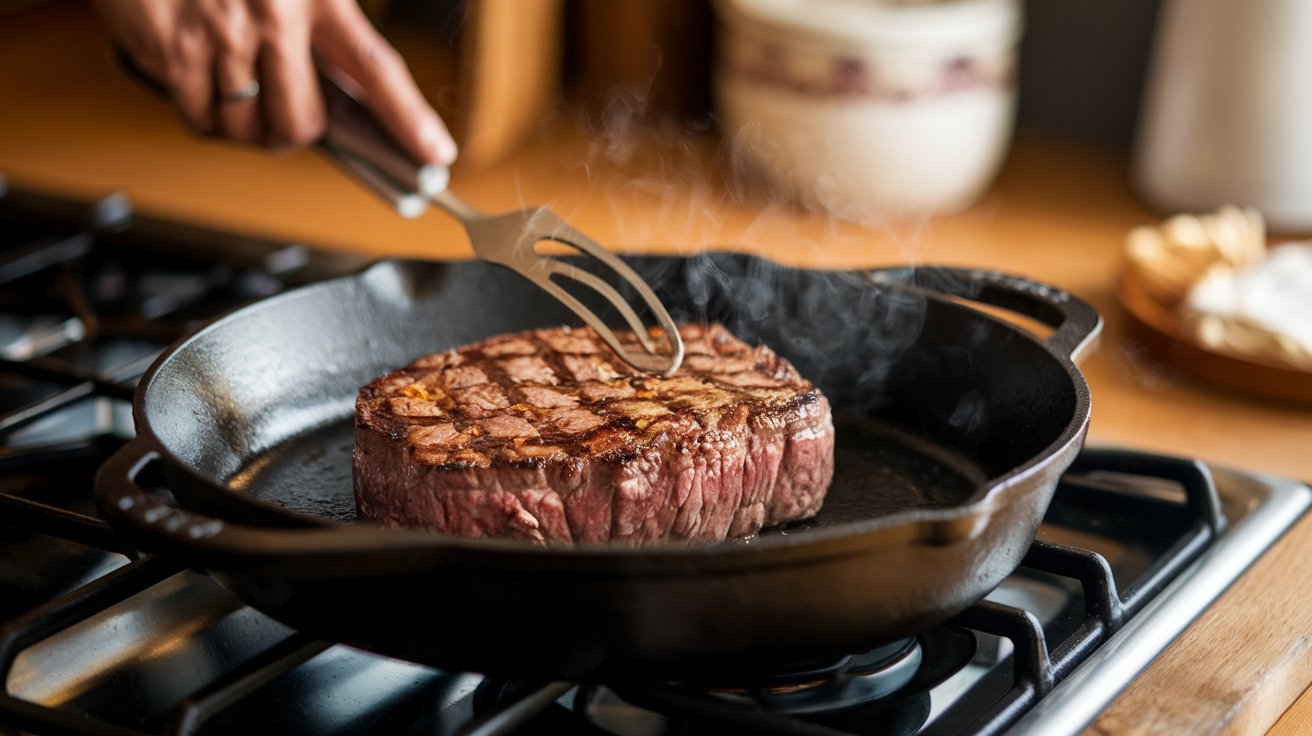
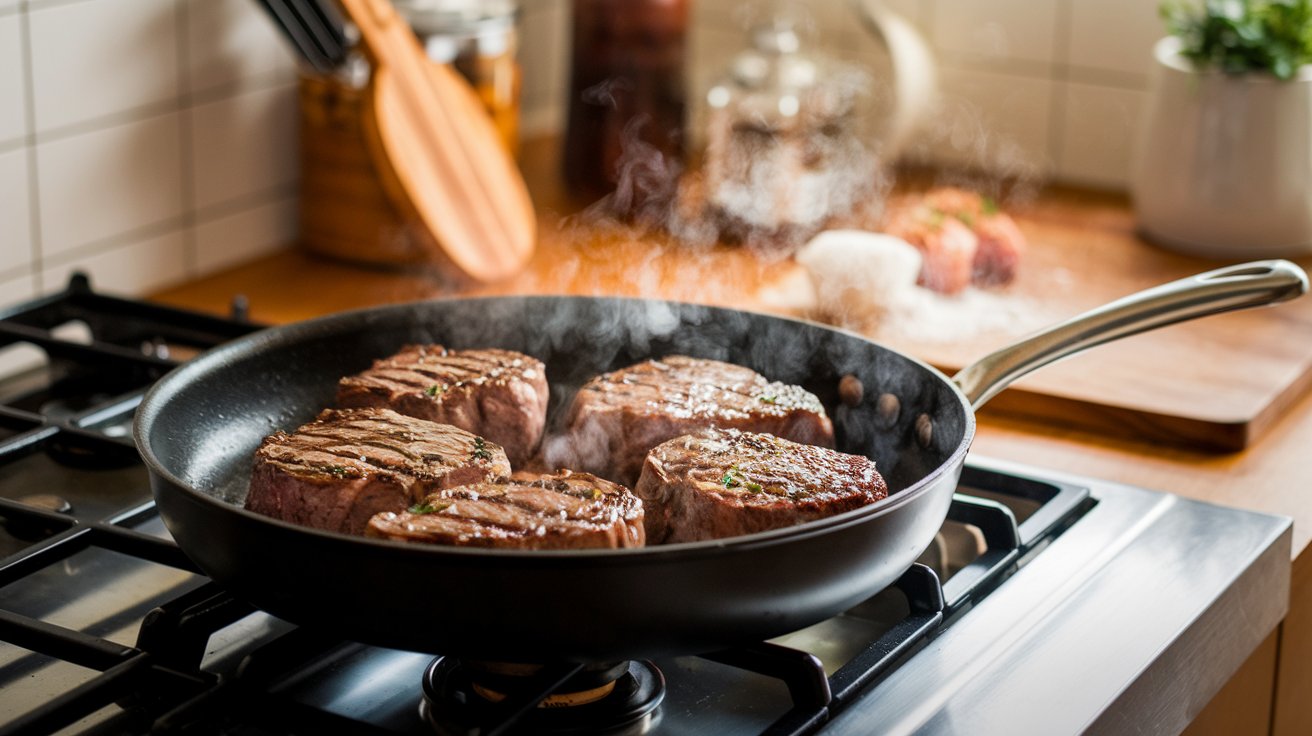
1. Pan-Seared Steak Method
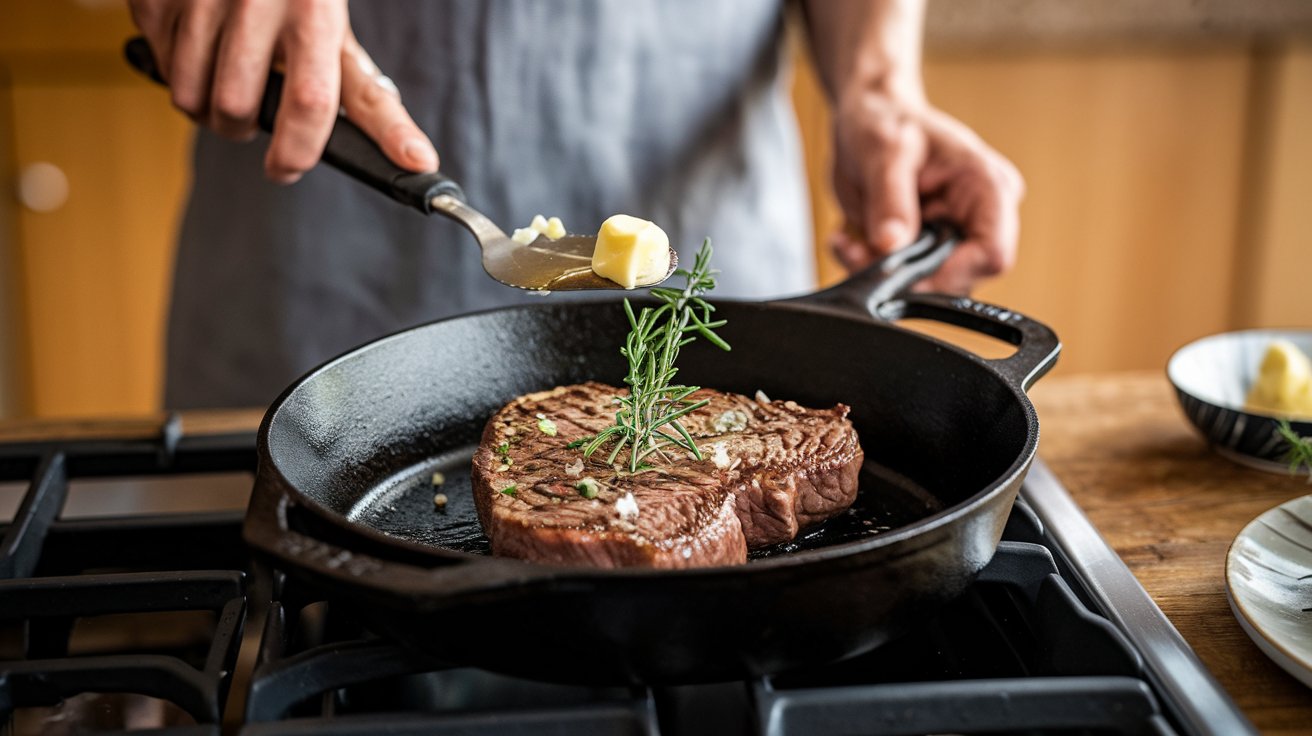
Pan searing remains my most frequent method because it works year-round and gives excellent control. A heavy pan, especially cast iron, holds heat well and creates a beautiful crust.
Here’s the approach I follow:
- Bring the steak to room temperature.
- Heat the pan until very hot.
- Add oil with a high smoke point.
- Place the steak and leave it untouched.
- Flip after the crust forms.
- Finish with butter and herbs if desired.
- Rest before slicing.
This method works well for steaks around one inch thick and produces steakhouse-style results without stepping outside.
When readers cook steak indoors for the first time successfully, this method usually becomes their standard.
2. Grilling Steak
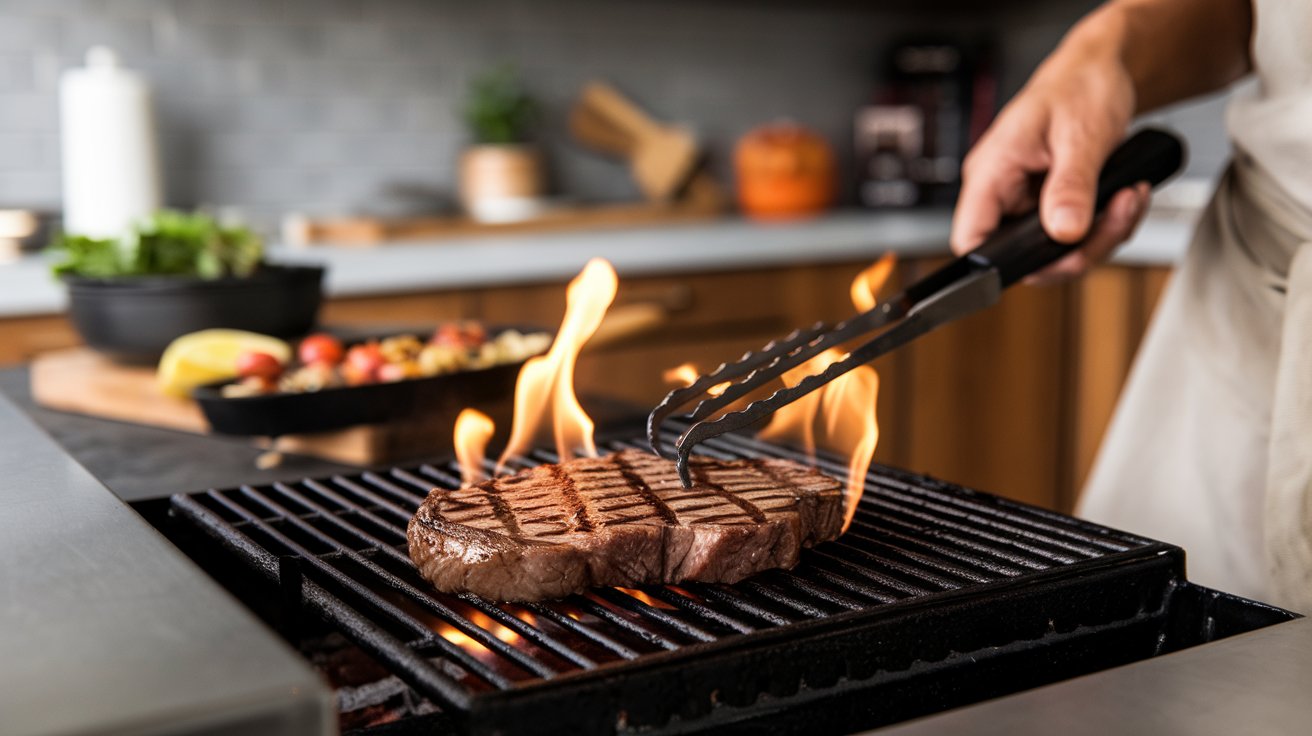
Grilling delivers flavor that many people associate with classic steak nights. Open flame adds smokiness while high heat seals juices quickly.
When grilling, I focus on two heat zones:
- High heat area for searing
- Cooler area for finishing thicker steaks
This setup prevents burning while still building crust. Grilling works especially well for gatherings since you can cook several steaks at once.
The weather often decides whether grilling happens, though results feel rewarding when conditions cooperate.
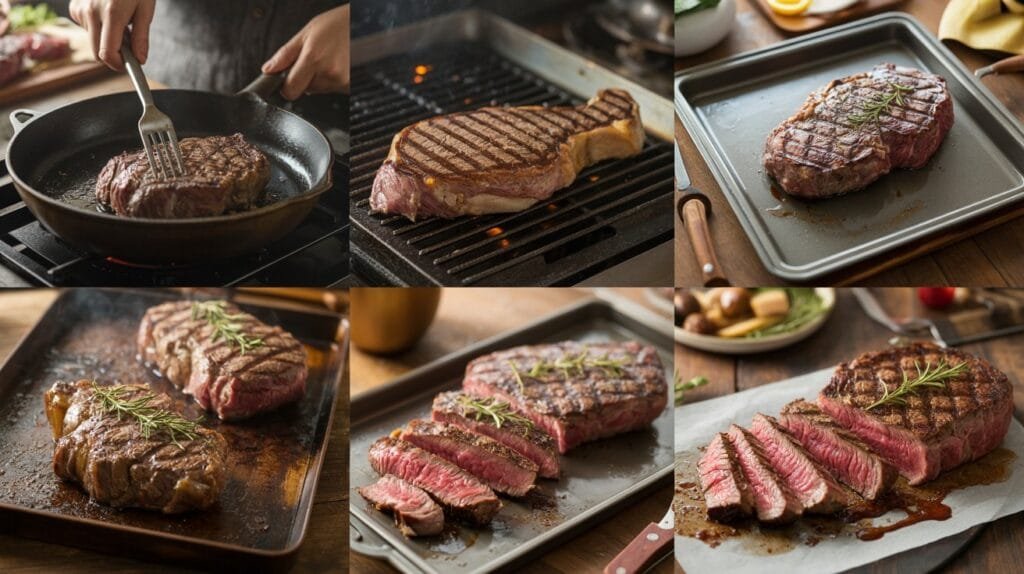
3. Reverse Sear Method Explained
Reverse searing gained popularity because it solves a common home cooking problem: uneven cooking in thick steaks.
Instead of searing first, you cook the steak slowly at a low temperature, then finish with a hot sear.
My typical reverse sear process:
- Cook the steak in a low oven around 250°F until nearly done.
- Remove and rest briefly.
- Sear quickly in a hot pan or grill.
- Rest again before serving.
This approach cooks thick steaks evenly and creates edge-to-edge pink interiors with crisp crust outside.
It works beautifully for steaks thicker than 1.5 inches.
4. Oven Finish Technique

Professional kitchens often combine stovetop and oven cooking, especially for thicker cuts.
At home, I:
- Sear the steak in a hot pan.
- Transfer pan to hot oven.
- Finish cooking gently.
- Rest the steak before slicing.
This technique prevents burning the exterior while the inside reaches the desired temperature.
It suits thick steaks when reverse searing feels too time-consuming.
5. Air Fryer Steak Option
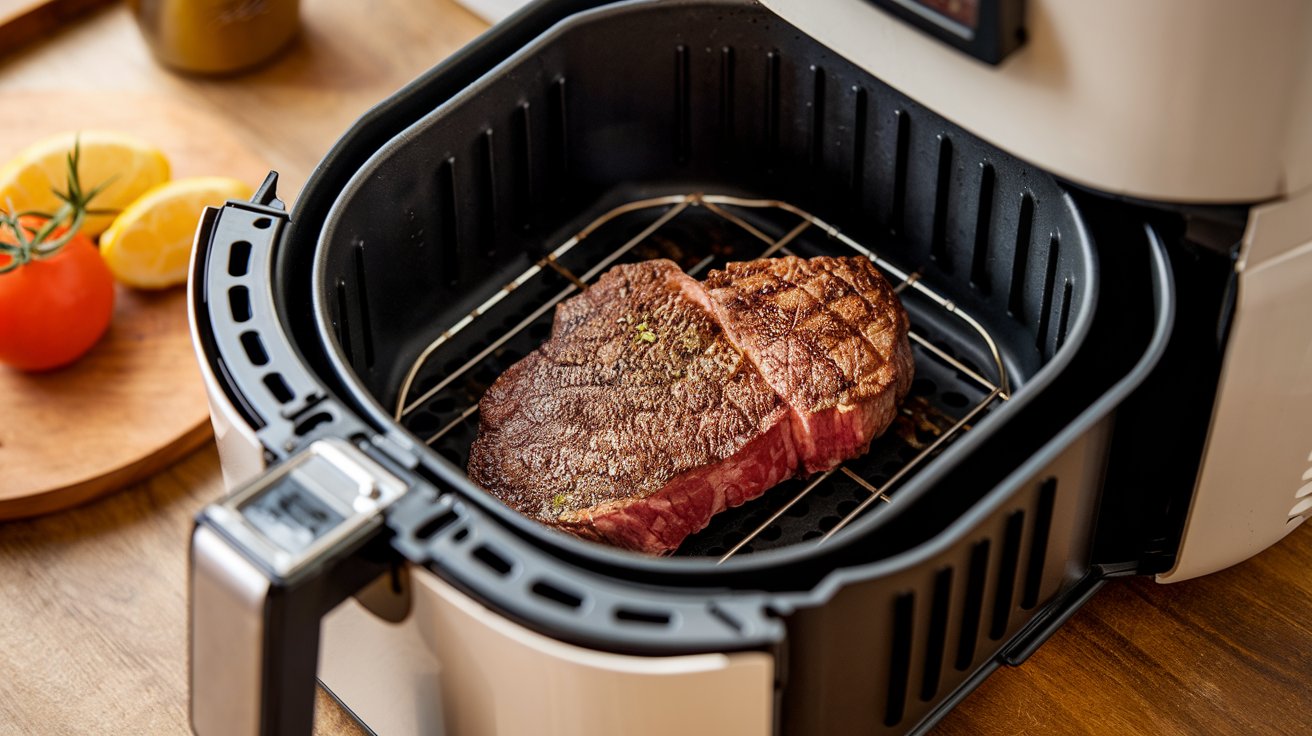
Air fryers surprised many cooks, including me, by cooking steak surprisingly well when used correctly. High circulating heat cooks steaks quickly while keeping preparation simple.
My approach:
- Preheat the air fryer.
- Lightly oil and season the steak.
- Cook at high temperature.
- Flip halfway through cooking.
- Rest the steak before slicing.
Air fryers work best for thinner steaks and quick meals, though crust development may be lighter than pan searing.
Still, for busy evenings or small kitchens, this method delivers satisfying results with minimal cleanup.
Choosing the Right Steak Cut for Each Method
One of the most common frustrations I hear from home cooks comes from using the wrong steak for the cooking method. Even perfect technique struggles when the cut doesn’t match how you cook it.
In professional kitchens, chefs choose cuts based on how heat will interact with muscle structure and fat content. At home, understanding this relationship makes steak cooking much easier and more predictable.
When steak contains good marbling and tender muscle fibers, quick cooking methods shine. Leaner or tougher cuts sometimes need extra care or different cooking approaches.
Here’s how I match steak cuts to cooking methods at home.
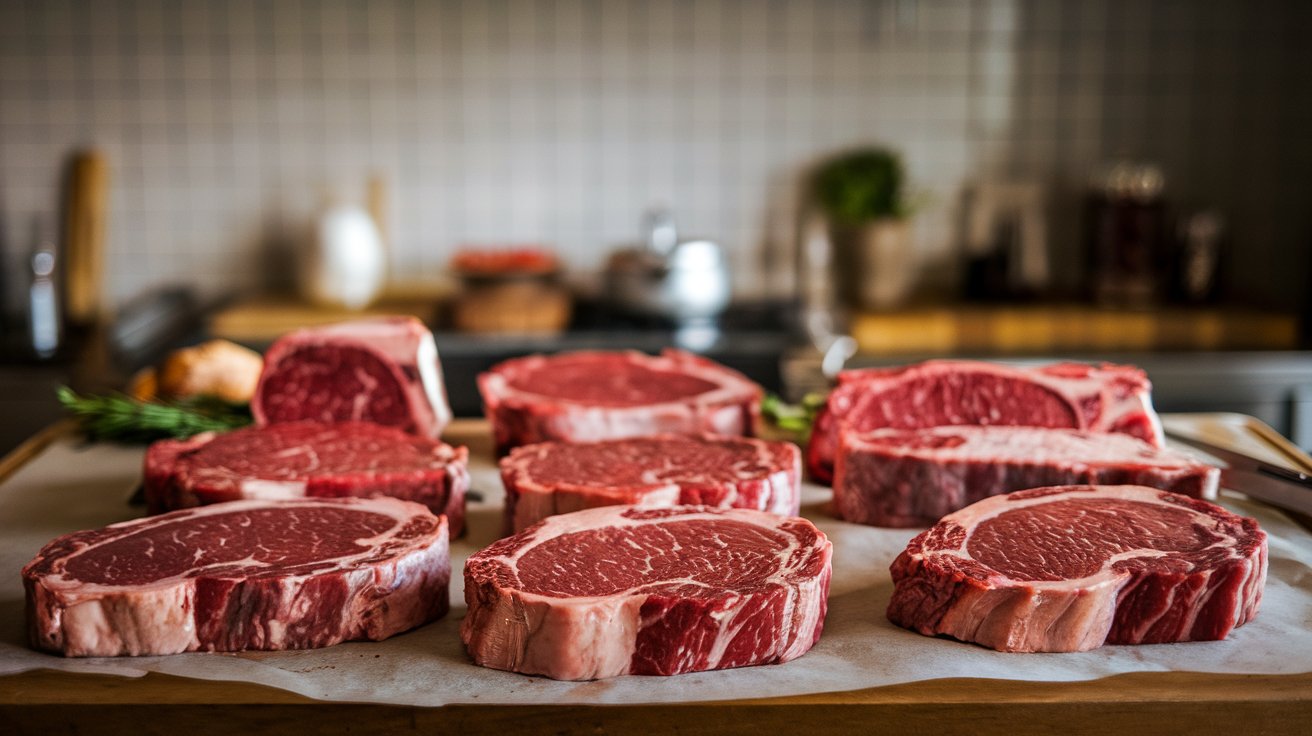
Best Cuts for Pan Cooking
Pan cooking works best with steaks that cook quickly and develop a crust without requiring long cooking time.
Cuts I reach for most often include:
- Ribeye steak
- New York strip steak
- Filet mignon
- Chuck eye steak
- Flat iron steak
These steaks contain enough fat to stay juicy while cooking quickly over high heat.
At home, chuck eye and flat iron often become favorites because they balance flavor and affordability while cooking beautifully in a skillet, much like other budget steak choices. Pan cooking also allows butter basting, which boosts flavor further.
When steaks stay around one inch thick, pan cooking gives excellent results with minimal effort.
Best Cuts for Grilling
Grilling exposes steak to very high heat, which suits thicker steaks and cuts with strong beef flavor.
Cuts that perform well on grills include:
- Ribeye
- Strip steak
- T-bone or porterhouse
- Top sirloin
- Hanger steak
Grilling steaks with good fat content because fat protects meat from drying out over an open flame. Thicker steaks also benefit since grill heat sears the exterior quickly while the interior cooks gradually.
For backyard gatherings, sirloin and hanger steaks often feed groups affordably while still delivering satisfying flavor.
Budget Cuts That Cook Well Indoors
Many readers want steak flavor without paying premium prices, which leads to smart choices among affordable steak cuts.
Budget-friendly steaks that cook well indoors include:
- Chuck eye steak
- Flat iron steak
- Denver steak
- Petite sirloin
- Ranch steak
These cuts cook best with high heat and careful timing. Proper slicing across the grain improves tenderness significantly.
I often recommend chuck eye steak as a starting point because it gives strong flavor and forgiving cooking performance for its price.
With steak cuts matched to cooking methods, the next step involves understanding doneness. Many home cooks struggle with timing, so learning steak temperature basics removes much of that uncertainty.
Steak Doneness Explained Simply
Doneness causes more anxiety than almost any other part of cooking a steak. Many people cook longer than necessary because they worry about serving undercooked meat, though overcooking remains the bigger problem in home kitchens.
In restaurants, cooks rely on temperature and experience to hit doneness accurately every time. At home, a simple thermometer removes most guesswork and builds confidence quickly.
Understanding what happens inside a steak while cooking helps you choose your preferred doneness more comfortably. As the temperature rises, muscle fibers tighten, and moisture gradually leaves the meat. Cooking too far squeezes out juices and makes the steak firmer.
Here’s a simple guide to help you cook steak the way you enjoy it.
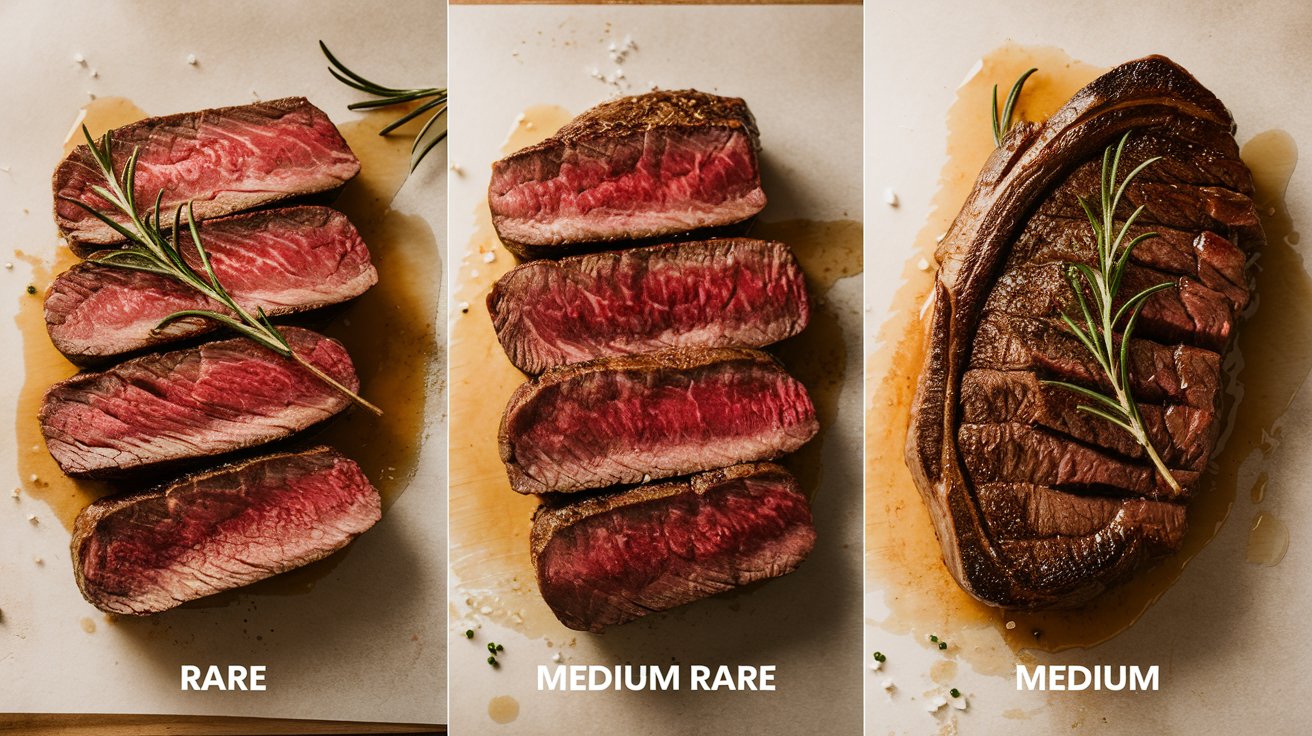
Rare to Well-Done Temperatures
These temperatures represent internal steak temperatures after resting. Removing the steak slightly before the final temperature allows carryover heat to finish cooking.
| Doneness | Remove From Heat | Final Temperature |
|---|---|---|
| Rare | 120–125°F | 125–130°F |
| Medium Rare | 125–130°F | 130–135°F |
| Medium | 135–140°F | 140–145°F |
| Medium Well | 145–150°F | 150–155°F |
| Well Done | 155°F+ | 160°F+ |
For most tender steak cuts, medium-rare to medium delivers the best balance between juiciness and flavor. Leaner cuts sometimes benefit from slightly lower doneness to avoid drying.
I usually recommend readers start at medium-rare and adjust based on preference.
Using a Meat Thermometer Properly
A thermometer quickly becomes one of the most useful kitchen tools when cooking steak regularly.
Here’s how I use one at home:
- Insert the probe into the thickest part of the steak.
- Avoid touching the bone or the pan surface.
- Check the temperature near the end of cooking.
- Remove the steak a few degrees early to allow resting.
Instant-read thermometers work well because they provide quick results without leaving the probe in place.
After using one a few times, many cooks begin recognizing steak doneness by feel as well, though the thermometer remains the most reliable guide.
Once doneness becomes clear, cooking time feels less mysterious. Next, we’ll look at cooking times and how thickness and heat levels change the way steaks cook.
Steak Cooking Time Guide
One thing I remind readers often is that steak doesn’t cook by the clock alone. Heat level, pan type, steak thickness, and starting temperature all influence timing. Still, understanding approximate cooking times gives you a reliable starting point.
In professional kitchens, cooks learn to read steak visually and by touch. At home, combining timing with temperature checks gives consistent results without stress.
Let’s break this down so cooking times feel predictable rather than uncertain.
Cooking Times by Thickness
Thickness affects cooking time more than weight. A thick steak cooks more slowly in the center, even when the exterior browns quickly.
For pan-searing over medium-high heat, these times serve as a useful guide:
| Steak Thickness | Cook Time Per Side | Expected Result |
|---|---|---|
| ¾ inch | 2–3 minutes | Medium rare to medium |
| 1 inch | 3–4 minutes | Medium rare |
| 1¼ inches | 4–5 minutes | Medium rare after rest |
| 1½ inches+ | Sear then oven finish | Even internal cooking |
Grills often cook slightly faster due to higher heat, while ovens cook more gently.
These times assume steaks start near room temperature. Cold steaks need longer cooking, which often leads to an overcooked exterior.
Adjusting Heat for Different Methods
Each cooking method transfers heat differently, so adjustments help maintain control.
For pan cooking:
- Use medium-high heat for crust formation.
- Lower the heat slightly if the steak browns too fast.
For grilling:
- Use direct heat to sear.
- Move the steak to the cooler zone for finishing.
For reverse searing:
- Cook slowly at a low temperature first.
- Finish quickly over high heat.
For air fryer cooking:
- Preheat fully.
- Flip the steak halfway through cooking.
The goal stays the same every time: build crust without overcooking the interior.
Once cooking times feel comfortable, tools make steak cooking even easier. Next, we’ll look at the equipment that helps home cooks achieve consistent results without needing restaurant kitchens.
Essential Tools for Cooking Steak
People often ask whether they need expensive equipment to cook steak well at home. After years in professional kitchens and many more cooking in ordinary home setups, I’ve learned that good steak depends more on technique than gadgets.
Still, a few tools make consistency easier and remove frustration, especially for cooks still building confidence. I use simple equipment at home, and these tools give the biggest improvements for the least effort.
Here’s what actually helps.
Best Pans for Steak
A good pan makes crust formation easier because it holds heat steadily when the steak hits the surface. Thin pans cool quickly and cause the steak to steam instead of sear.
These pans work best:
Cast iron skillet: This remains my favorite choice. Cast iron stores heat well, develops an excellent crust, and moves easily from stovetop to oven.
Stainless steel pan: A solid alternative that browns meat nicely when preheated properly. Many professional kitchens rely on stainless pans.
Heavy carbon steel pan: Lighter than cast iron yet still holds heat effectively. With seasoning, it behaves similarly to cast iron.
Nonstick pans work for general cooking, though they rarely produce the same steak crust because high heat can damage coatings.
At home, one good cast-iron skillet often handles everything from steaks to vegetables.
Thermometers and Tools Worth Using
A few additional tools simplify steak cooking significantly.
- Instant-read meat thermometer: This tool removes guessing and prevents overcooking. Checking the temperature near the end of cooking helps achieve preferred doneness consistently.
- Tongs instead of forks: Tongs turn steak without piercing meat, helping juices remain inside.
- Paper towels: Dry steak surfaces sear better, so patting meat dry before seasoning improves crust.
- Resting rack or cutting board with groove: Allowing the steak to rest without sitting in excess juices helps maintain texture.
Most steak success still comes from heat control and timing, though these tools make results repeatable.
With tools in place, it’s helpful to understand the mistakes that commonly sabotage stakeholder results. Avoiding these problems often improves cooking faster than learning new techniques.
Common Steak Cooking Mistakes
Most steak problems I see at home rarely come from complicated cooking errors. They usually come from small habits that seem harmless but quietly ruin texture and flavor.
When readers tell me their steak tasted okay yet felt disappointing, one of these common mistakes usually appears somewhere in the process. Fixing them often improves results immediately, sometimes without changing anything else.
Here are the issues I help cooks correct most often.
Cooking Cold Steak
Taking steak straight from the refrigerator to the pan causes uneven cooking. The outside cooks quickly while the center stays cold, forcing longer cooking time to compensate.
Longer cooking tightens muscle fibers and dries meat before the center warms properly.
I usually:
- Remove steak from the fridge 20–30 minutes before cooking.
- Pat it dry and season just before cooking.
This small step helps steaks cook evenly and develop a better crust.
Overcrowding the Pan
When too many steaks go into the pan at once, the temperature drops quickly. Instead of searing, the meat releases moisture and begins steaming.
The result becomes a gray surface instead of a golden crust.
At home, I cook steaks in batches if needed. Giving each steak enough space allows moisture to evaporate and crust to form properly.
If cooking for a group, keeping finished steaks warm in a low oven while finishing others works well.
Cutting Steak Too Early
This mistake happens often because the steak smells irresistible once cooking finishes. Cutting immediately causes juices to spill onto the cutting board instead of staying inside the meat.
Resting steak for five to ten minutes allows juices to redistribute and improves tenderness.
In professional kitchens, steaks naturally rest while cooks prepare plates and sides. At home, a little patience makes a noticeable difference.
Once these mistakes are avoided, steak cooking becomes much more predictable. At that point, the final question remains: which cooking method suits you best?
Let’s wrap up by helping you choose the method that fits your kitchen and routine.
Which Cooking Method Should You Choose?
After cooking steak in countless kitchens and helping many home cooks improve their results, I’ve realized there isn’t one perfect method for everyone. The best method depends on your kitchen setup, time, steak thickness, and how comfortable you feel managing heat.
The good news is that once you understand each approach, choosing becomes simple.
Here’s how I usually guide readers when they ask which method suits them best.
If you cook steak indoors most of the time and want reliable results, pan searing becomes the easiest starting point. A heavy pan, good heat control, and butter basting create steakhouse flavor without extra equipment.
If you enjoy cooking outdoors or cooking for family and friends often, grilling delivers great flavor and handles multiple steaks easily. The smoky character adds something special to gatherings.
If you buy thick steaks or want precise control over doneness, reverse searing produces very even results, especially for larger cuts. It takes slightly longer but rewards patience with a consistent texture.
If you cook thick steaks occasionally and want a quicker solution, searing first and finishing in the oven works beautifully without extra steps.
If convenience matters most and cleanup needs to stay minimal, air fryer cooking offers a practical option, especially for smaller kitchens or quick meals.
In the end, success comes from understanding heat and timing more than memorizing steps. Once you become comfortable cooking steak, switching between methods becomes easy depending on the situation.
And when you want to practice with a flavorful, affordable cut that responds well to these techniques, cooking chuck eye steak makes an excellent place to start.
Once you master it, nearly every steak becomes easier to cook confidently at home.