If you are wondering how to build cabinets, start in this order:
|
Measure your space and decide your cabinet layout Choose a cabinet style that matches your skills Cut panels, then build square cabinet boxes Install the boxes level and plumb Add doors, drawers, hardware, and finish |
I learned this sequence after I helped homeowners plan storage for real rooms that had real problems, including crooked walls, sloped floors, and appliances that never sat exactly where the spec sheet promised.
I built my first set of cabinet boxes after years of residential design work, and I still follow the same principle I use for furniture placement and space planning: solve function first, then commit to the look.
If you only want the shortest answer, use 3/4-inch plywood for cabinet boxes, keep every box square, mount into studs, and leave yourself some adjustment room for doors and drawers.
That approach gives you cabinets that feel custom even when you build them with simple joinery.
Choose Your Cabinet Type: Framed or Frameless
I choose this based on skill, tools, and the look you want.
1. Frameless Cabinets
You build a plywood box and hang doors on the edges. I reach for frameless when you want clean lines and a build that stays straightforward.
You will like it if you want:
- A modern or minimal look
- More interior space
- Simple box construction and simple math
2. Face-Frame Cabinets
You build a plywood box, then attach a hardwood frame to the front. I like face frames when walls feel wavy, and you want a traditional look.
You will like face frames if you want:
- A classic kitchen feel
- A front edge that hides small plywood imperfections
- Slightly easier door alignment at the front opening
I still build the same cabinet box either way. The difference shows up at the front edge and hinge choice.
Use These Standard Cabinet Dimensions
I keep these numbers in my notes because they match how people stand, reach, and work.
Quick dimension table
| Cabinet element | Common standard | Why it works |
|---|---|---|
| Base cabinet depth | 24 inches | Matches countertop depth and reach comfort |
| Base cabinet height (box) | 34.5 inches | Pairs with a 1.5-inch countertop to reach 36 inches total |
| Toe kick height | 4 inches to 4.5 inches | Gives your feet room when you stand close |
| Toe kick depth | 3 inches | Protects toes and keeps stance comfortable |
| Wall cabinet depth | 12 inches | Prevents head bumps and keeps the counter usable |
| Wall cabinet height | 30 to 42 inches | Scales to ceiling height and storage needs |
| Space from the counter to the wall cabinets | about 18 inches | Keeps the work area open and reachable |
Measure your actual room and adjust, yet use these as your comfort baseline.
Picking the Right Cabinet Material
I design interiors, so I care about how cabinets hold up to steam, spills, and sunlight, and I also care about how they look under real lighting.
My practical material picks
- Cabinet boxes: 3/4-inch plywood (birch, maple, or a good cabinet-grade core).
I choose plywood because it stays stable and it holds screws well when you build correctly. - Back panels: 1/4-inch plywood for a captured back, or 3/4-inch plywood for a stronger back
I choose a thicker back when you want strong mounting and a solid feel. - Face frames: hardwood like poplar (paint), maple (paint or stain), or oak (stain)
I choose poplar for painted work because it machines cleanly and finishes smoothly. - Shelves: 3/4-inch plywood with a front edge band or solid wood lip
I add a front lip when you want shelves to stay straight over time.
Hardware that Changes the “FEEL” Immediately
- Soft-close hinges for doors
- Full-extension drawer slides for drawers
I specify full-extension slides often because you gain access, and access reduces clutter.
My finishing rule: decide your finish early because it affects wood choice, edge treatment, and door style.
Gather tools that make the work accurate.
You can build cabinets with a modest set of tools if you keep your joinery simple.
Tools I consider essential
- Table saw, or circular saw with a straight guide or track
- Drill and driver
- Clamps that actually hold square
- Combination square or framing square
- Level and shims for installation
- Sander and sanding blocks
- Measuring tape you trust
Joinery options that work
- Pocket screws for fast, strong builds
- Dados and rabbets for a more traditional, locked-in feel
- Confirmat screws for frameless builds if you want a very solid box
I use pocket screws often when I want speed and reliability, and I keep glue in every structural joint because glue adds stiffness.
How to Build the Cabinet Boxes?
Step 1: Measure, draw, and make a cut
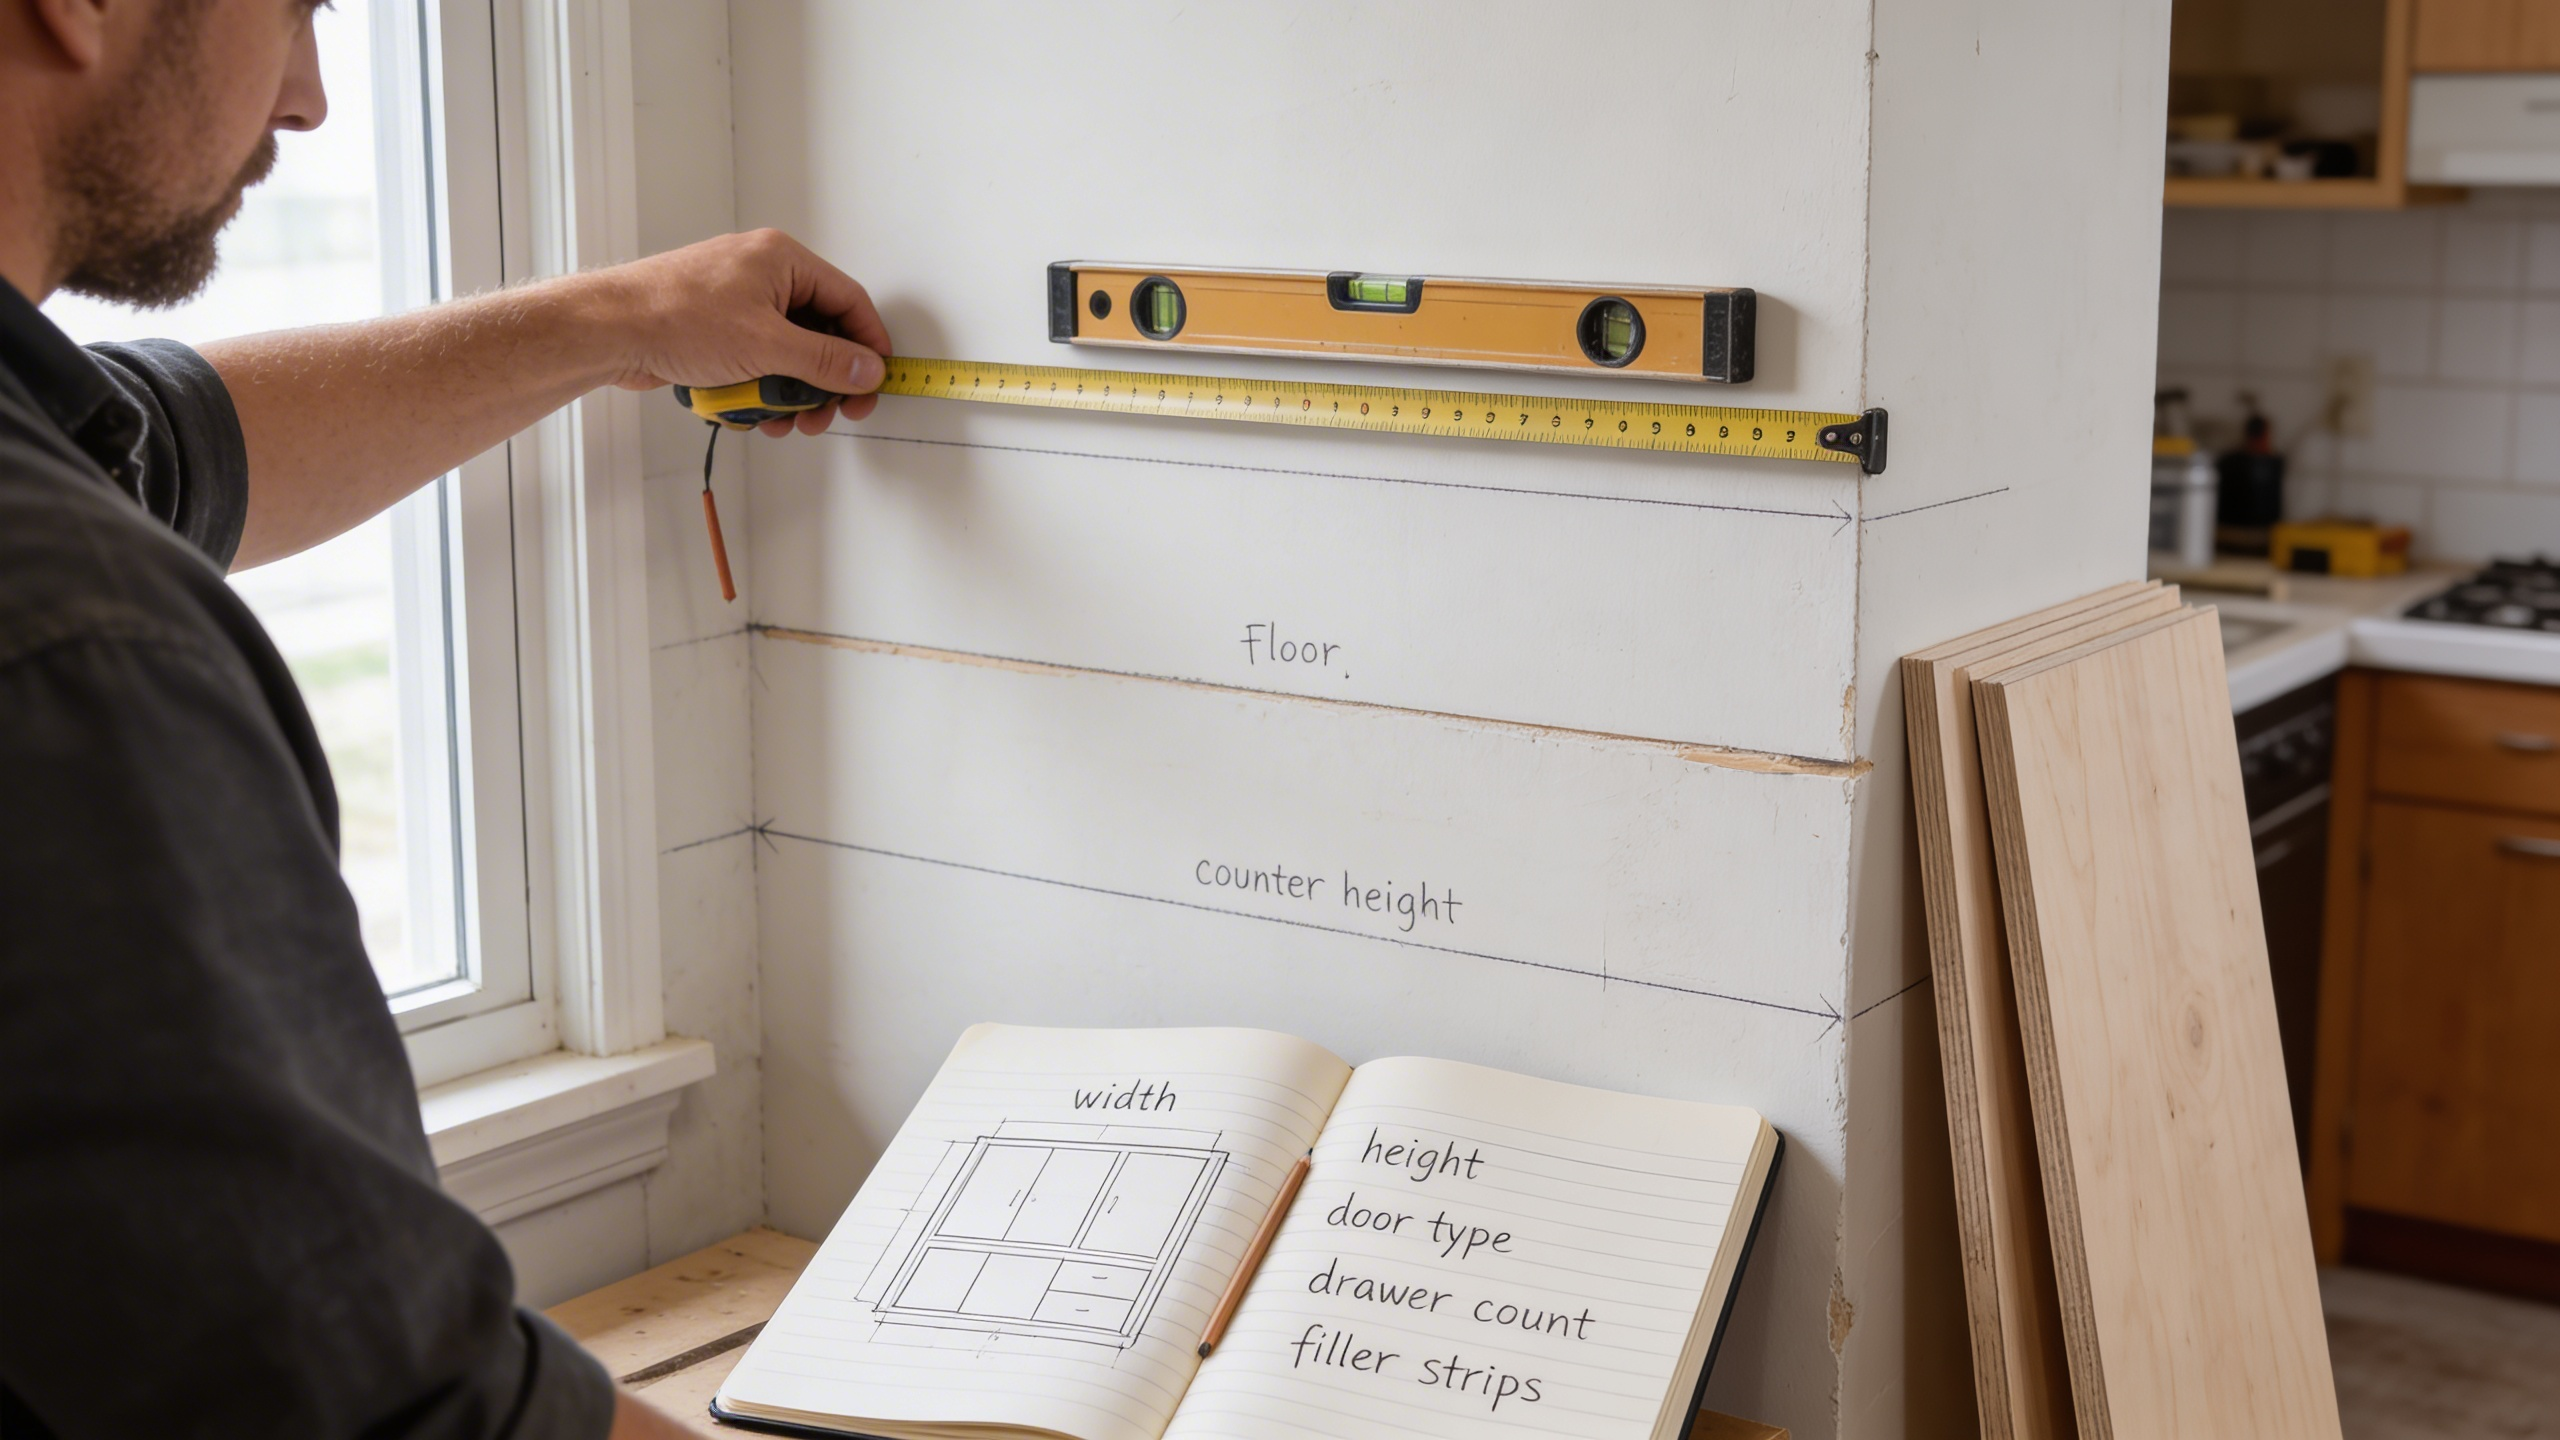
Measure walls in multiple spots because drywall bows and corners wander. I measure at the floor, at countertop height, and at the top of the planned cabinet run.
I draw a simple plan view, then I label each cabinet with:
- width
- height
- depth
- door type
- drawer count
- filler needs on the walls
Plan for filler strips near walls and tall panels because real rooms rarely sit square. A 1-inch to 3-inch filler solves door swing issues and saves your sanity during installation.
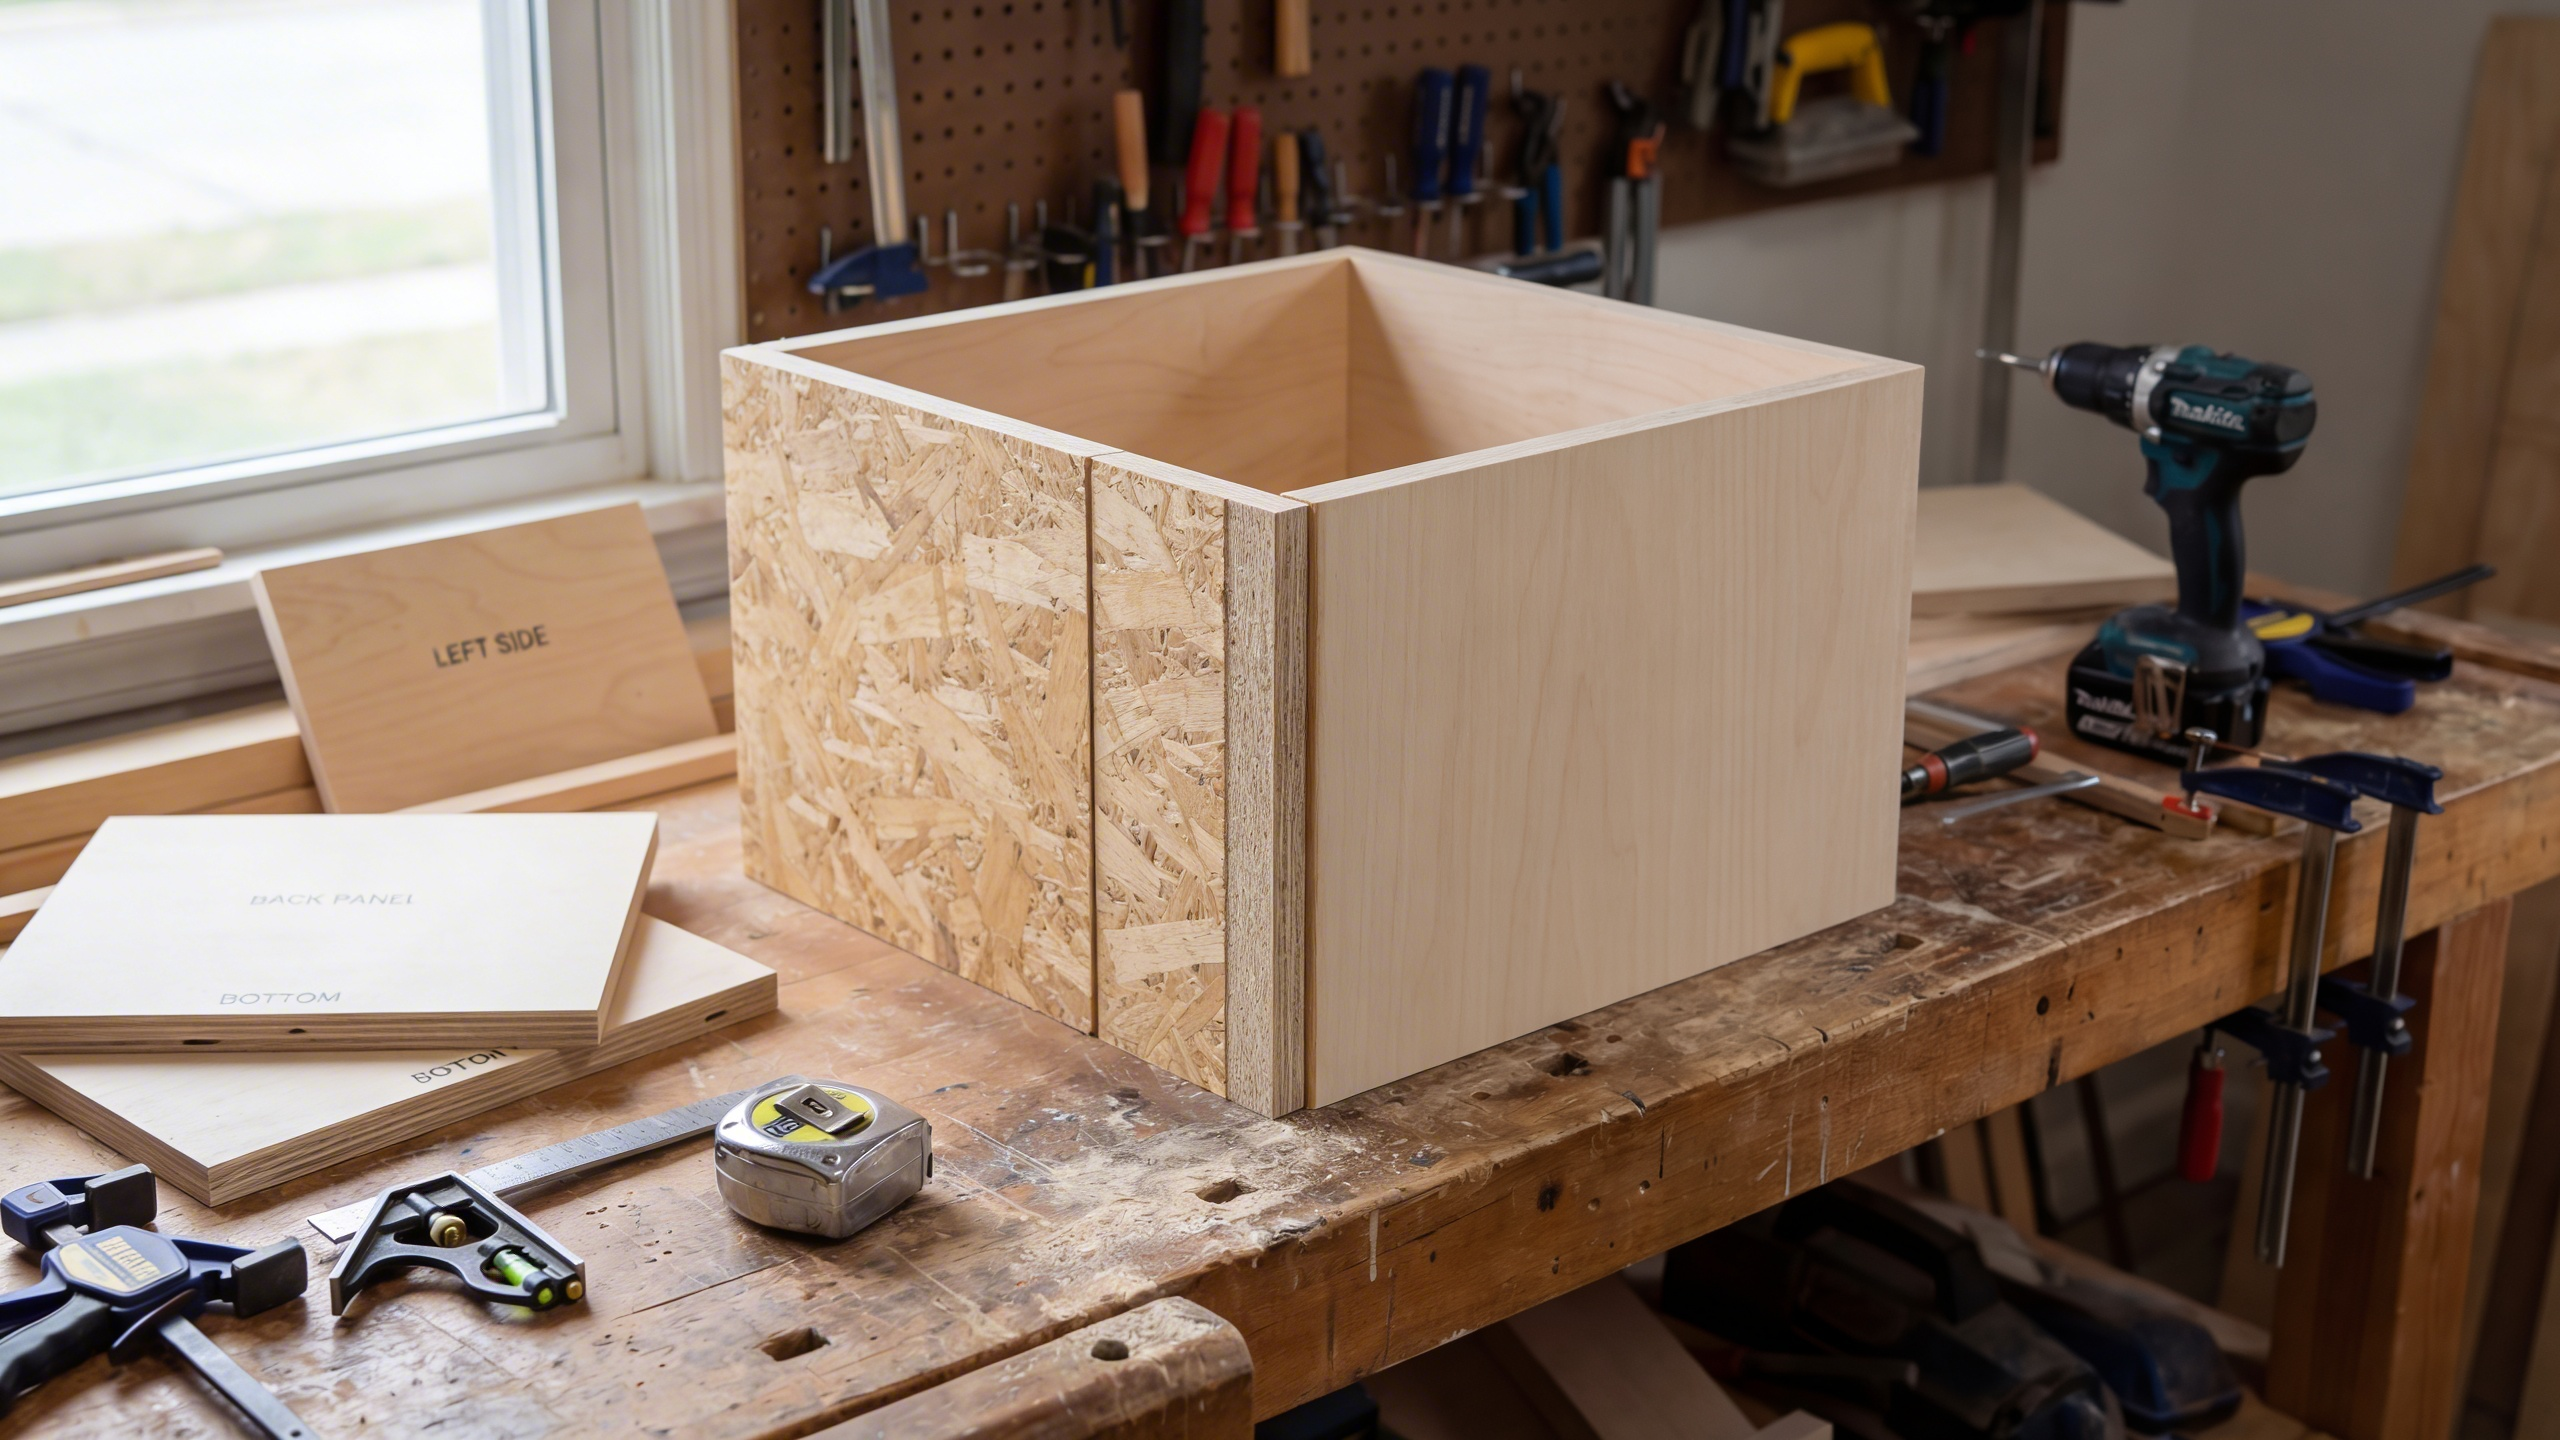
Step 2: Break down plywood safely and accurately
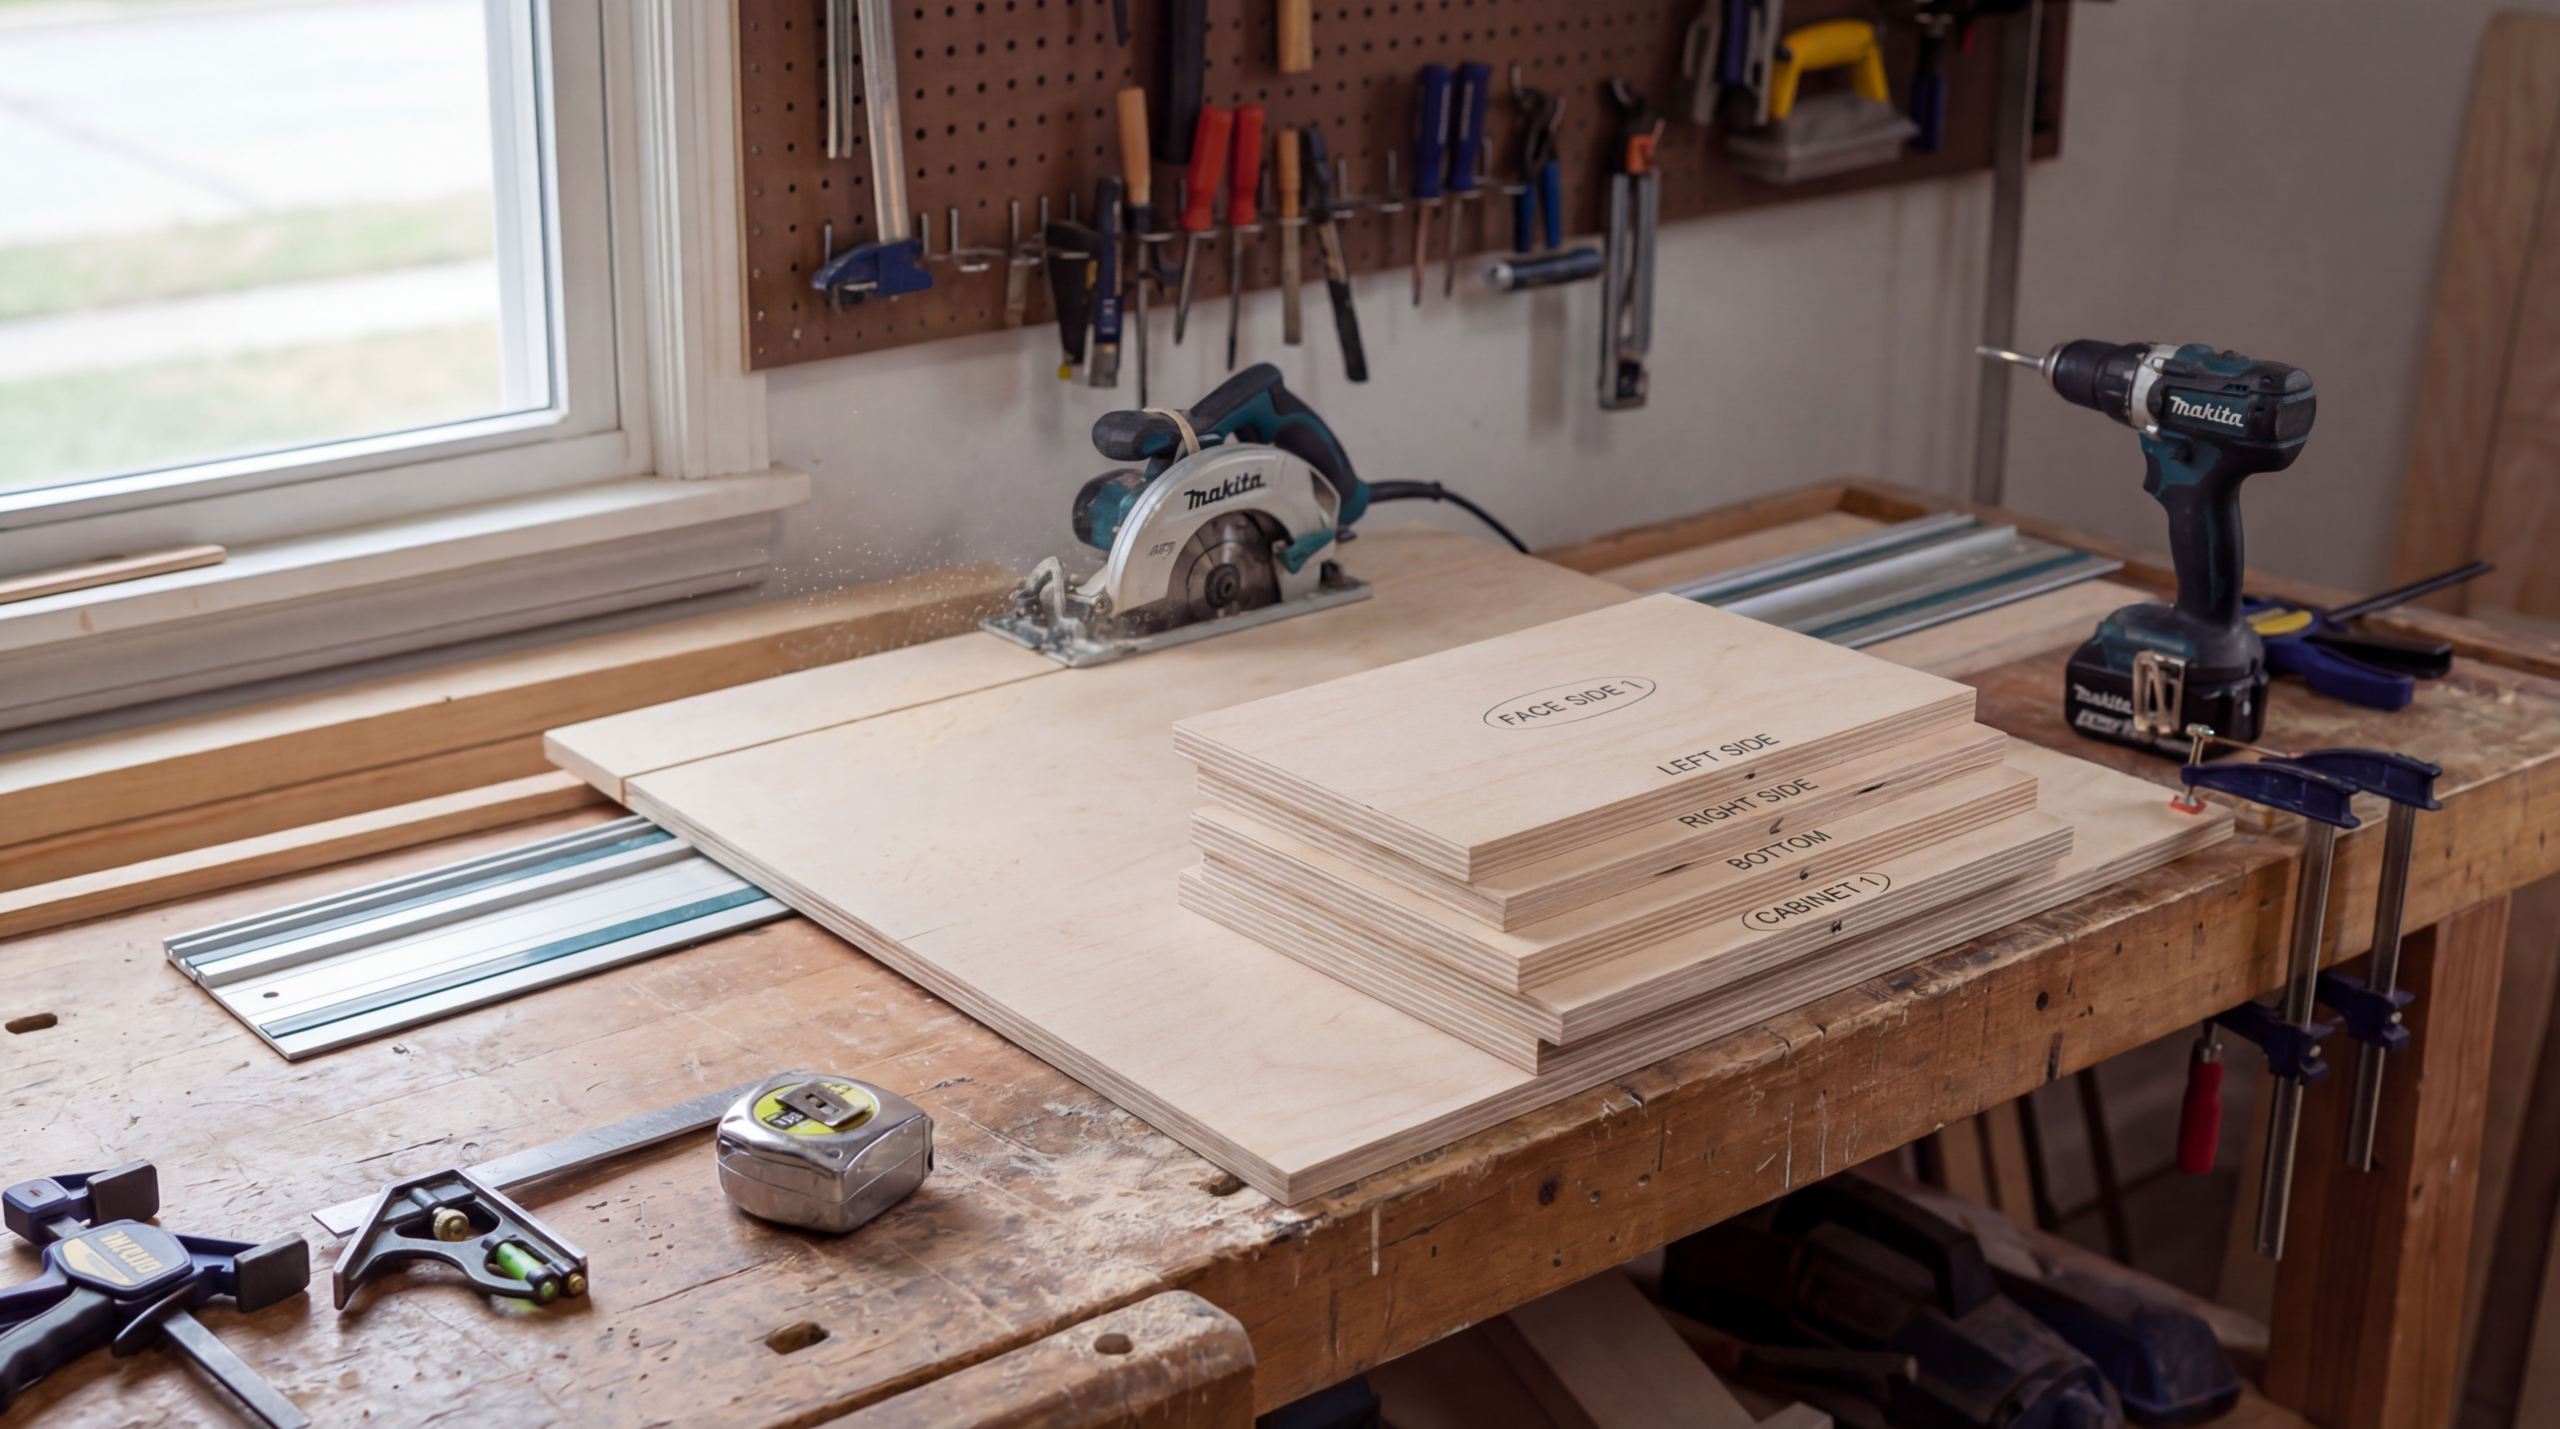
Full sheets feel heavy and awkward. I cut large sheets into manageable panels first, then I cut final sizes with a consistent reference edge.
Keep your labels on each piece. I write “Left side,” “Right side,” “Bottom,” and the cabinet number, and I circle the face side.
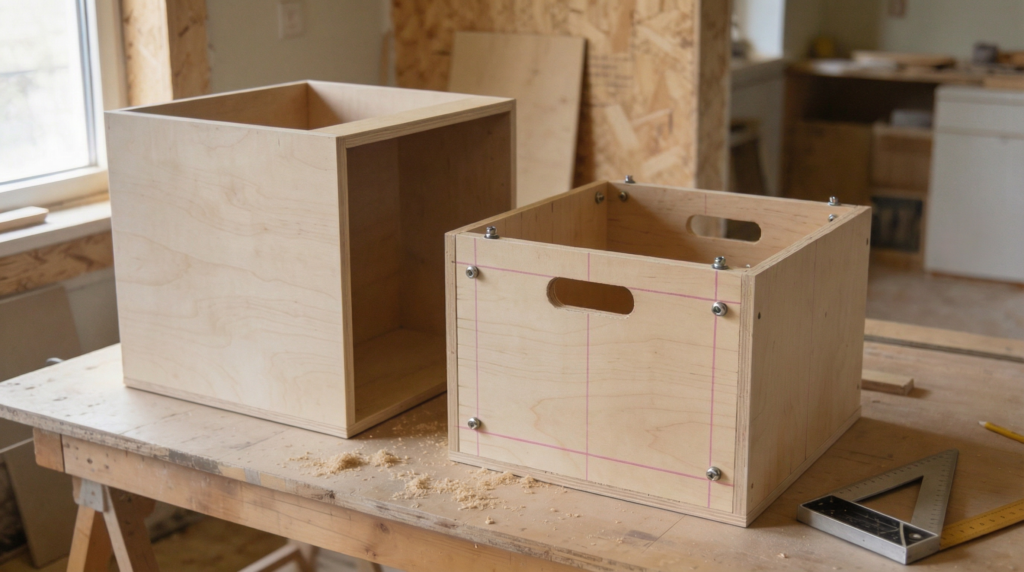
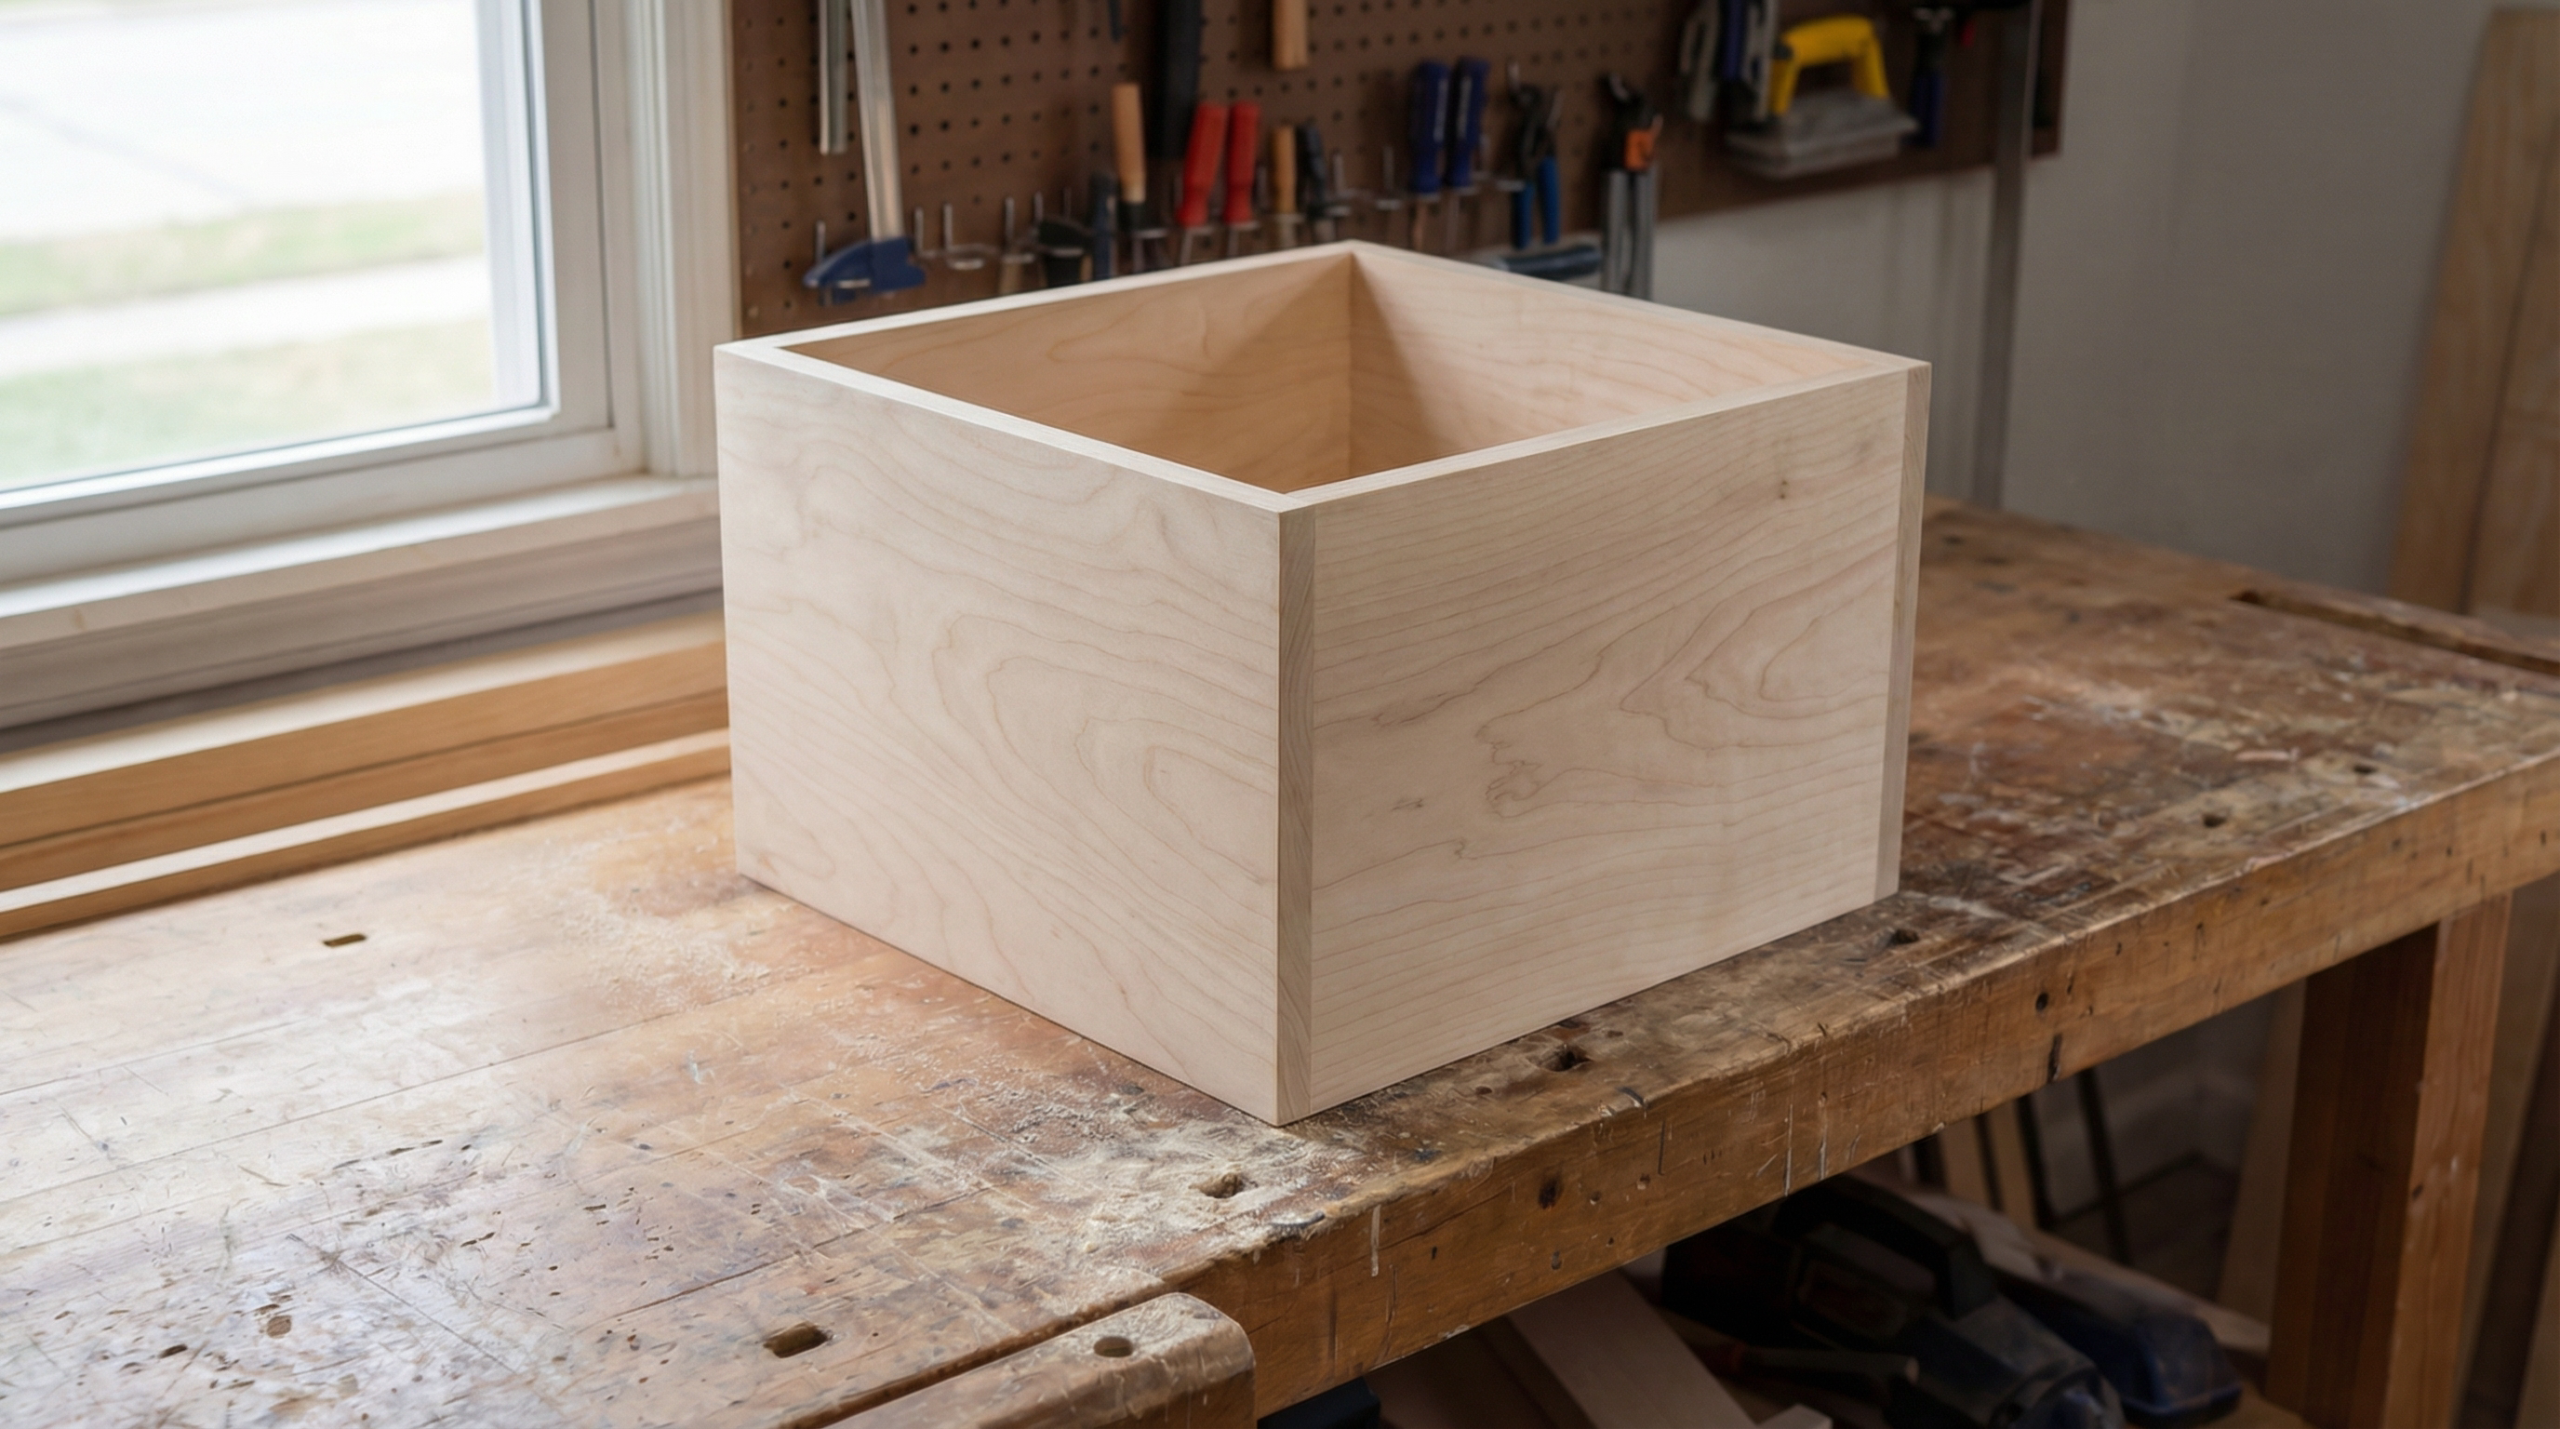
Step 3: Build one perfect “reference” box first
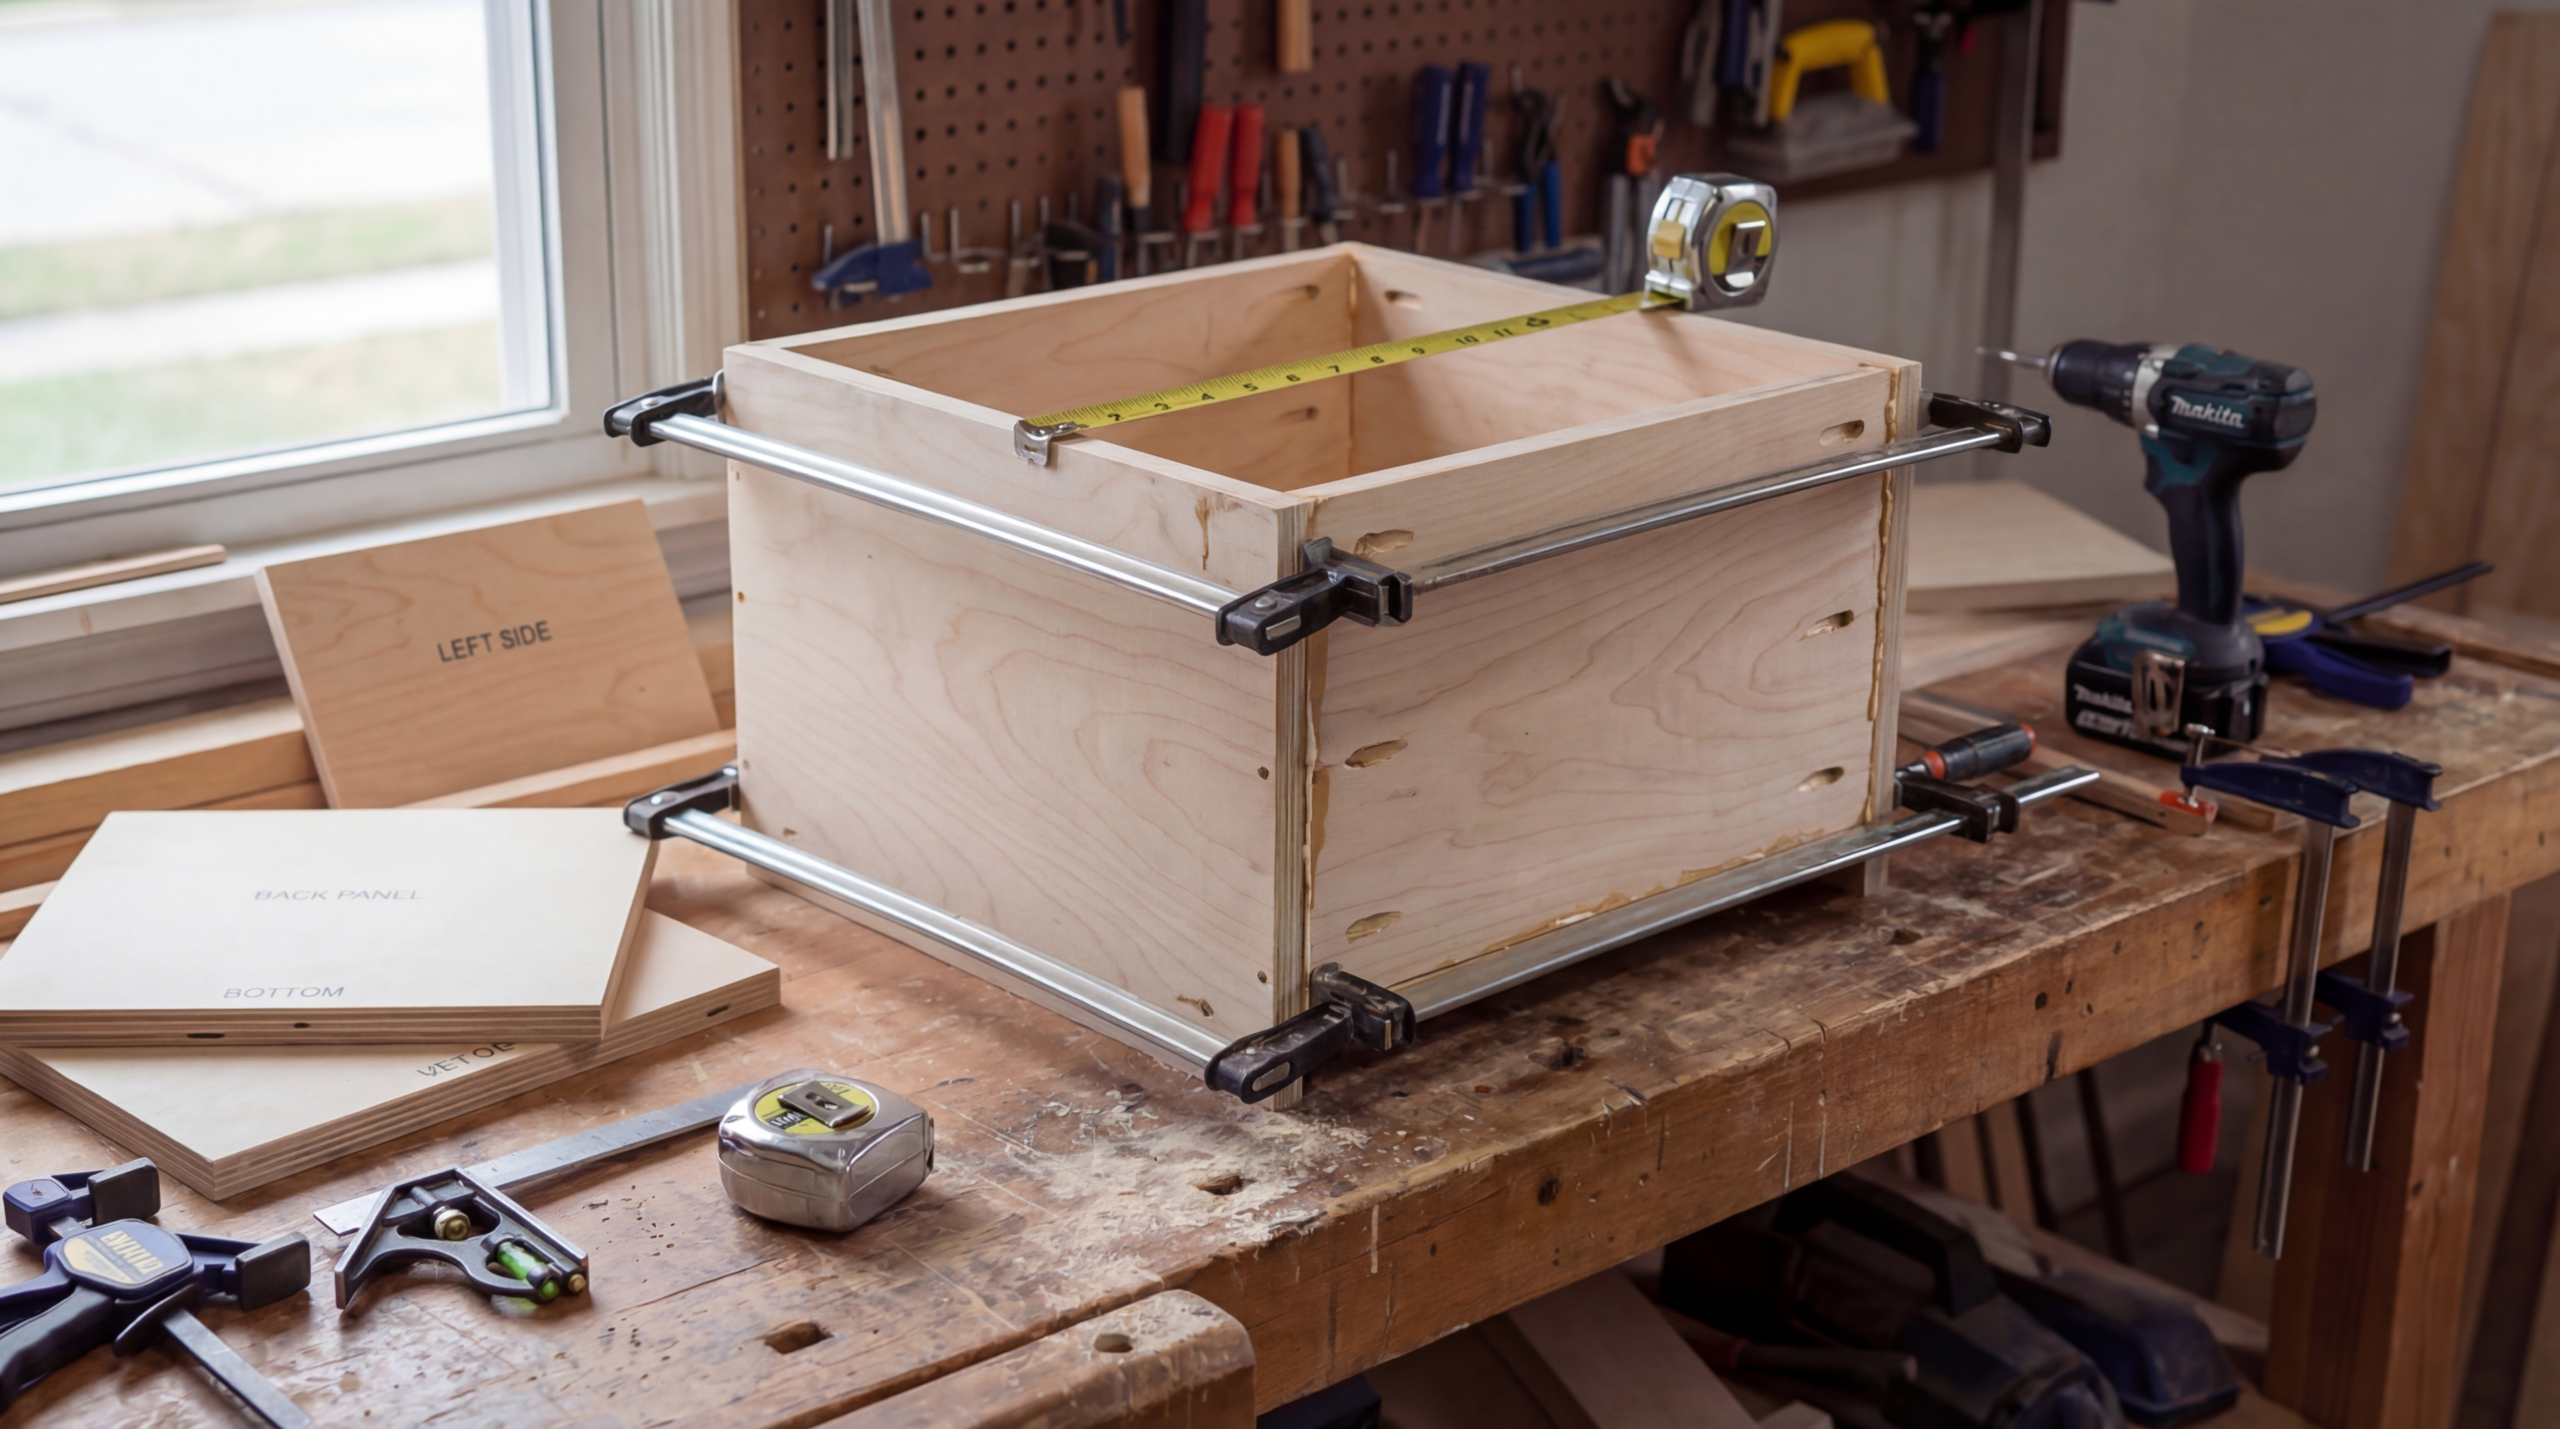
I built a base cabinet box first, and I treat it as my template. That box teaches you how your plywood behaves, how your screws pull, and how your measurements feel in real space.
You want the box to sit square, so check diagonals:
- Measure corner to corner both ways
- Adjust clamps until both diagonal measurements match
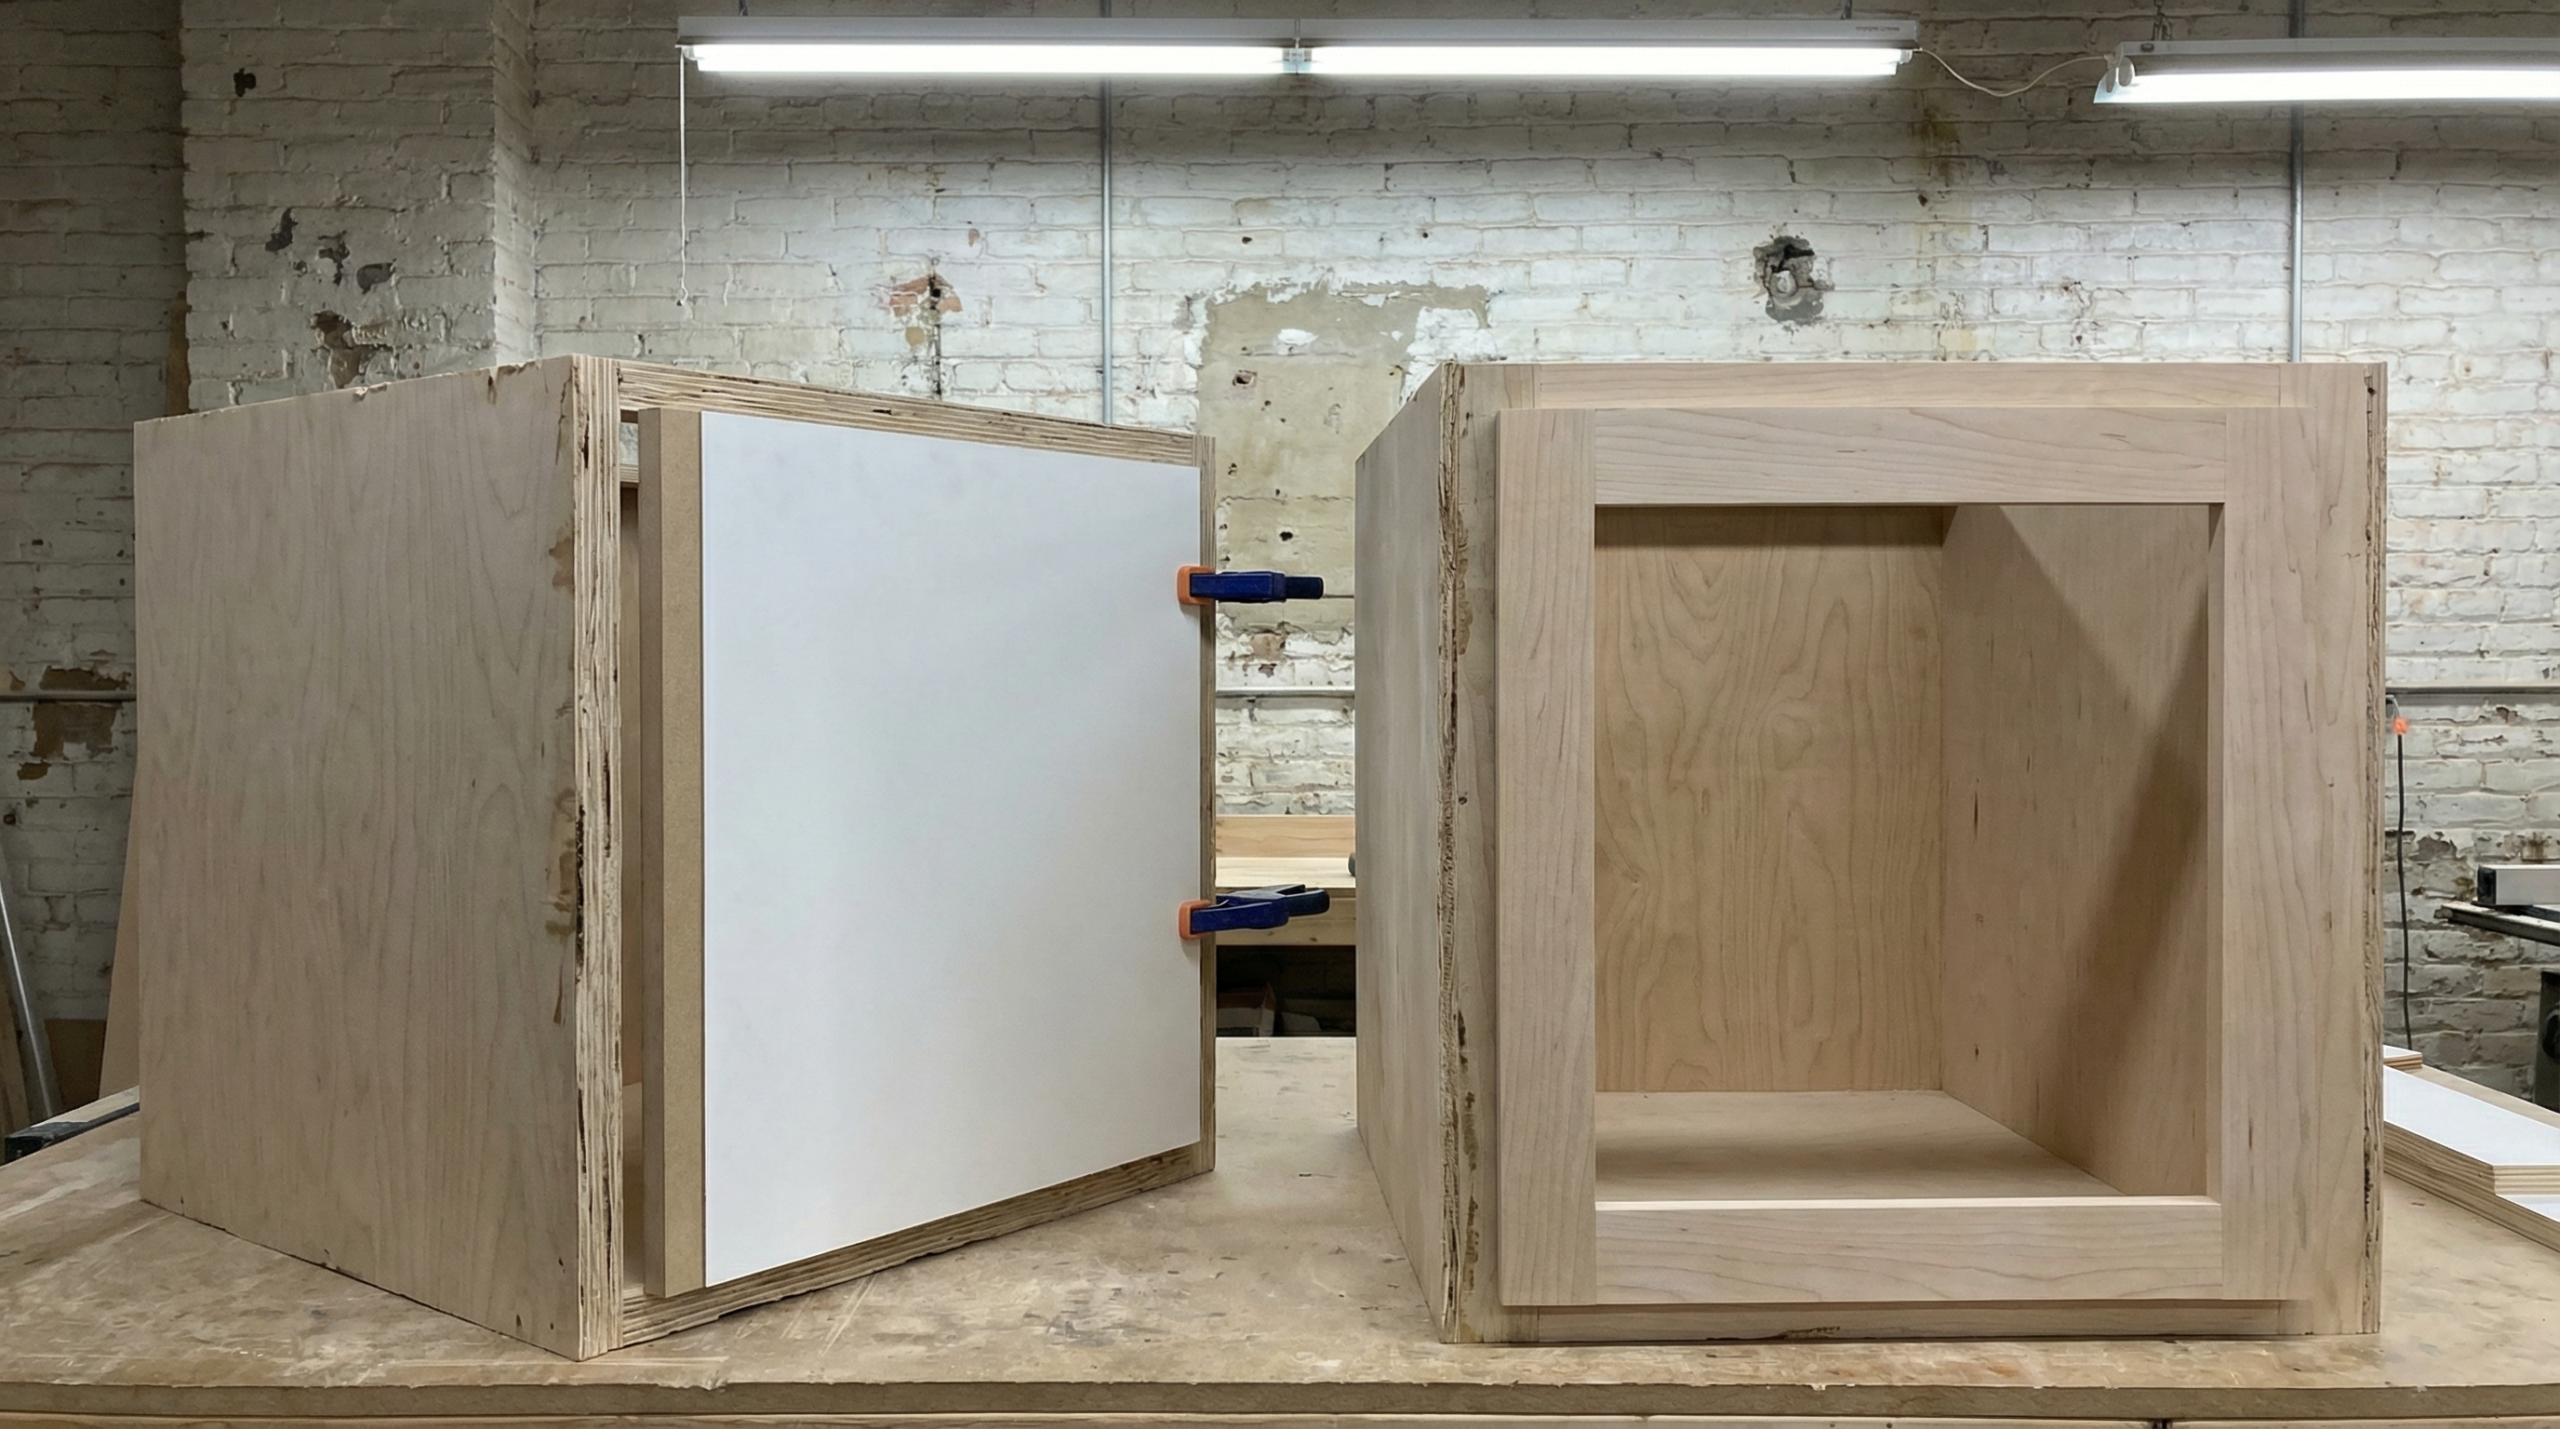
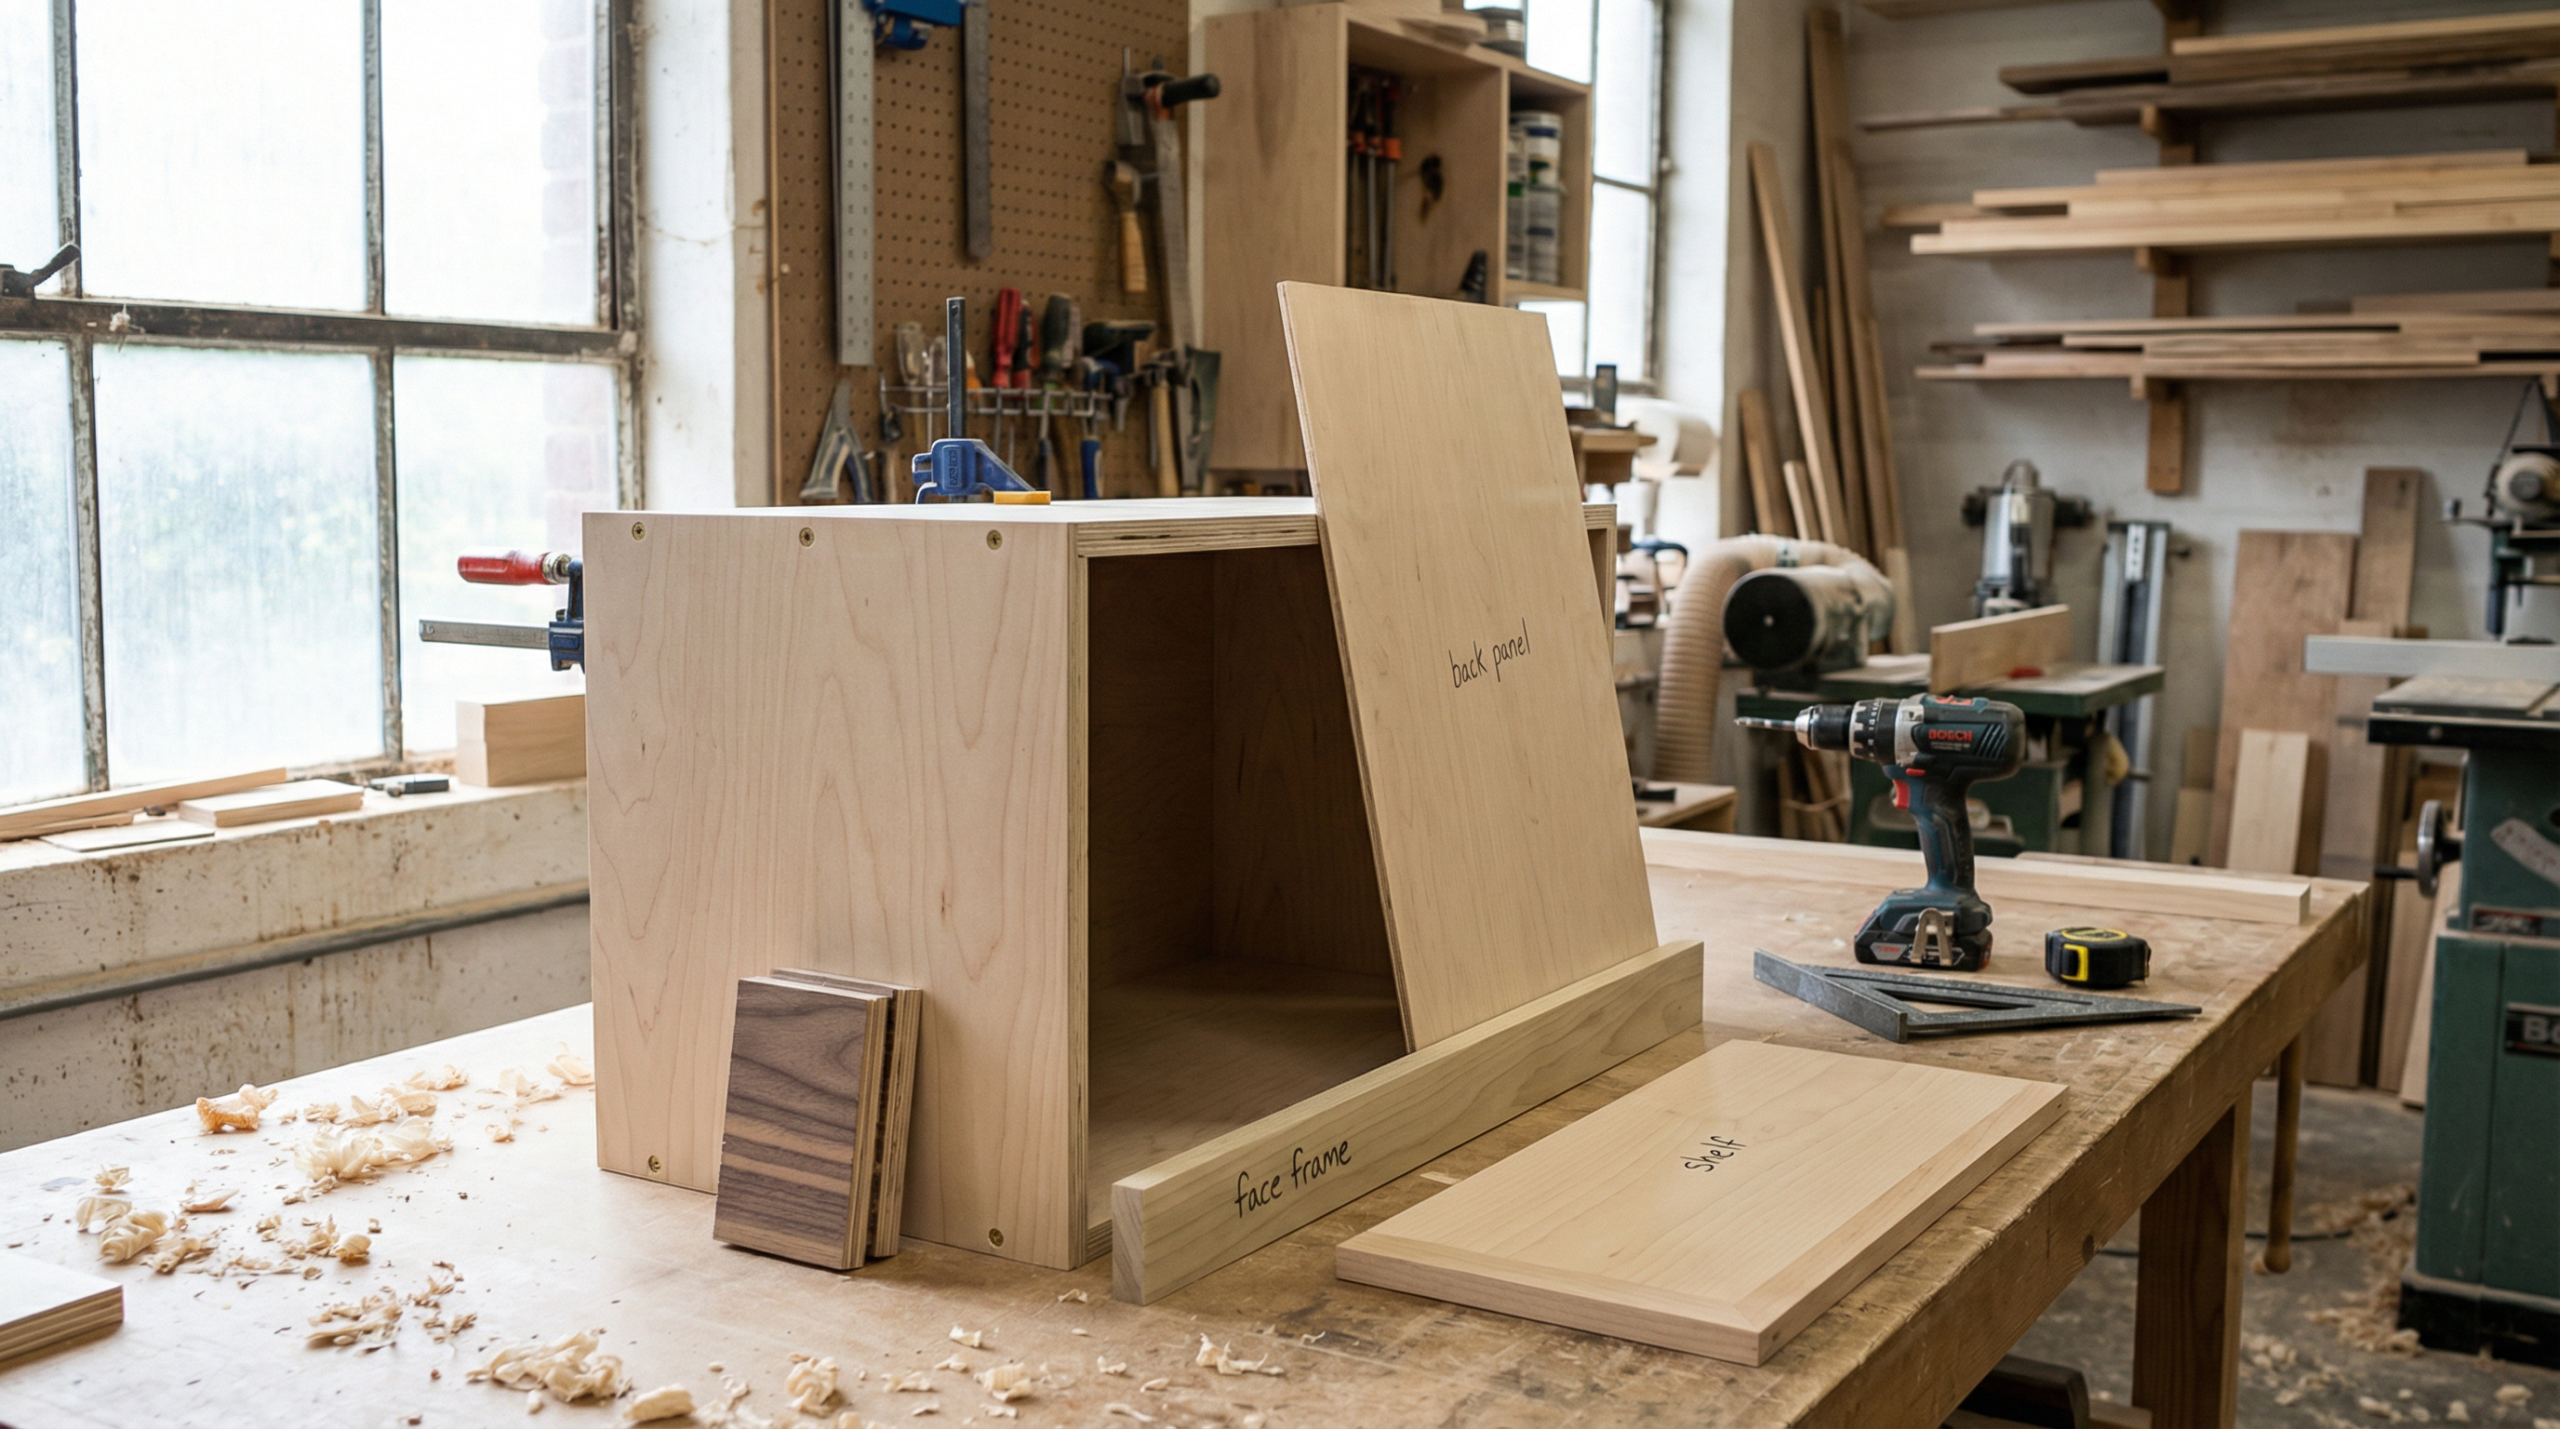
Step 4: Assemble the carcass with a square-first mindset
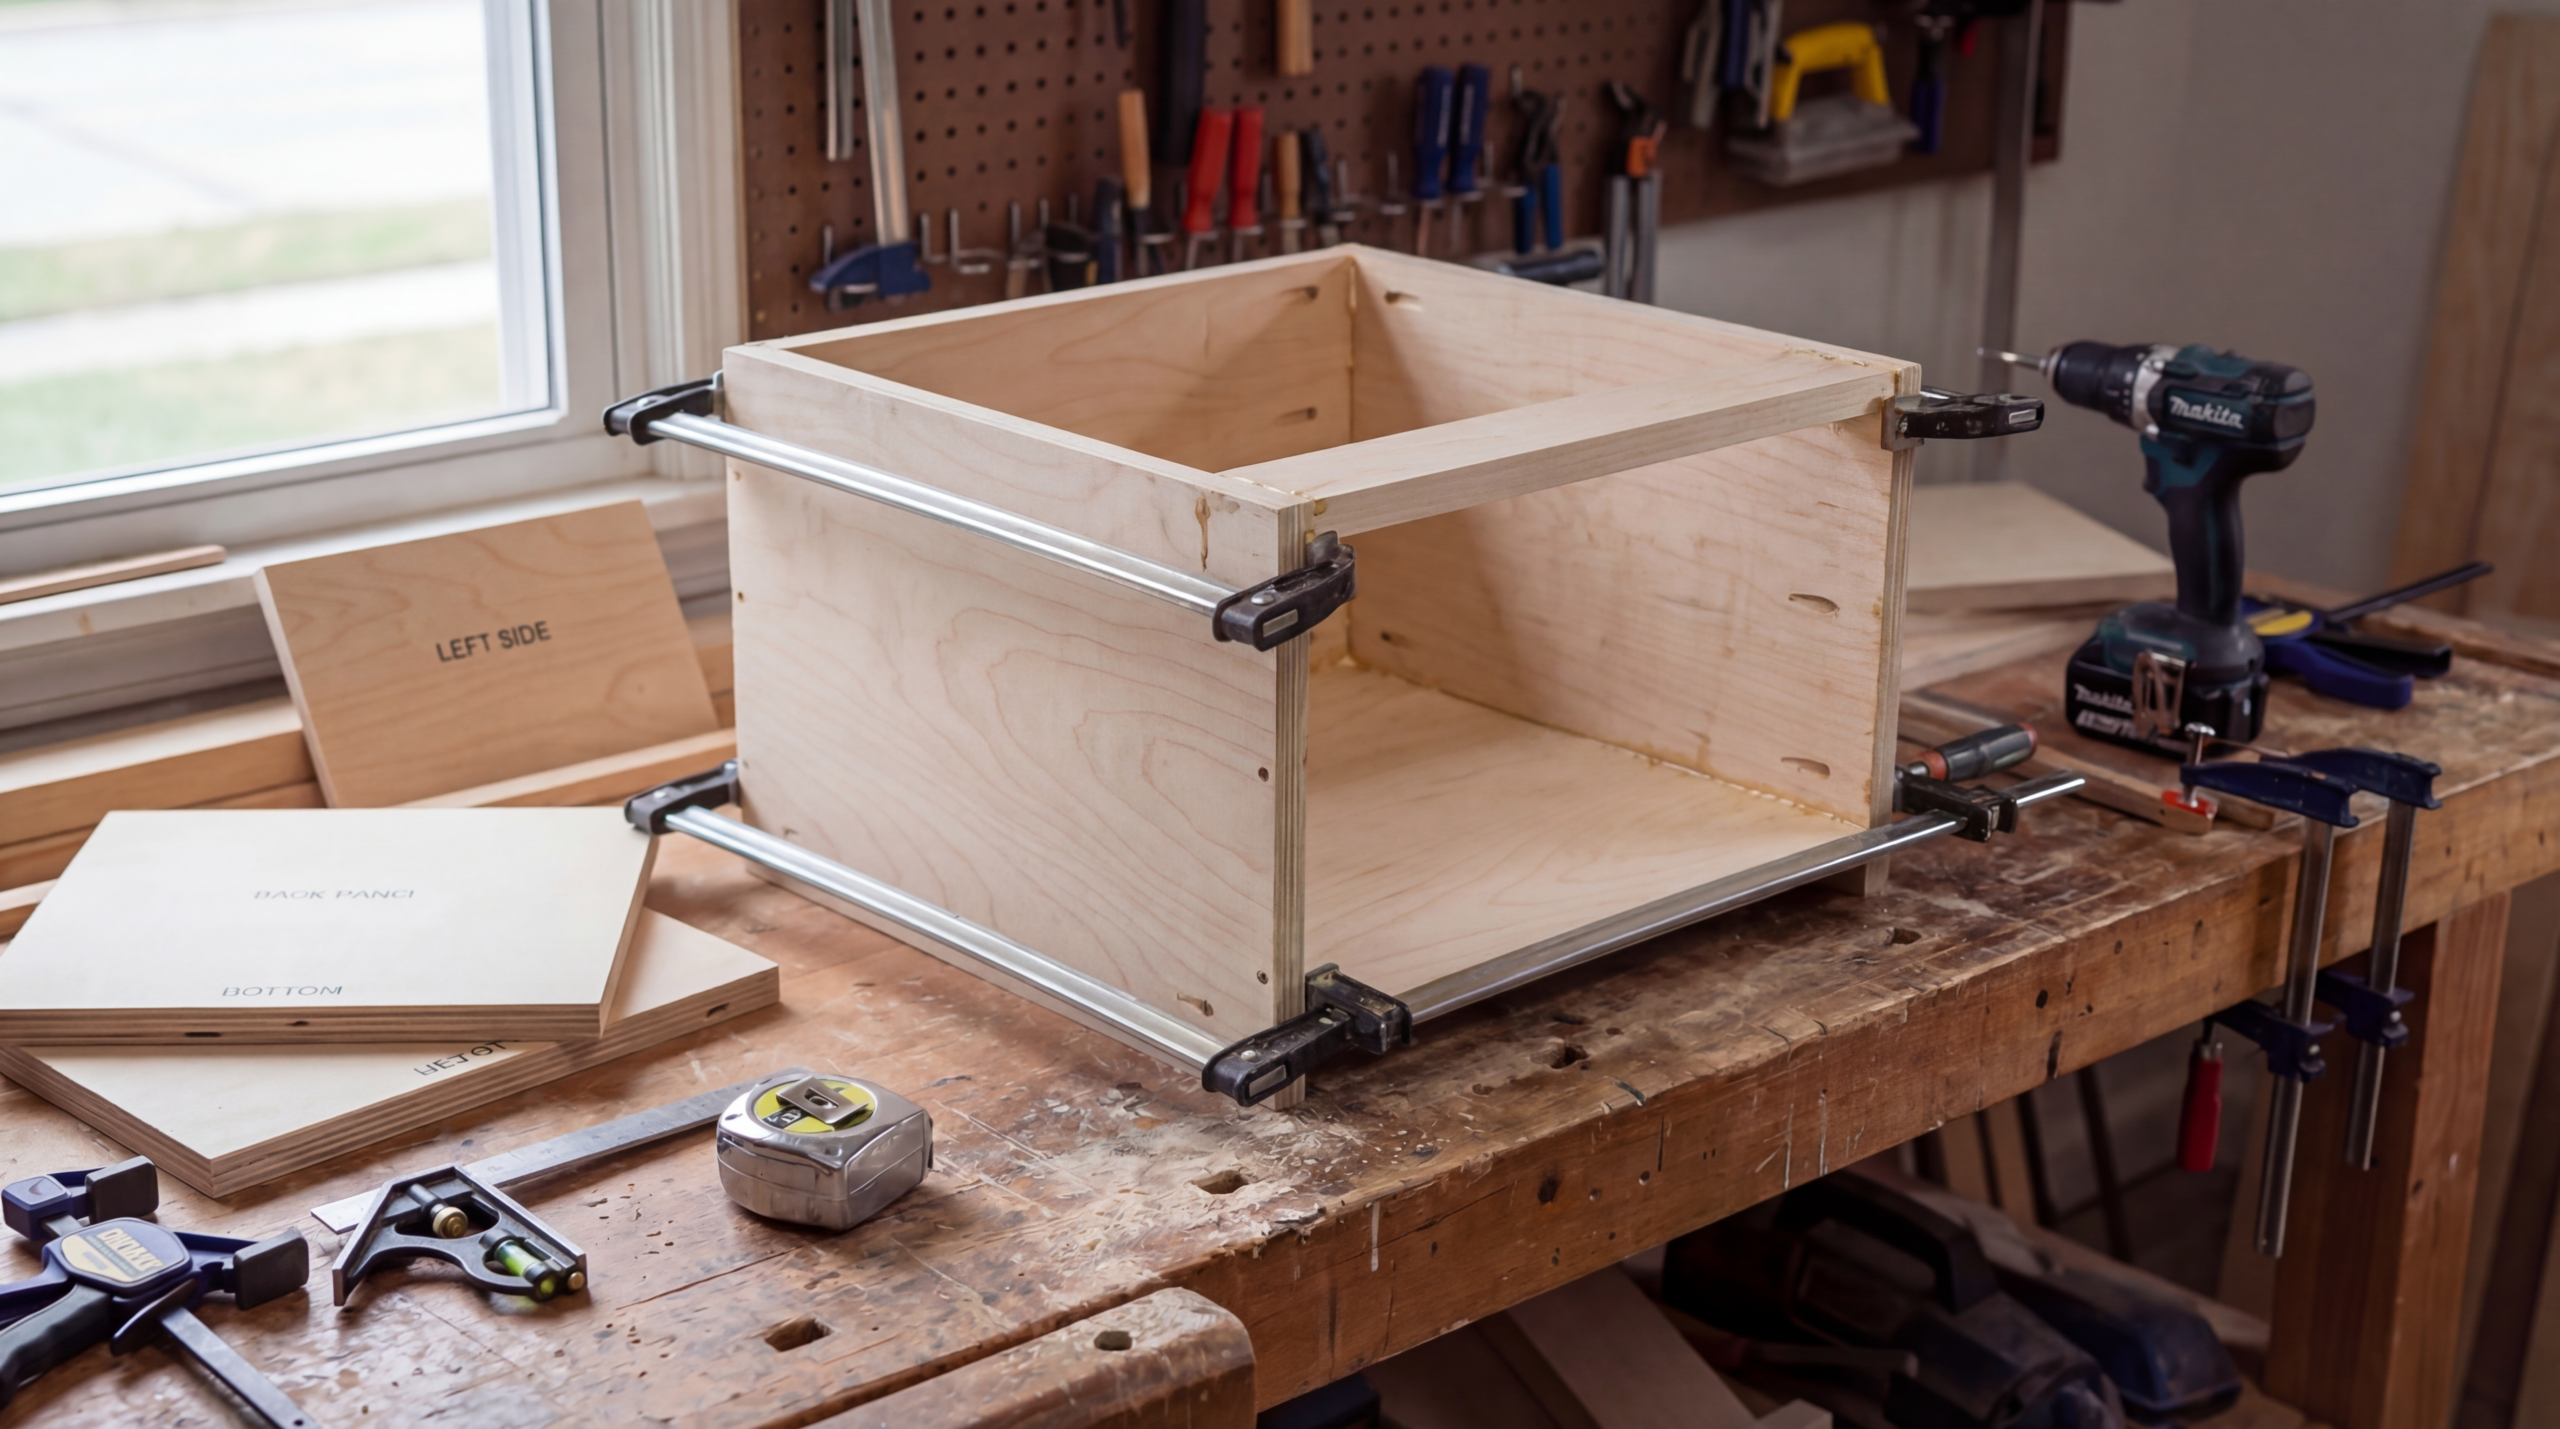
A cabinet box usually includes:
- two sides
- bottom
- top stretchers or a full top panel
- a back panel
- optional fixed shelf or divider
I apply glue, clamp, then drive screws. I keep the front edges flush because doors and drawers reference that plane.
Step 5: Add toe kicks for base cabinets
You can build toe kicks two ways:
- Notch the cabinet sides and run the bottom panel back
- Build a separate toe-kick platform and set the cabinet on it
I like a separate platform when floors slope because I can level the platform first, then I set boxes on a flat, stable base.
Step 6: Treat edges so they finish like furniture
Plywood edges expose layers. I use one of these:
- iron-on edge banding
- solid wood edge strips
- face frame that hides edges
Pick the method that matches your finish plan and your patience level.
Build Cabinet Doors & Drawers that Feel Good Daily
Doors: choose a style you can build cleanly
I match door style to your home’s interior tone because cabinets set the emotional temperature of a room. The material you pair with your cabinets matters just as much as the door style.
If you’re designing a softer, more tactile space, understanding fabrics like bouclé can help balance wood, metal, and hard finishes.
My door choices:
- Slab doors: simplest build, modern look
- Shaker doors: timeless, forgiving, and easy to repaint later
- Raised panel doors: more advanced, classic detailing
I install hinges after I finish sanding because hinge alignment rewards a smooth, consistent surface.
Drawers: build the box first, then solve the front
A drawer has two jobs: to carry weight and glide straight.
A drawer built that works for most homes:
- 1/2-inch plywood sides
- 1/4-inch plywood bottom set in a groove
- glued joints with brads or screws, depending on your tools
I set drawer slide spacing with care, and I keep the drawer box square the same way I keep the cabinet square.
Drawer front alignment tip I learned the hard way:
Clamp the drawer front in place, check the reveal around it, then screw from inside the drawer box. That method gives you control before you commit.
Install Cabinets with Patience
Installation decides whether the cabinets look custom. I treat installation as a separate phase with its own pace.
Step 1: Find studs and mark reference lines
Mark a level line for the top of base cabinets and the bottom of wall cabinets. Use that line to guide everything, even when the floor feels uneven.
Step 2: Level base cabinets first
Set the first cabinet, shim it to level, then attach it to the studs. Add the next cabinet, clamp faces flush, then screw cabinets together through the side panels.
I check:
- level front to back
- level side to side
- face alignment across the run
Step 3: Hang wall cabinets with support
Use a temporary ledger board screwed into studs to support the cabinet’s weight while you fasten. That board turns a stressful lift into a controlled placement.
Step 4: Add fillers, scribe to walls, and finish the edges
Walls rarely run straight. Scribe filler strips to match the wall line, then sand to fit. That small step makes the run look built-in.
Mistakes to Avoid While Building Your Cabinet
“My doors rub, and my reveals look uneven.”
You usually deal with one of these:
- cabinet box sits out of level
- hinge placement varies
- door sizes vary slightly
Fix: level the box, then adjust hinges, then consider trimming or remaking the worst door if the sizing drifted.
“My drawers feel rough and heavy.”
You usually see:
- slides out of parallel
- drawer box out of square
- screws binding the slide
Fix: loosen screws, reset slides with a spacer, then retighten while you keep things aligned.
“My cabinets look wavy along the wall.”
Walls often bow. The cabinet faces want straight lines, so you need fillers and scribing.
Fix: add a scribed filler and keep the cabinet faces aligned to a straight reference line.
Time, cost, and emotional energy (the part people skip)
I plan projects around real schedules because homes stay active while you build.
A realistic timeline for a first-time build
- Planning and cut list: 1 to 2 days
- Cutting and building boxes: 2 to 4 days
- Doors and drawers: 2 to 5 days
- Sanding and finishing: 2 to 6 days, depending on dry time
- Installation: 1 to 3 days
A quick cost reality check
Your cost depends on plywood grade, hardware quality, and finish system. Hardware can surprise you, so price hinges and slides early, then decide where you want to invest.
If you want cabinets to feel expensive, spend on:
- drawer slides
- hinges
- a finish system that cures hard
My cabinet build checklist (print this and mark it off)
- Measure walls in multiple spots and record the smallest width
- Decide cabinet type: frameless or face frame
- Choose standard depths and heights that fit your life
- Build a cut list and label every part
- Build one reference cabinet and check diagonals
- Keep every box square before you move on
- Plan fillers at walls and tall ends
- Level bases, then hang uppers from a reference line
- Align doors and drawers with consistent reveals
- Finish with patience and thin coats
Closing: build cabinets that support your daily rhythm
You build cabinets for the same reason you rearrange furniture or repaint a room, because you want your home to work with you.
I care about that outcome, and I want you to feel it every time you reach for a plate, tuck away a small appliance, or clear a counter that used to collect clutter.
If you tell me your room type, your cabinet run length, and whether you want paint or stain, I will help you choose a cabinet style, a clean layout, and a first cut list that matches your space.