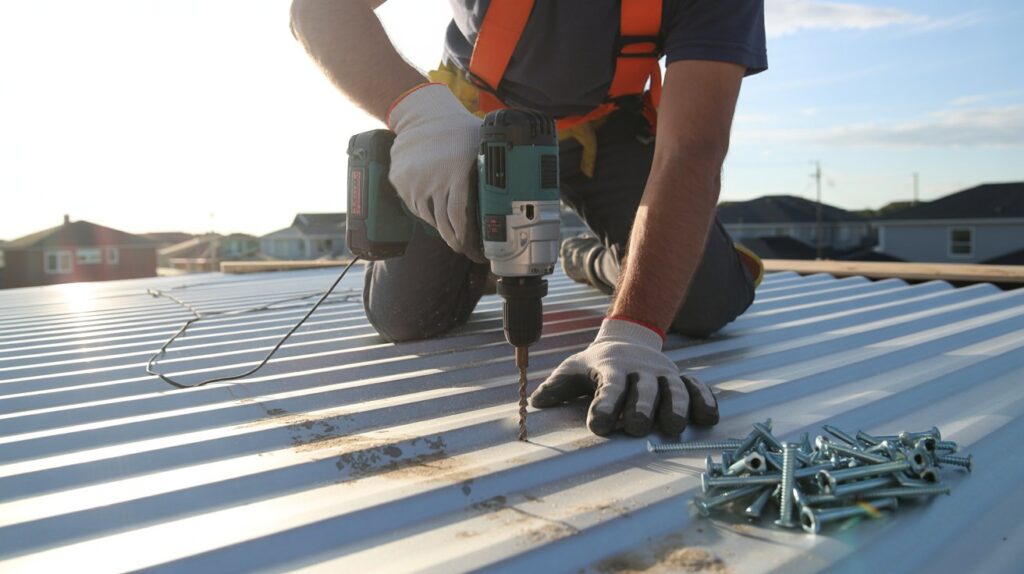

When it comes to installing metal roofing, screw placement isn’t just a technical detail. It’s very critical for ensuring the longevity and performance of your roof.
One misplaced screw could lead to leaks, costly repairs, and headaches that no homeowner wants to deal with. I’ve seen it happen more times than I can count.
My name is Jordan Blake, and with over 12 years in home improvement, I’ve learned what really matters when it comes to your metal roof screw pattern.
By understanding the correct screw patterns and placement methods, you can avoid these pitfalls and secure your roof against the elements.
This guide will equip you with practical knowledge and insights, ensuring you make informed decisions that safeguard your roof.
The Hidden Cost of Wrong Screw Placement
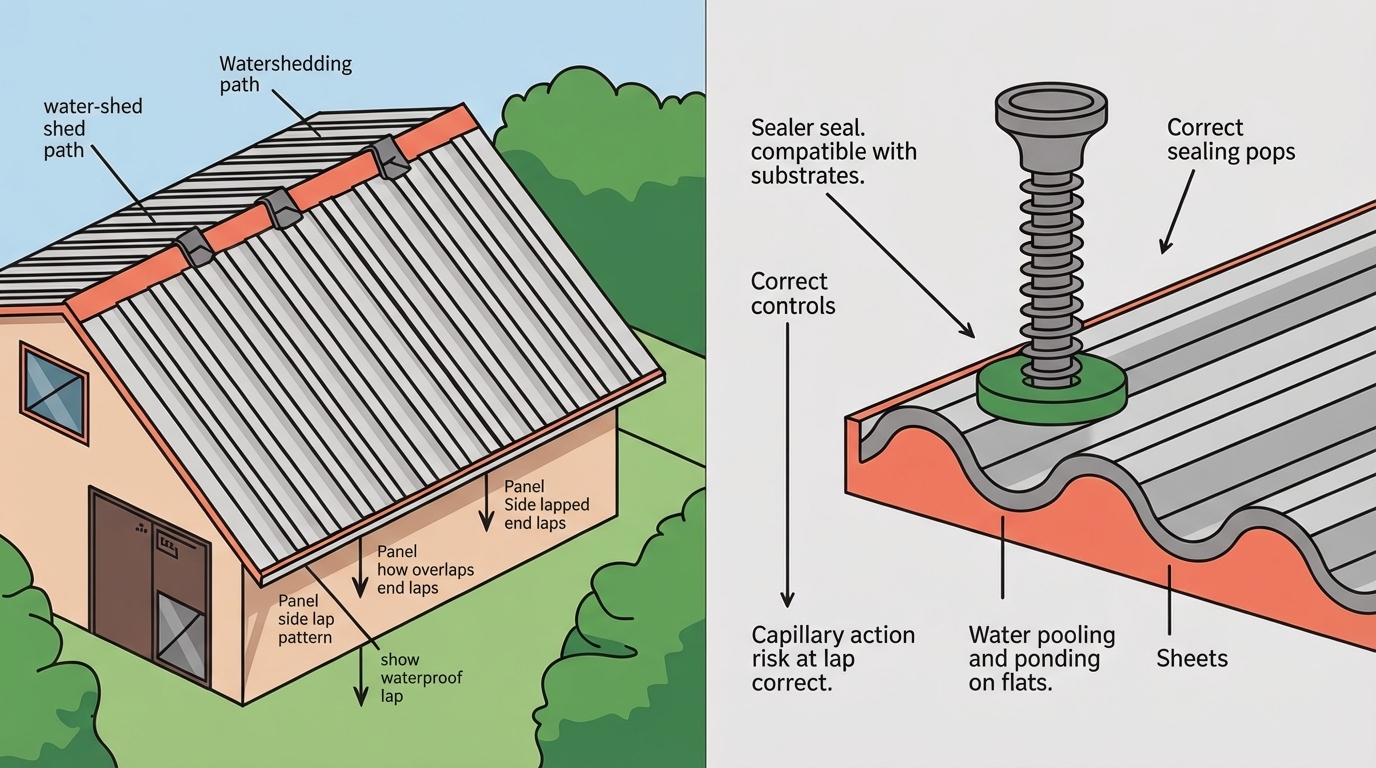
For example, if you install screws on the flat sections of your roofing panels instead of the ridges, you’re inviting trouble.
Water can seep in through these points, leading to mold and structural damage.
Envision this: you finish your installation, only to discover two months later that your attic is damp, all because of a few incorrectly placed screws.
The financial impact can be substantial. Repairing water damage is not only costly but also time-consuming. Add in potential safety hazards if moisture leads to mold growth, and the stakes become even higher.
So remember, the “savings” from a cheap installation can quickly vanish if you ignore proper screw patterns.
How Proper Patterns Prevent Leaks & Extend Roof Life
Fasteners play a vital role in securing your panels against wind and weather.
When installed correctly and tightened just enough to create a seal without stressing the panel, you create a stable, secure roofing system.
I’ve always emphasized to my clients that a well-installed metal roof can last 50 years or more. But you must start with the basics: proper screw spacing & placement.
As you learn about the various types of metal roofs, keep this fact in mind: each design has specific recommendations for where and how to install screws. This knowledge will save you from future headaches and expenses.
Basics of Metal Roof Screw Pattern
Understanding the fundamental principles of screw placement is crucial. It empowers you to make choices that will not only benefit the aesthetics of your roof but also its functionality.
Understanding Screw Spacing & Load Distribution
Screw spacing is a powerful tool to ensure load distribution is even across your roof. Generally, metal roofing requires screws placed at intervals of every 12 to 24 inches, but this can vary based on your specific roof structure and local building codes.
I often advise homeowners to err on the side of caution and place screws closer together, particularly in areas prone to higher winds.
Imagine walking across your roof and hearing squeaks. That can signal bad spacing or misalignment. Adequate spacing can prevent these issues and enhance tension, making your roofing far more resilient against storms.
Corrugated vs. Standing Seam: Which Pattern Do You Need?
Choosing between corrugated and standing seam roofing is essential and should reflect both your aesthetic preferences and practical needs. Below is a comparison table to clarify the distinctions between the two:
| Aspect | Corrugated | Standing Seam |
|---|---|---|
| Screw Placement | Top of rib (never flat) | Into seam center (20-30″ panels) |
| Spacing | 12-24″ on-center | Varies by manufacturer |
| Fastener Type | Exposed pancake head | Hidden or concealed |
| Weather Resistance | Good (if placed correctly) | Excellent (seams overlap) |
| DIY Difficulty | Moderate | Advanced |
| Cost | Lower material + labor | Higher material, professional install recommended |
Choosing a corrugated roof may be less expensive and simpler to install, but it might lead to more visible fasteners. Standing seam roofing can resist leaks better due to concealed fasteners, but it often requires professional installation.
In recent projects, I often suggest considering local climate factors when making this decision.
Step-by-Step Guide for Screw Placement by Roof Type
Corrugated Metal Roofing Screw Pattern
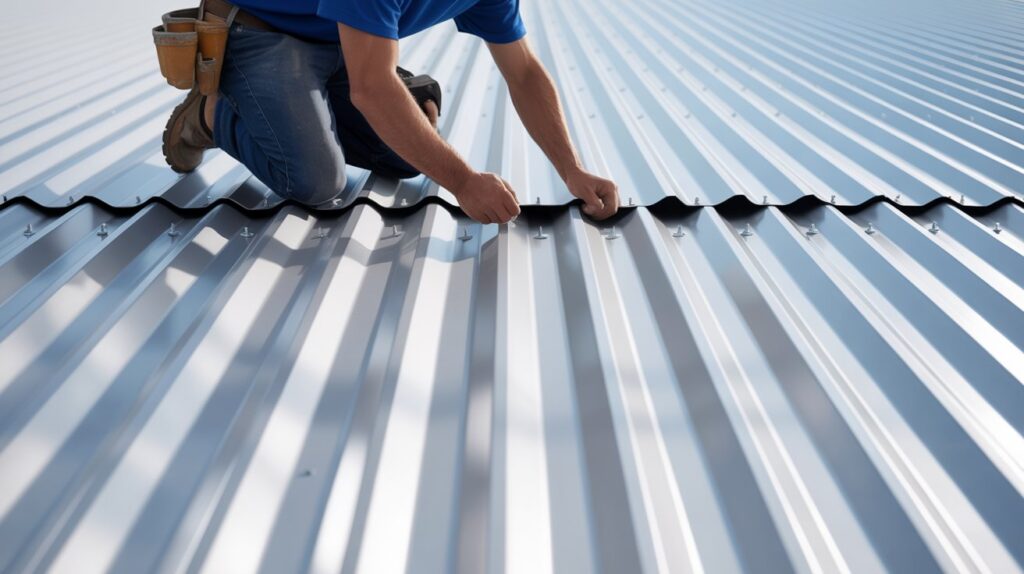
For corrugated metal roofing, the screws should always be placed at the highest point of the rib, ensuring that water drips away from the fastener. This positioning minimizes the risk of water infiltration.
It’s also best to avoid over-tightening, which can compress the rubber washer and lead to leaks.
One common mistake I’ve seen is placing screws in the flat sections of the panels instead of on the ribs. This action is not only wrong but can void your warranty in many cases. Proper alignment will protect the integrity of the roofing while giving you peace of mind.
Standing Seam Metal Roofing Screw Pattern
In standing seam installations, your screws go into the vertical seams. This placement keeps the fasteners hidden from view and results in a cleaner look.
It’s critical to ensure these seams are aligned correctly and spaced according to the manufacturer’s guidelines because the wrong distance can create weak spots that compromise the roof’s durability.
Ensuring the seams overlap correctly is another crucial step. Missing this step can affect weather-tightness, which might lead to leaks and other issues.
R-Panel & Other Common Profiles
R-panels are another alternative for metal roofing, particularly valued for their high strength and low cost. These panels require similar spacing techniques, but always consult the manufacturer’s recommendations.
For R-panels, the key is effective load distribution, achieved by correct screw placement to prevent panel buckling.
Fastener Specifications: Choosing the Right Screw
Screw Types & Materials (Pancake Head, Hex Head, etc.)
Selecting the right type of screw is essential for your roofing job. Generally, you’ll come across pancake head screws and hex head screws.
- Pancake heads are designed for metal roofing and provide a low profile, minimizing potential leaks.
- Hex head screws are versatile but may require additional sealing.
Corrosion-Resistant Coatings: Zinc vs. Aluminum
Choosing between zinc and aluminum coatings can dictate the longevity of your screws.
- Zinc-coated screws are typically more affordable and offer good protection against corrosion. But…
- Aluminum-coated screws resist rust better and work well in coastal areas.
This detail can mean the difference between a long-lasting roof and an early replacement.
Size & Gauge: What the Numbers Mean
Understanding the gauge and size of screws is crucial to achieving a secure installation. A lower gauge number indicates a thicker screw, which generally means more strength.
For metal roofing, I recommend using #10 or #12 screws, providing robust holding power while accommodating a range of roofing thicknesses.
Common Mistakes Homeowners Make (And How to Avoid Them)
Placing Screws in the Flat (Not the Rib)
As previously mentioned, placing screws in the flattest sections of your panels is a common oversight.
Always remember that the ribs are designed to divert water, while the flats are not. Be vigilant in this aspect to prevent future leaks.
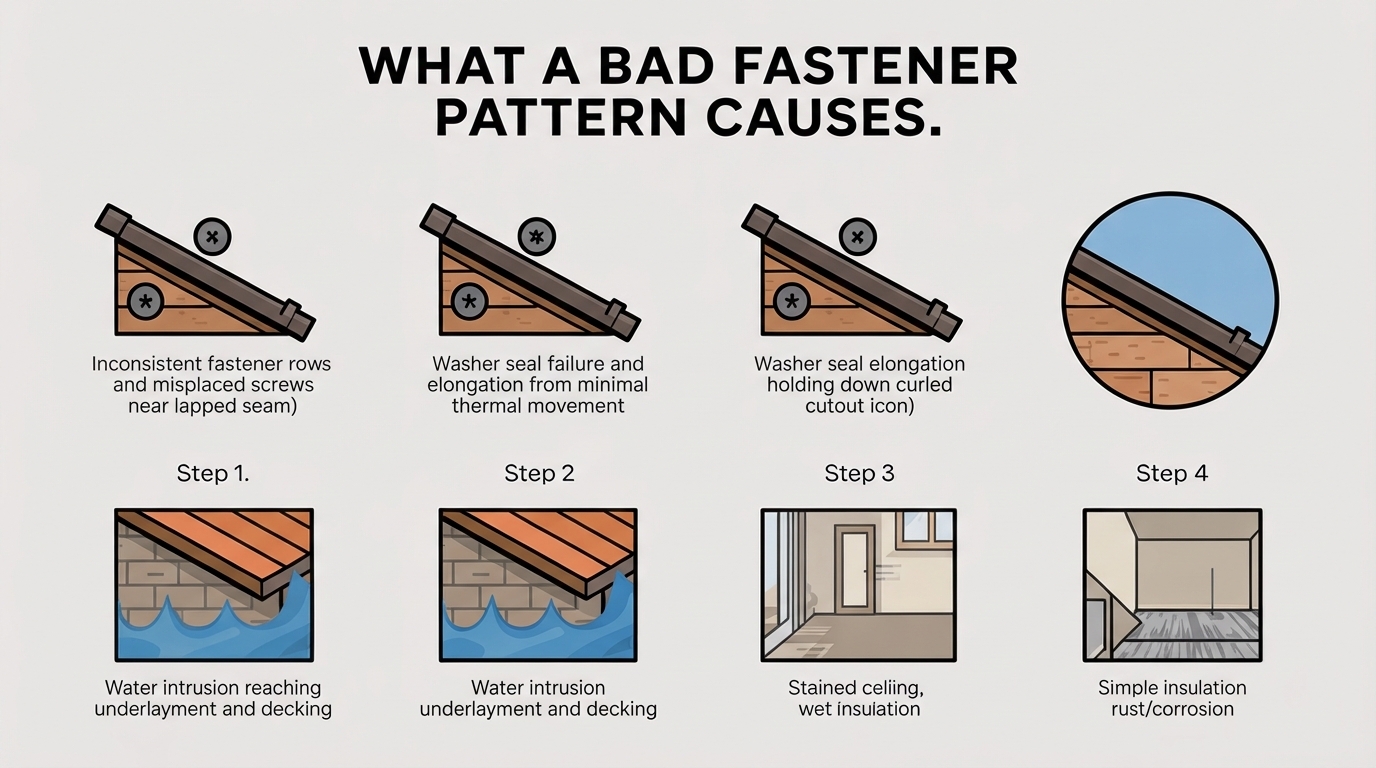
Over-Tightening & Under-Tightening
Many homeowners misunderstand the importance of tension. Over-tightening can crush the sealing washer, resulting in a poor seal and inevitable leaks.
Conversely, under-tightening can lead to screws loosening over time, allowing water intrusion. Finding the right balance requires practice and a keen eye.
Ignoring Wind Load Requirements for Your Region
Understanding regional wind load requirements is critical to ensure stability. If you live in an area prone to high winds, consult with local building codes before installation.
I’ve often assisted homeowners in using more screws or different anchoring techniques to meet strict guidelines, ensuring safety.
DIY Installation Checklist: Getting It Right
Tools You’ll Need
Before you begin, gather these essential tools:
- Cordless drill
- Screwdriver bits (for pan and hex head screws)
- Tape measure
- Level
- Safety gear (gloves, goggles, harness)
Pre-Installation Inspection
Always inspect your materials before you start. Look for dents, rust, or defects in your metal panels. Any imperfections now can lead to major problems down the line.
Installation Best Practices
- Follow the manufacturer’s guidelines closely.
- Start at the eaves and work your way up to avoid rain interference.
- Use proper spacing and alignment to ensure a secure fit.
Post-Installation Quality Check
Once you’ve completed your installation, double-check your work. Inspect each fastener and panel carefully for proper alignment. This step can help you catch any mistakes before they cause issues later on.
Frequently Asked Questions
How many screws do I need for my metal roof?
The number of screws depends on the roof type and panel profile. Typically, you’ll need at least one screw every 12 to 24 inches for corrugated panels. Always follow local building codes for guidance.
Can I install metal roof screws myself, or do I need a professional?
Whether you can DIY depends on your experience level. If you’re confident in your skills and have the right tools, you can do it. However, consider hiring a professional if you’re unsure about specific installation conditions.
What happens if I place screws in the wrong spot?
Misplaced screws can lead to leaks and structural integrity issues. Water can infiltrate through improperly placed screws, leading to mold and additional damage. Always double-check your placements as you work.
Do I need special screws for metal roofs, or can I use regular fasteners?
Using screws specifically designed for metal roofing is crucial. Regular screws may not provide the necessary sealing and wind resistance your installation needs, which can compromise your roof’s durability.
Trust Your Instincts (But Follow the Pattern)
Ultimately, the installation of your metal roof comes down to careful planning and execution.
Trust your instincts, but always follow proven methods. With the right preparation, tools, and knowledge, you’ll achieve a roof that stands the test of time.
Should you ever feel overwhelmed, don’t hesitate to reach out to a professional. Remember, your home deserves a roof that protects it securely.
Happy roofing!