
Painting a metal roof can work extremely well if the roof is a good candidate and you follow a correct prep + primer + topcoat system.
The main reasons painted metal roofs fail are predictable: painting over oxidation, skipping primer, using the wrong coating (or the wrong sheen), and painting in bad weather conditions.
In this guide, you’ll find: how to decide if painting is worth it, exactly how to clean and de-rust, which primers and paints match which roof conditions, and a step-by-step application plan that avoids peeling, bubbling, and early fading.
If you want a finish that lasts, the “secret” is not the paint. It’s the surface preparation and compatibility.
Why Paint a Metal Roof?
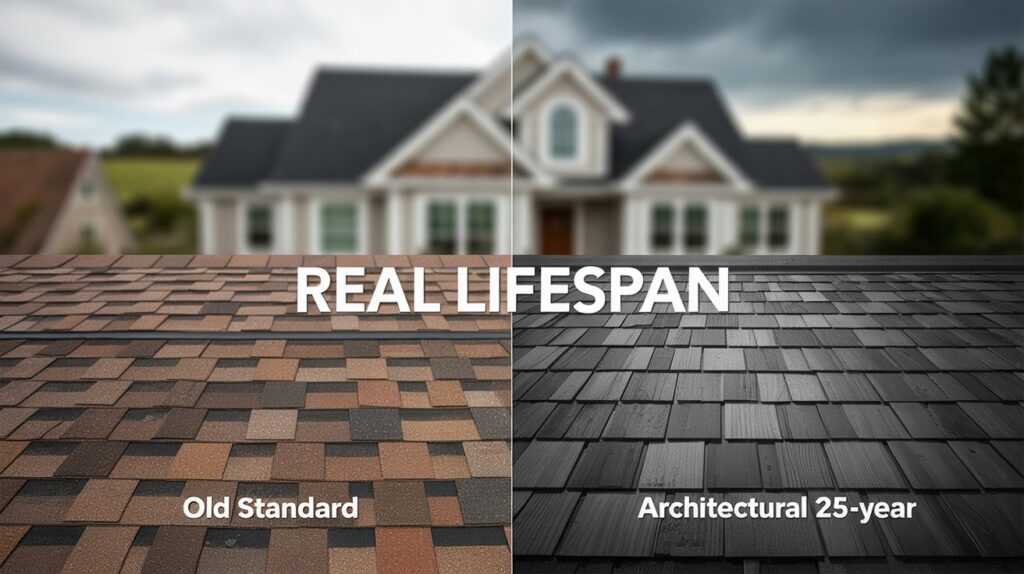
A metal roof is a great candidate for painting when the panels are fundamentally sound, but the finish is worn, chalky, faded, lightly rusted in spots, or aesthetically dated.
You should consider painting if you want to:
- Extend service life by protecting exposed metal and stopping minor rust from spreading.
- Improve energy performance by switching to a lighter, reflective color (where appropriate).
- Refresh curb appeal without paying for a full roof replacement.
- Seal small coating failures before they turn into bigger corrosion problems.
Do not paint yet if any of these apply.
Painting is not a cure-all. Don’t paint a roof that has underlying failures that paint cannot fix.
- Active leaks from flashing, fasteners, or penetrations: solve leak sources first.
- Loose panels, failing fasteners, missing closure strips, or damaged seams: repair before coating.
- Widespread heavy rust (scaling/flaking metal): you may need panel replacement, not paint.
- Warranty concerns: if your roof is under a manufacturer’s finish warranty, painting may void it. Confirm in writing before proceeding.
- You cannot safely access the roof: safety is non-negotiable, so hire a pro.
As a certified home improvement professional, I’ve seen great paint jobs last many years—and I’ve also seen DIY jobs fail within a season because prep was rushed. The steps below are the differences.
If you want to know more in-depth whether you should paint your metal roof or not, give this a read as I discuss all the possible factors that will guide your decision.
Metal Roof Paint Systems (Choose Right)
Most homeowner confusion comes from the word “paint.” Roof coatings and metal-specific paints behave differently from wall paint. The goal is a compatible system:
- Clean + decontaminate
- Remove/neutralize rust
- Prime with a metal-appropriate primer
- Topcoat with an exterior coating intended for metal roofs
Common Options for Painting Metal Roofs
| Option | Best for | Typical lifespan (with correct prep) | Pros | Cons | Notes |
|---|---|---|---|---|---|
| 100% acrylic (water-based) roof coating/metal roof paint | Most residential repaints; mild-to-moderate weathering | 5-10 years | Easy cleanup, flexible, good UV resistance, DIY-friendly | Can fail early if applied too thin or over-contaminated | Look for products labeled for metal roofs and exterior UV exposure |
| Alkyd / oil-based metal primer + acrylic topcoat | Roofs with stubborn staining, light rust, or “unknown previous coating.” | 7-12 years | Oil/alkyd primers bond well and block stains | Longer dry time; solvent cleanup | Great “bonding” route when you’re unsure what’s on the roof |
| 2-part epoxy primer + urethane topcoat (pro-grade) | High-performance, long-life coatings | 10-15+ years | Exceptional adhesion/durability | Mixing, pot life, strict conditions; usually pro application | Best when you want maximum longevity and can apply correctly |
Practical pick for most homeowners: a rust-inhibitive metal primer (often oil/alkyd or acrylic metal primer, depending on roof condition) + a 100% acrylic topcoat listed for metal roofs.
Before You Buy Anything: Identify What You’re Painting
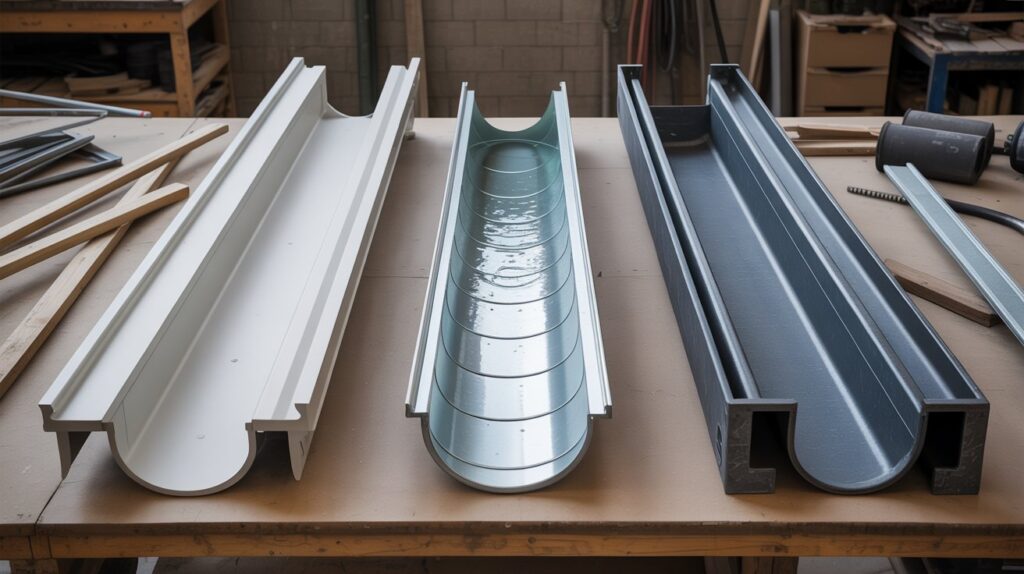
Your roof is likely one of these:
- Exposed-fastener panels (ribbed metal): common on sheds and many homes.
- Standing seam: often factory-finished; may have a coating warranty.
- Galvanized or Galvalume: may need special prep for adhesion, especially if “new” or slick.
- Previously painted: you must test adhesion and compatibility.
Quick adhesion check (15 minutes that can save the whole project)
Pick a small, inconspicuous area.
- Clean it.
- Lightly scuff with 120–150 grit.
- Apply your planned primer and topcoat (or at least primer).
- Let it cure per label (at minimum overnight).
- Do a tape test: press strong painter’s tape firmly and rip off sharply.
If paint comes off cleanly in sheets, you have a prep or compatibility problem. Solve that before painting the whole roof.
Tools and Materials for Painting a Metal Roof
Cleaning & prep
- Pressure washer (often 2,000–3,000 PSI is plenty) with a wide fan tip
- Pump sprayer for cleaner
- Roof-safe degreaser/cleaner (or manufacturer-recommended wash)
- Stiff nylon brush / soft bristle deck brush
- Rust removal tools like a wire brush, scraper, sanding block, or angle grinder with a wire cup (use carefully)
- Sandpaper of 80 grit (heavy rust edges), 120–150 grit (general scuff), 220 grit (feathering edges)
- Rags and solvent (only if product label recommends; otherwise stick with water-based cleaning)
Repairs
- Replacement fasteners with neoprene washers (for exposed-fastener roofs)
- Butyl tape / appropriate metal-roof sealant for flashing repairs (match the roof system)
Priming & painting
- Rust-inhibitive metal primer (or bonding primer approved for metal roofs)
- Metal roof topcoat/roof coating (100% acrylic or your chosen system)
- Roller frames, extension poles
- Roller covers: 3/8″ to 3/4″ nap, depending on panel texture (manufacturer may specify)
- Airless sprayer (optional, faster) with tip size per coating label
- Wet film thickness gauge (cheap, highly recommended to avoid applying too thin)
Safety
- Stable ladder, ladder stabilizer
- Roof harness/anchor (recommended for steep roofs)
- Non-slip footwear
- Eye protection, gloves, and hearing protection for grinding
- Respirator when sanding old coatings or using solvent products
If your roof is steep, tall, or you feel “off-balance,” stop. A fall costs more than any professional paint job.
The Step-by-Step Process of Painting a Metal Roof
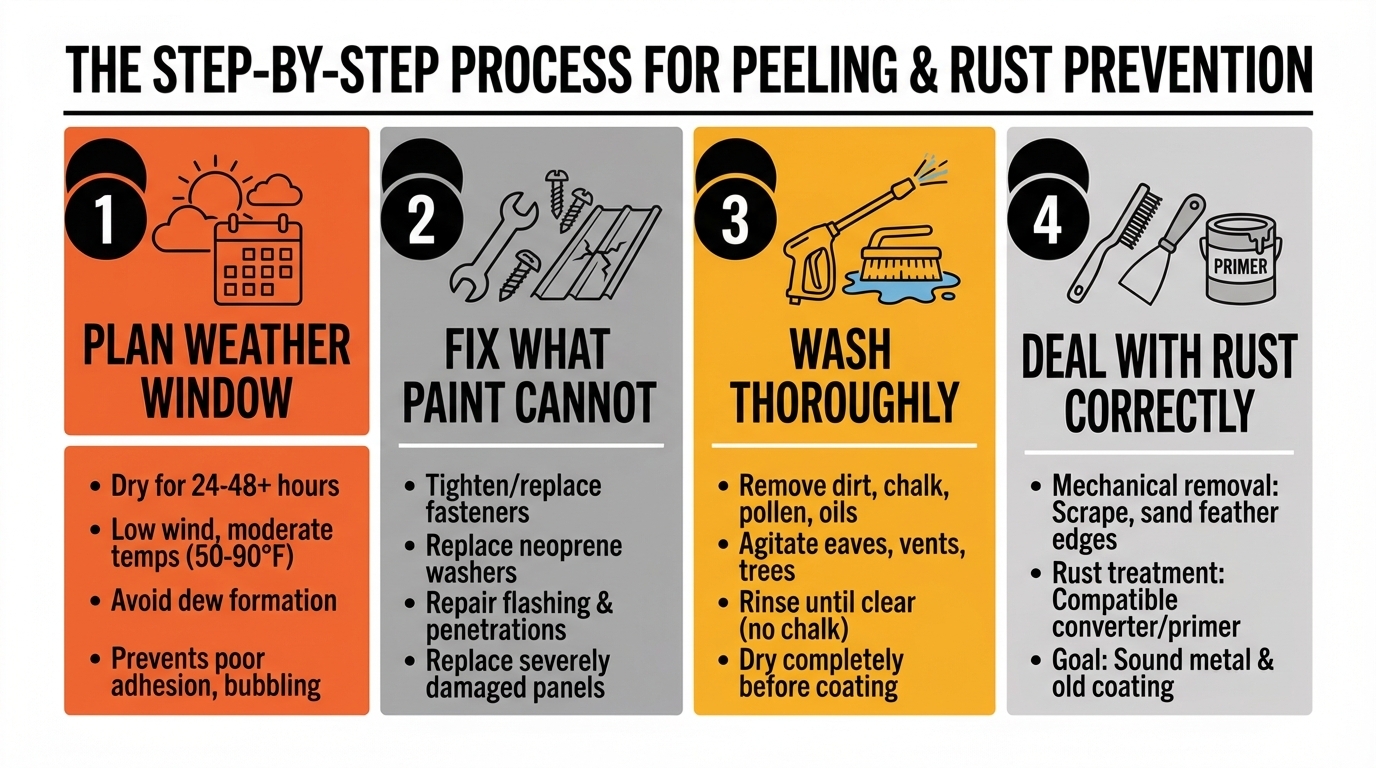 Step 1: Plan the weather window (this matters more than people think)
Pick a stretch of weather that matches your product requirements.
In general, aim for:
- Dry weather for at least 24–48 hours (longer is better)
- Low wind (overspray and debris)
- Moderate temperatures (many products like ~50–90°F, but follow the label)
- Avoid painting when dew will form before the coating skins over
Bad timing causes: poor adhesion, bubbling, and wash-off.
Step 2: Fix what paint cannot fix
Before cleaning, do a quick roof triage.
- Tighten or replace loose fasteners (exposed-fastener roofs).
- Replace cracked neoprene washers.
- Repair flashing and penetrations.
- Replace panels that are perforated, badly pitted, or structurally compromised.
Paint over movement and leaks equals failure.
Step 3: Wash like you mean it (the “invisible” failure point)
Dirt, chalking, pollen, oils, and exhaust film can prevent bonding.
- Wet the roof.
- Apply cleaner via pump sprayer (follow dilution).
- Agitate with a brush, especially at:
- Eaves (dirt lines)
- Around vents/chimneys (soot/oils)
- Under overhanging trees (sap/mildew)
- Rinse thoroughly.
Important: If you have chalking (powdery residue from old finish), keep washing until the rinse runs clean and rubbing with a damp cloth doesn’t pick up heavy chalk.
Let the roof dry completely. Moisture under paint is trouble.
Step 4: Deal with rust correctly (remove what you can, neutralize what you cannot)
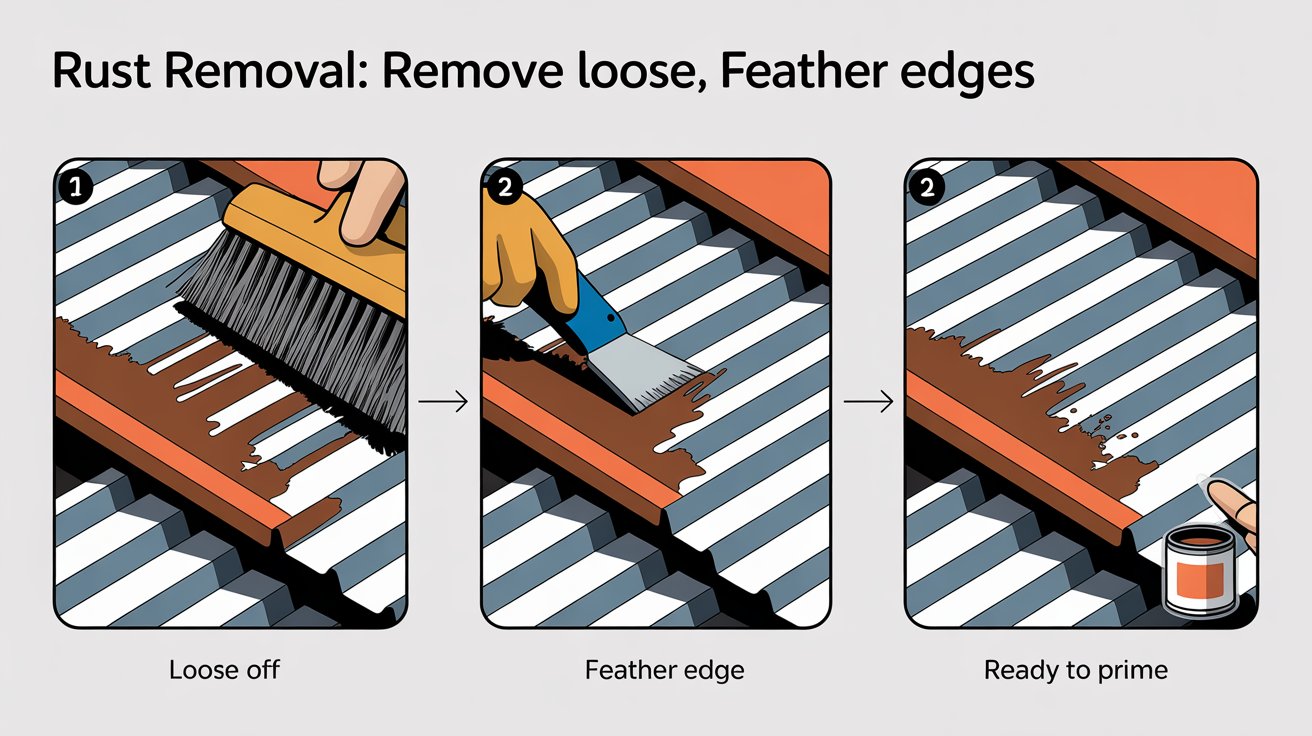
For best durability, treat rust in two parts:
A) Mechanical removal
- Scrape/wire-brush all loose rust.
- Sand feather edges until you have a smooth transition from bare metal to old coating.
- If there’s flaking paint around rust, remove it until you reach a sound coating.
B) Rust treatment
- If rust remains as staining in pits (common), use a rust converter or rust-inhibitive primer only if the product system allows it.
- Do not stack random chemicals. Your primer and topcoat must be compatible with any converter.
Your goal is sound metal + sound old coating, not a perfect shiny roof. But anything loose has to go.
Step 5: Scuff-sand for adhesion (especially on glossy or factory finishes)
Even “clean” metal can be too slick.
- Scuff with 120–150 grit (or per product directions).
- Focus on glossy areas and transitions.
- Remove sanding dust (blow off + wipe, or rinse lightly and dry).
Skipping this is one of the fastest ways to get peeling.
Step 6: Prime & don’t negotiate with this step
Primer does three jobs: bonds, blocks, and protects.
Prime:
- All bare metal.
- All rust-treated areas.
- Any spots where the old coating was removed.
If your roof has widespread weathering or you’re changing color drastically, full priming can improve uniformity and durability.
Apply primer at the spread rate specified. “Thin and tidy” is a mistake that many make because the coating was applied too thin to form a proper film.
Let primer dry/cure per label. If the label gives a recoat window (e.g., “recoat within X hours”), follow it.
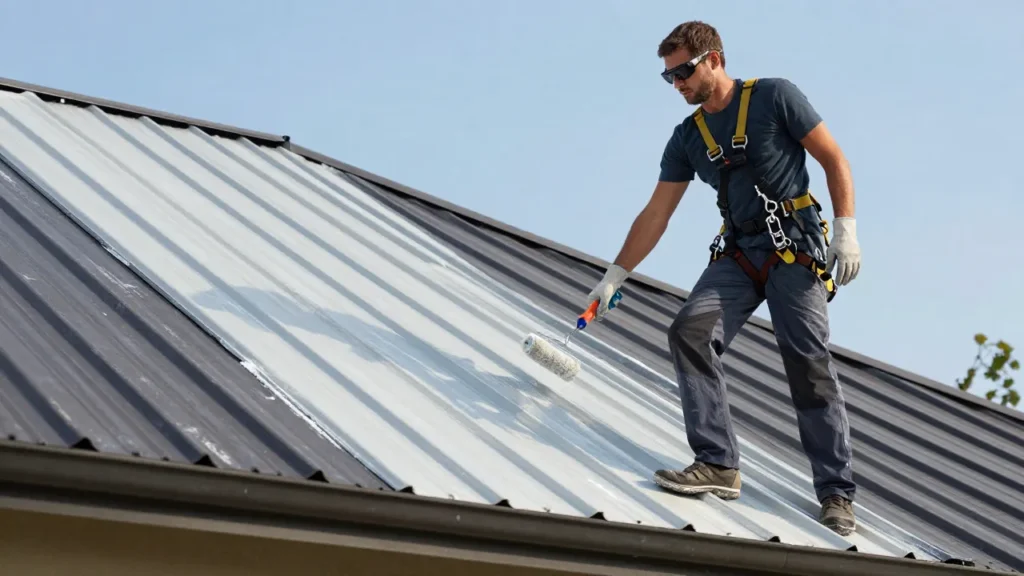
Step 7: Apply topcoat in a way that survives sun, rain, and movement
Most metal roof topcoats perform best in two coats, applied at the correct thickness.
Method options
- Roller: slower but controlled; good for DIY.
- Spray: fast and even; requires experience (and careful overspray control).
- Spray + back-roll: common best-of-both approach for adhesion and uniformity.
Key techniques
- Work from the edge down, maintaining a wet edge.
- Coat seams, fastener heads, and cut edges thoroughly (these are failure zones).
- Use a wet film gauge to verify you’re not applying too thin.
- Do not stretch paint to “make it cover.” Buy enough product for the specified coverage.
Let the first coat dry fully before the second. Respect the recoat window.
Step 8: Cure and protect the finish
“Dry to the touch” is not fully cured.
- Avoid walking on the roof during early cure if possible.
- If you must walk, use soft soles and step on structural support points.
- Keep gutters clean: overflow can sheet-dump water onto edges and stress new coatings.
Common Mistakes that Cause Roof Paint Failures (and How to Avoid Them)
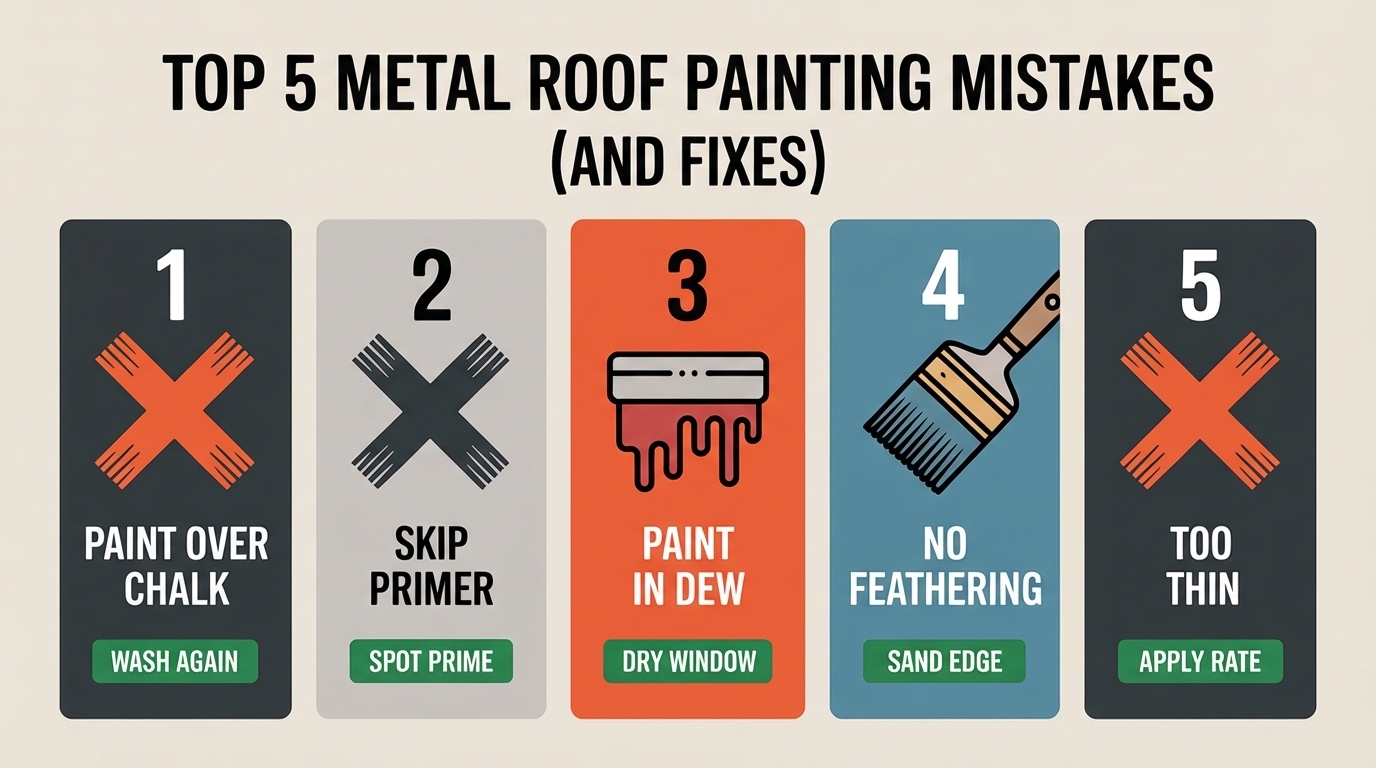
Mistake 1: Painting over chalking
If you can wipe your hand on the roof and get a powdery residue, your paint is bonding to dust, not the roof.
Fix: keep washing, consider a bonding primer designed for chalky surfaces, and do a test patch.
Mistake 2: Skipping primer because the paint says “self-priming.”
“Self-priming” often assumes ideal surfaces. Roofs are rarely ideal.
Fix: prime bare metal and rust areas at a minimum. When in doubt, use the manufacturer’s recommended primer.
Mistake 3: Painting too thin
A roof is harsher than siding. Thin coats fail sooner.
Fix: follow coverage rates and use a wet film gauge.
Mistake 4: Painting at the wrong time of day
Morning dew and evening condensation can ruin adhesion.
Fix: start after dew dries, finish with enough daylight/temperature for proper set time.
Mistake 5: Ignoring fasteners and seams
These are the first places water sits and coats cracks.
Fix: detail these areas carefully; consider a compatible seam/fastener treatment if the system recommends it.
DIY vs. hiring a pro (an honest decision guide)
DIY can be a good choice if:
- Roof pitch is walkable, and access is safe.
- Rust is light-to-moderate and localized.
- You can dedicate time to prep (the biggest part of the job).
- You can follow product specs for temperature and cure.
Hire a pro if:
- Roof is steep/high, or you’re uncomfortable with fall risk.
- Rust is widespread, or the roof is older with unknown coatings.
- You want a high-performance multi-part system (epoxy/urethane).
- You need warranty-backed work.
A professional is also worth it when you’re already spending serious money on materials, because labor mistakes cost more than labor costs.
Maintenance after painting (so you don’t have to repaint early)
- Inspect twice per year (spring/fall): fasteners, seams, penetrations.
- Rinse debris (leaves, needles) that hold moisture.
- Touch up chips quickly: clean, spot-prime, topcoat.
- Avoid harsh chemicals unless the coating manufacturer approves them.
Paint longevity is often decided by how quickly you address small damage.
Frequently Asked Questions
Can you paint a metal roof that is rusted?
Yes, if the rust is not structural. Remove loose rust, feather edges, and use a compatible rust-inhibitive primer (and/or a compatible rust treatment) before topcoating. If metal is deeply pitted, flaking, or perforated, replace affected panels instead of painting.
What paint is best for a metal roof?
For most residential repaints, a system of metal-appropriate primer + 100% acrylic topcoat labeled for metal roofs is the most practical and DIY-friendly. If you want maximum durability and can apply it correctly (or hire it out), epoxy primer + urethane topcoat is a higher-performance option.
Do I need to pressure wash before painting?
In almost every case, yes. Pressure washing (with the right cleaner and proper rinsing) removes chalking and contamination that cause peeling. If you can’t wash thoroughly, your odds of adhesion problems go up significantly.
How long does a painted metal roof last?
With correct prep and a compatible coating system, many homeowners see around 5 to 10 years from common acrylic systems, and longer from higher-end professional systems. The biggest factors are prep quality, correct film thickness, climate, and maintenance.
Your “do this, not that” action plan
- Do confirm the roof is sound and safe to access.
- Do wash until chalking is gone, then fully dry.
- Do remove loose rust/paint and feather edges.
- Do prime bare metal and rust areas with the right primer.
- Do apply two topcoats at the specified thickness and within recoat windows.
- Do not paint over powdery chalk, oily residue, or damp metal.
- Do not skip the primer just to save time.
- Do not apply too thin or outside weather limits.
Happy painting!