
This celery soup recipe takes 35 minutes from start to finish and serves four. You will find three versions here: a smooth and creamy celery soup, a chunky vegetable version, and a concentrated cream of celery base for use in casseroles.
All three start from the same aromatic foundation and come together on a single stovetop.
You probably landed here with a specific image in your head. Maybe a silky, pale green bowl of something warm, or maybe a hearty, chunky soup loaded with vegetables that feels like a proper meal.
Either way, I want to make sure you spend the next few minutes reading something that actually gets you to the result you’re looking for, so let me clear up one thing right at the start.
Celery soup comes in three genuinely different forms, and each one serves a different need in the kitchen.
The Three Versions of Celery Stalk Soup Worth Knowing
- Smooth and Creamy Celery Soup is the classic. You blend it completely, finish it with cream or milk, and it comes out silky, pale, and delicate. It works beautifully as a starter or a light lunch.
- Chunky Celery Soup leans into texture. Potatoes, carrots, grains, and celery all hold their shape in the bowl, and the broth wraps around everything. It fills you up in a way the smooth version doesn’t.
- Cream of Celery Soup (as a cooking base) is the thicker, concentrated version that home cooks often need when a casserole recipe calls for a can of cream of celery. Making it from scratch gives you control over the sodium, the flavor, and the texture in a way no one can ever will.
Which One Should You Make Today?
Here’s a simple way to decide:
- You want something light, elegant, and easy to serve to guests: go with the smooth, creamy version
- You want a filling weeknight bowl that uses up what’s in your fridge: go chunky
- You need a cream of celery substitute for another recipe: make the base version and thicken it further
I’ll walk you through all three across this guide, and you can bookmark the version that fits what you need right now.
What Makes Celery Soup Worth Making From Scratch
I spent years cooking in restaurant kitchens before I started developing recipes for home cooks, and celery was always one of those vegetables I saw people underestimate. It shows up in almost every soup base, onion, carrot, celery, you know the trio, but rarely gets to be the main event.
When I started using whole heads of celery in dedicated soups, including the leaves, the inner pale stalks, and the outer green ones together, I realized the flavor depth this vegetable actually carries.
If you want to understand the full anatomy of a celery stalk and how the different parts contribute differently to flavor, this guide covers it in detail.
The problem with canned celery soup, and I’ve tasted a lot of it over the years, is that it doesn’t taste like celery. It tastes like salt and starch with a vague herbal background.
You lose the brightness, the mild bitterness of the leaves, and the almost grassy sweetness that fresh celery releases when you cook it low and slow in butter with onion and garlic.
Those are flavors worth preserving.
The Flavor Gap Nobody Talks About
When you cook celery over high heat and rush it, you get a flat, slightly sharp flavor. When you give it time, say eight to ten minutes of gentle sauteing in butter before adding anything else, it softens into something almost sweet, with a subtle earthiness underneath. That’s the flavor you’re trying to build.
At one of the farm-to-table restaurants I worked at in Portland, we sourced celery from a local grower who also supplied the leaves separately, which most commercial suppliers don’t do.
Cooking with those leaves changed the way I thought about celery entirely. They carry more flavor concentration than the stalks, closer to celery seed in intensity, and adding a handful to a simmering pot changes the whole character of the soup.
Fresh Celery vs. Store-Bought: What Actually Matters
You can make excellent celery soup with grocery store celery.
I want to say that clearly because a lot of cooking content makes you feel like your soup will suffer if you can’t find some heirloom variety at a farmers’ market. It won’t.
What actually matters is the condition of the celery, regardless of where it came from.
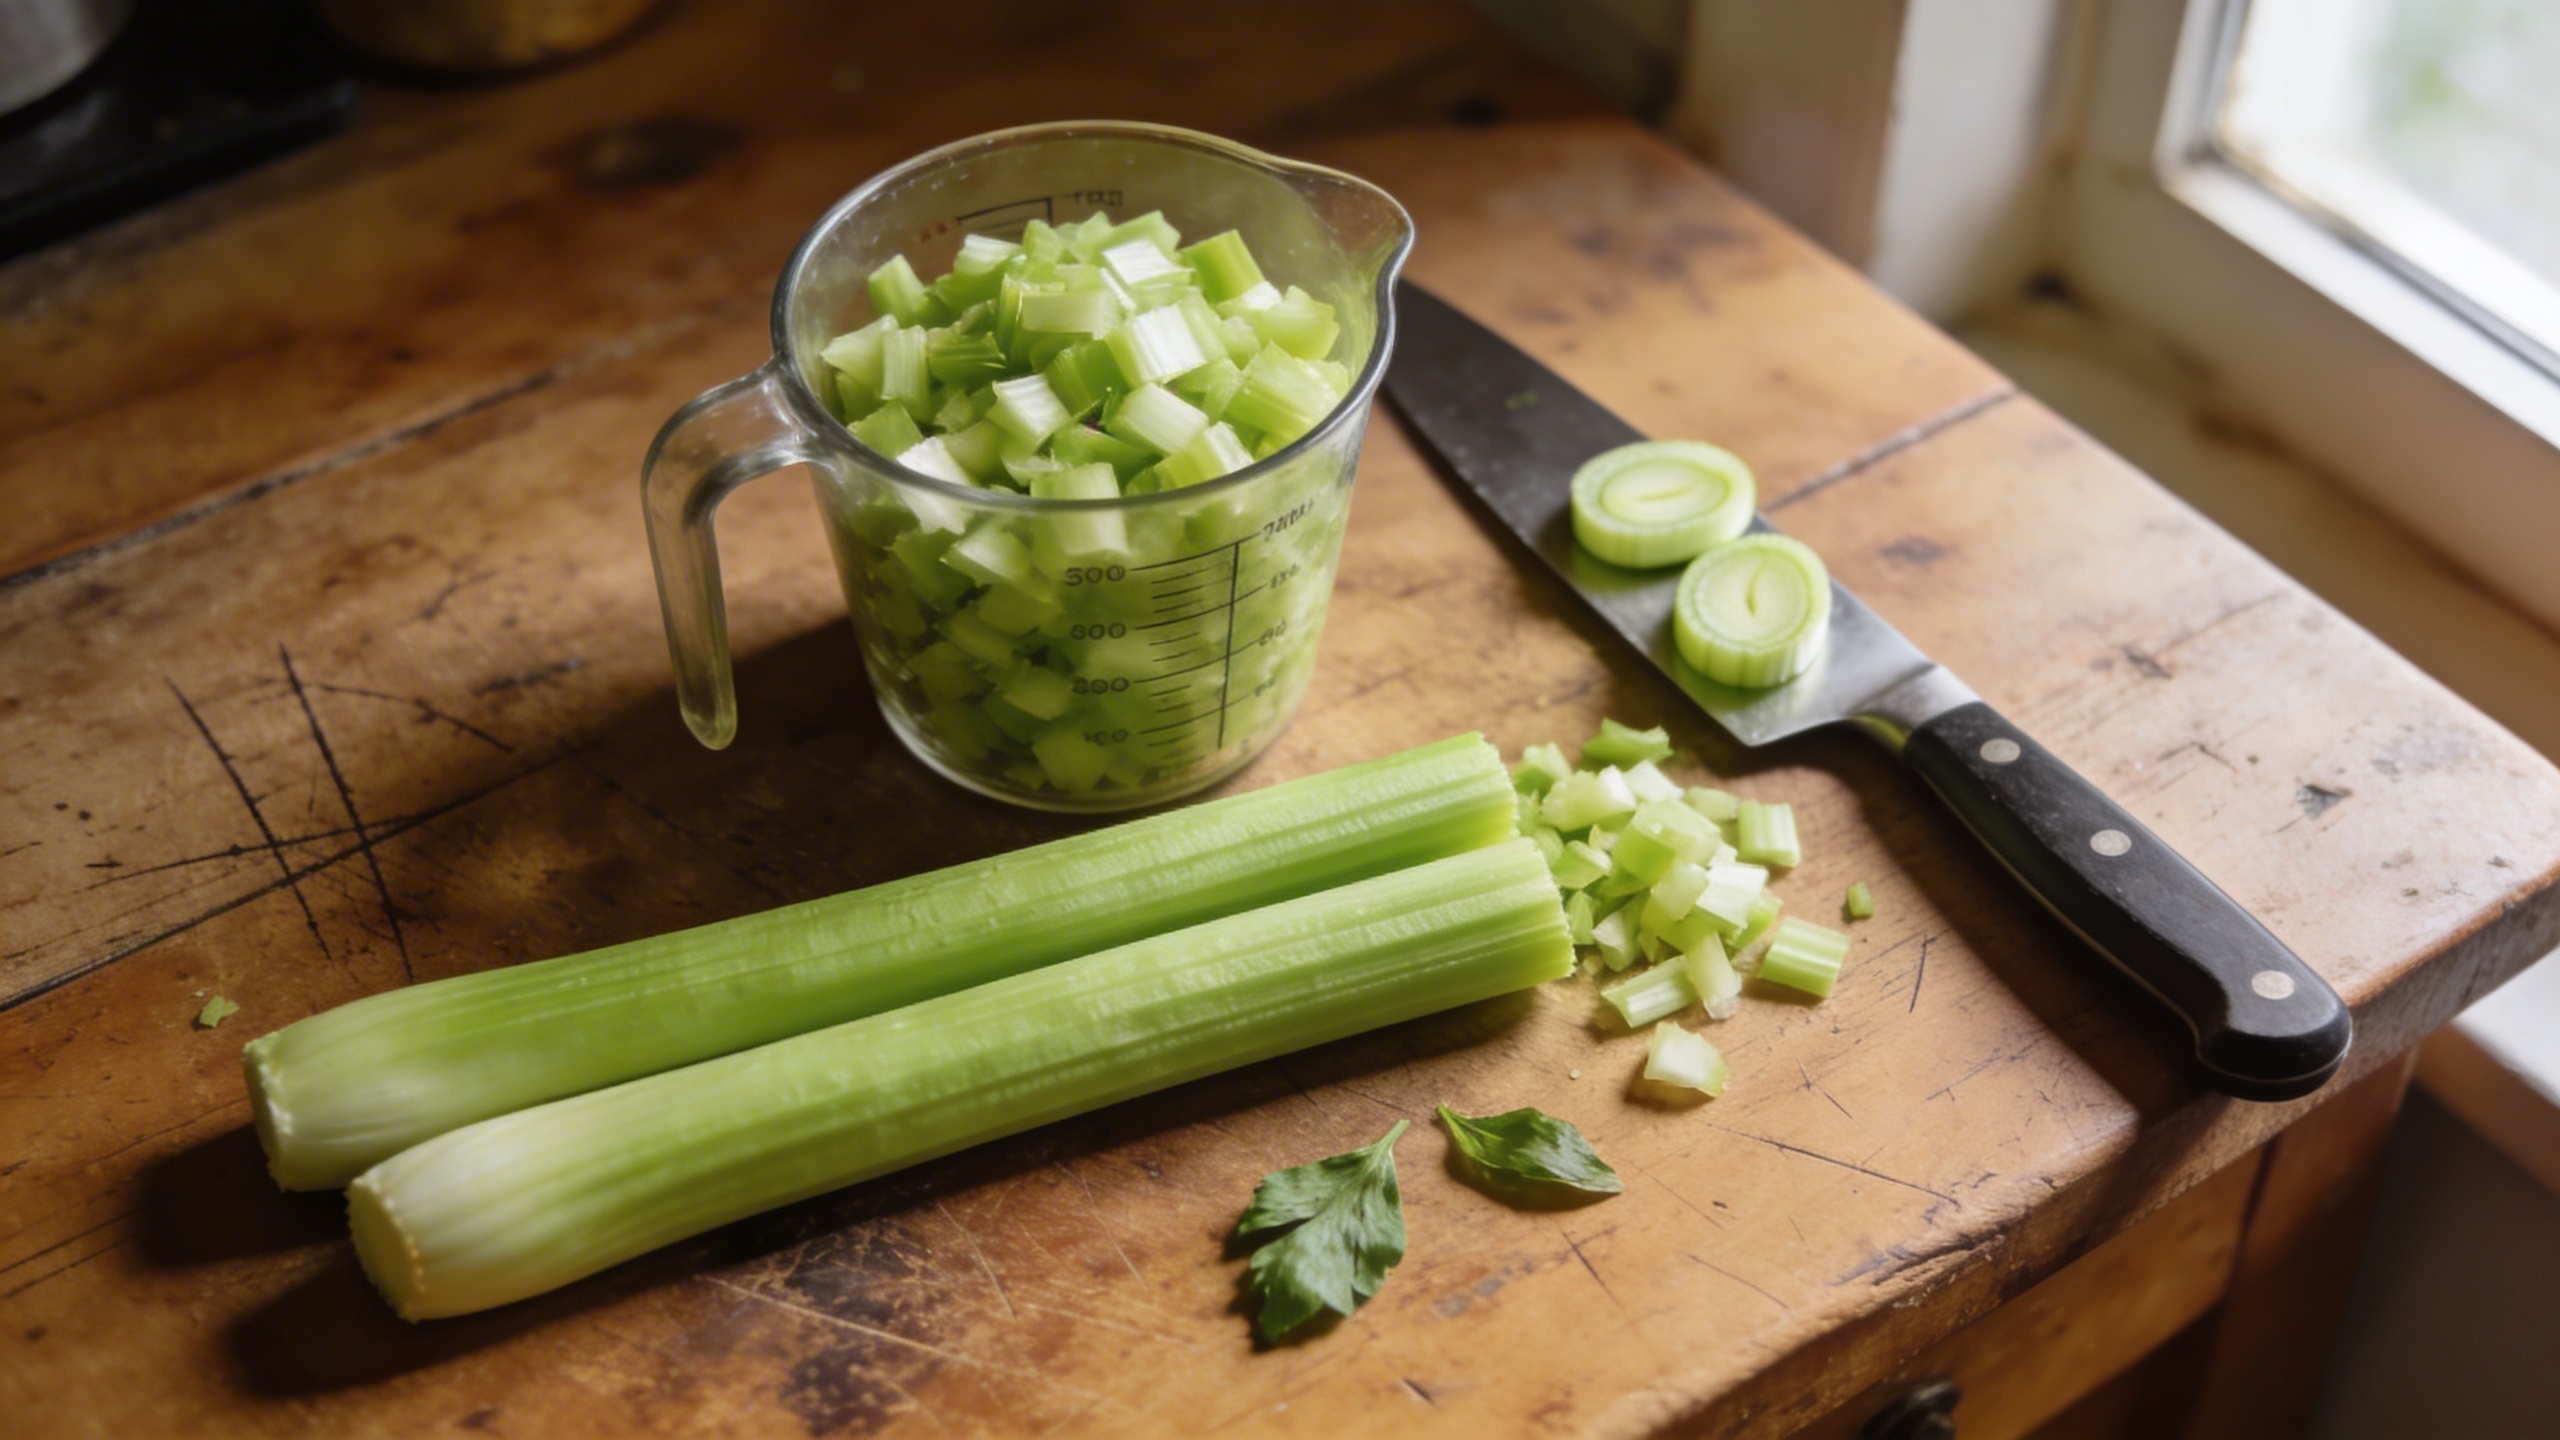
Here’s how to tell if yours is still good for soup. For a fuller guide on how to prep and chop celery before it goes into the pot, that covers every cut you might need:
- Stalks feel firm and snap cleanly : this is what you want
- Leaves are green but may look slightly wilted : that’s fine for soup, the flavor is still there
- Stalks have gone soft and rubbery throughout : the flavor has started to fade, but if you double the quantity slightly, you can still get a good result
- There’s a strong fermented smell : that’s the cut-off point, and this celery belongs in the compost
On the organic vs. non-organic question: celery consistently appears on the Environmental Working Group’s Dirty Dozen list for pesticide residue, so if you’re making a soup where celery is the entire star of the dish, organic is worth the extra cost.
For everyday use, conventional celery washed well does the job.
Why Canned Cream of Celery Soup Falls Short
A standard can of condensed cream of celery soup contains roughly 870mg of sodium per half-cup serving before you even dilute it.
When you make it at home, you control exactly how much salt goes in, and more importantly, you decide what kind of cream goes in, whether the celery gets properly cooked first, and whether garlic and onion build the base the way they should.
The homemade version takes about 30 minutes. For the difference in flavor, that exchange feels like an obvious choice to me.
The Celery Soup Recipe (Smooth and Creamy)
This is the version most of you are here for, so let’s get into it. The recipe below makes four generous servings.
Ingredients
| Ingredient | Amount |
|---|---|
| Celery (stalks and leaves) | 1 large head (~700g) |
| Yellow onion | 1 medium |
| Garlic cloves | 3, minced |
| Unsalted butter | 2 tablespoons |
| All-purpose flour | 1.5 tablespoons |
| Vegetable or chicken broth | 4 cups |
| Your dairy of choice | 1/2 cup (see notes below) |
| Salt and white pepper | To taste |
| Fresh lemon juice | 1 teaspoon |
A Few Ingredient Notes Worth Reading
The celery is obviously the flavor foundation here.
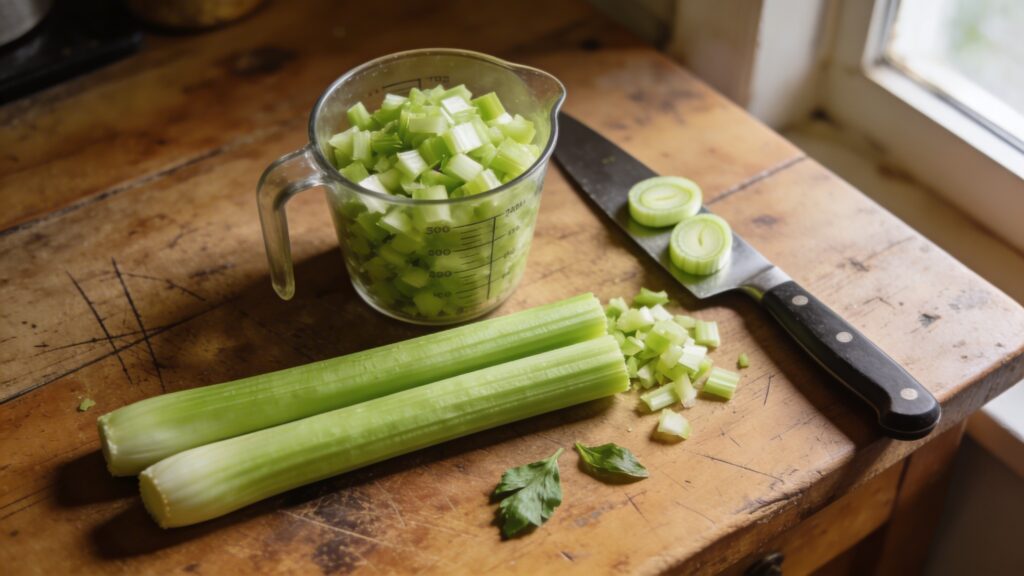
Use a full head, roughly 700 grams before trimming, and include the leaves. If you are ever unsure how many stalks make up a cup, that guide gives you the exact measurements.
White pepper keeps the soup color clean in a way that black pepper doesn’t. The lemon juice at the end is not decoration. It lifts the entire flavor profile and brings the celery flavor forward in a way that salt alone cannot do.
Your dairy choice shapes the whole soup:
- Heavy cream gives you a rich, restaurant-style finish. The soup coats the spoon. Use this when you want something indulgent.
- Whole milk produces a lighter result that still feels creamy but doesn’t weigh you down. My everyday choice for this recipe.
- Half and half sits right in between, good if you want creaminess without the full richness of heavy cream.
- Oat cream or cashew cream for a vegan version. Oat cream works the best of the non-dairy options because it doesn’t separate under heat the way others tend to.
Step-by-Step Instructions
Step 1: Prepare your celery
Wash the entire head of celery. Separate the stalks and roughly chop them. You don’t need precision here because everything gets blended. Pull the leaves off and set them aside in a small bowl. You’ll use some of them in the soup and keep a few for garnish.
Step 2: Build your aromatics base
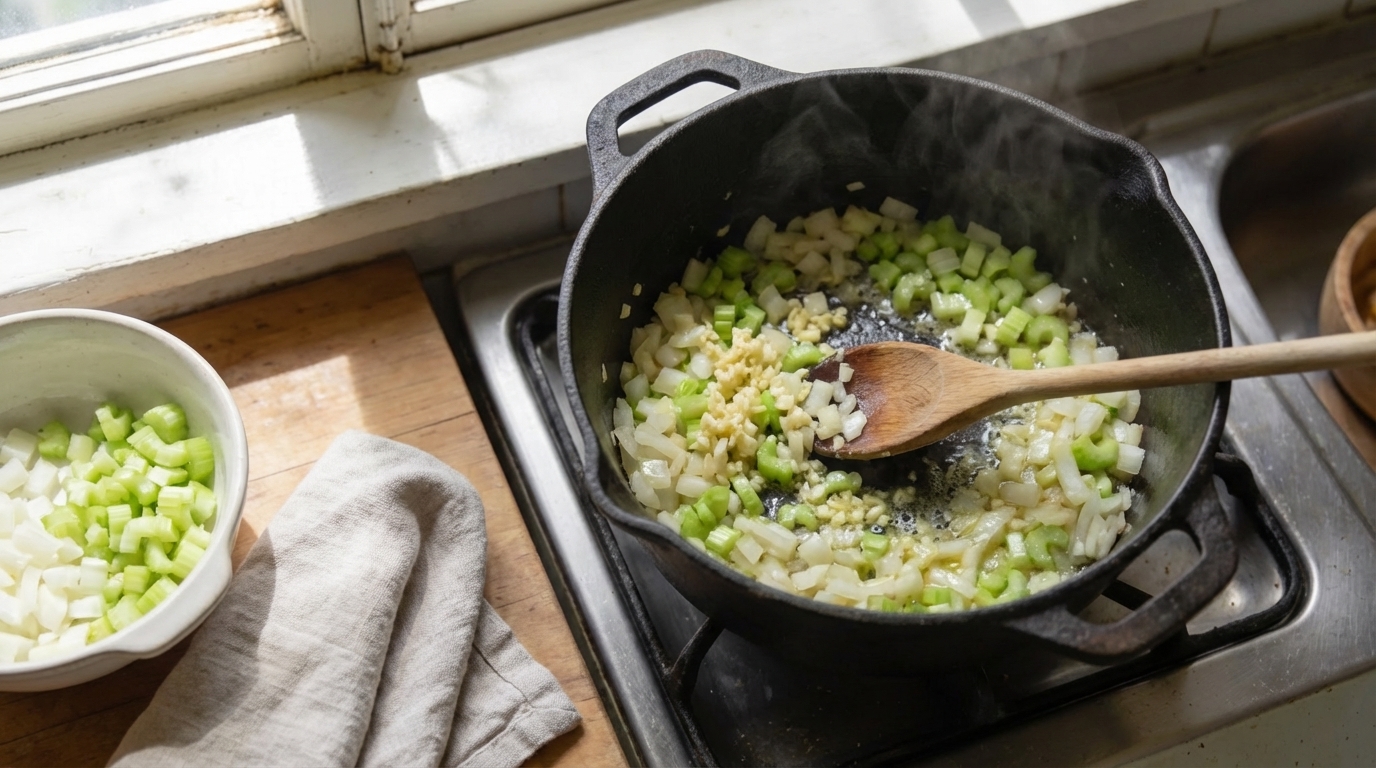
Melt the butter in a heavy pot over medium-low heat.
Add the onion first and let it cook for about five minutes, stirring occasionally, until it turns translucent and starts to smell sweet.
Add the garlic and cook for another minute. Then add the celery stalks.
This is the part where patience pays off. Let the celery cook with the onion and garlic for a full eight to ten minutes.
You want everything to soften completely and the flavors to start merging in the pan. The kitchen should smell like a soft, savory base building, not sharp, not raw.
Step 3: Add the flour
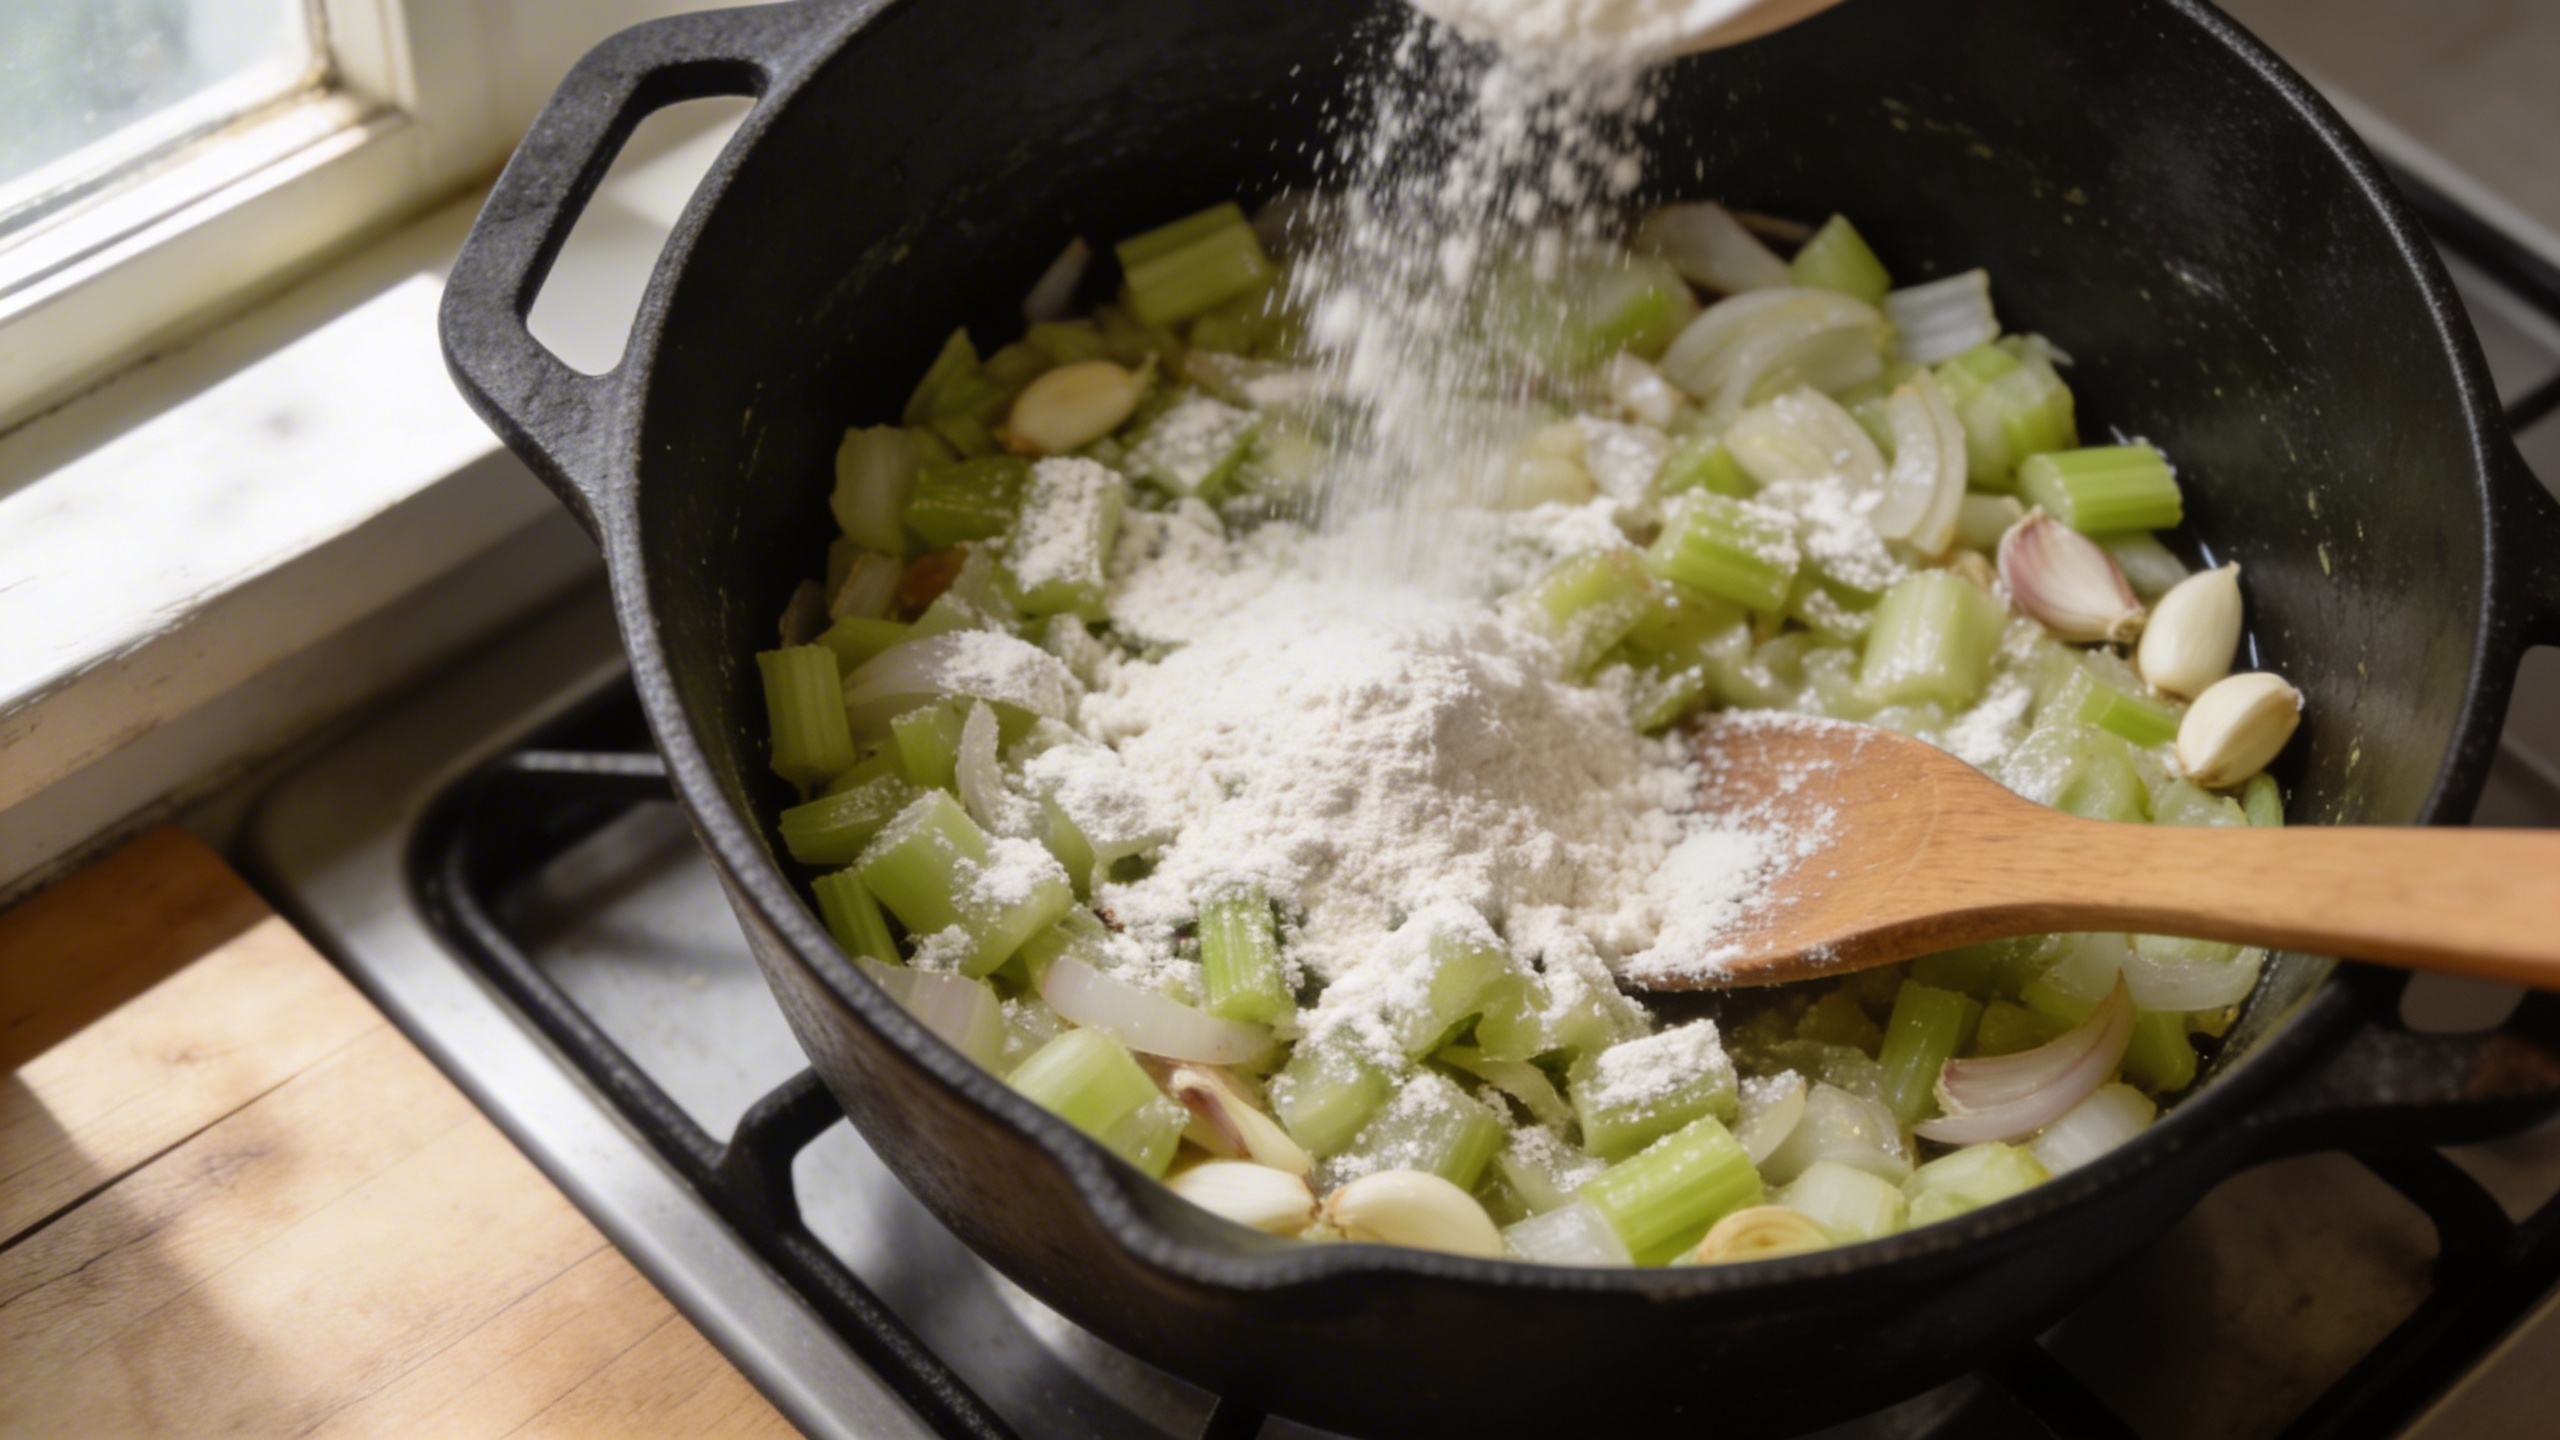
Sprinkle the flour over the softened vegetables and stir it through everything.
Cook it for about two minutes, stirring as you go.
This step cooks out the raw flour taste and helps the soup develop a slightly thicker, more velvety texture once blended.
Step 4: Add the broth
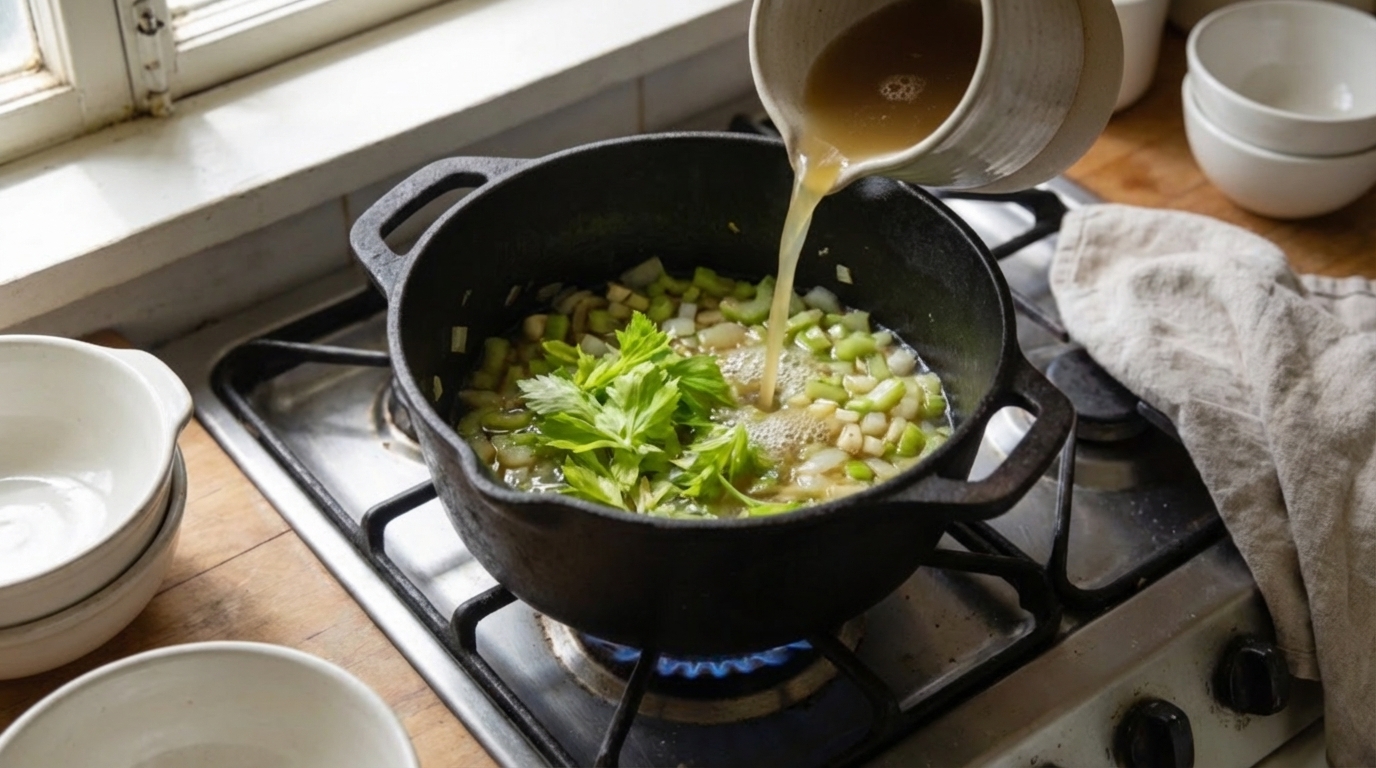
Pour in the broth gradually, stirring as you go to prevent any lumps from the flour.
Add the reserved celery leaves now.
Bring the soup to a gentle simmer and let it cook uncovered for about fifteen minutes, until the celery is completely tender.
Step 5: Blend it

This is where you need to be careful, especially if you’re using a countertop blender with hot liquid.
Let the soup cool for five minutes before blending.
If you’re using an immersion blender, you can do it directly in the pot. Blend until completely smooth.
I usually run it for a full ninety seconds because residual celery fiber needs time to break down properly.
Step 6: Finish and season
Return the soup to the pot over low heat.
Stir in your dairy of choice and the lemon juice.
Taste it now, before you add salt, because the broth already carries some salt, and you might need less than you expect.
Season with salt and white pepper to your preference.
Chef’s Note: The Technique That Changes Everything
The saute step at the beginning is where the whole soup gets decided.
I’ve seen home cooks rush this part and go straight to adding broth, and the result is a soup that tastes like cooked celery in water with cream added.
When you take the time to let the vegetables sweat in butter, you’re pulling out the fat-soluble flavors and building layers that no amount of seasoning can replicate later.
If your soup feels too thick after blending, add broth a quarter cup at a time and stir it through. If it feels too thin, let it simmer uncovered for another five to eight minutes, and it will reduce to a better consistency on its own.
Build It Your Way: Variations and Customizations
Once you have the base recipe down, the variations are genuinely easy because the method stays the same. Only a few ingredients shift.
Making It Vegetarian or Vegan Without Losing Depth
The smooth creamy recipe above is already vegetarian if you use vegetable broth. For a vegan version, swap the butter for olive oil and use oat cream as your dairy finish.
The one thing I’d add to the vegan version specifically: use the celery leaves more generously.
Since you’re losing the richness that butter and cream typically bring, the leaves add a concentrated, slightly bitter celery flavor that gives the soup character and stops it from feeling flat. A handful more than the recipe calls for makes a real difference.
On vegan cream alternatives:
- Oat cream: best overall. Blends smoothly and doesn’t add a competing flavor.
- Full-fat coconut cream: adds a slight sweetness and a faint coconut note. Works if you like that combination.
- Cashew cream: very good, but needs to be made properly (soaked cashews blended with water) to avoid graininess.
Cream of Celery Soup as a Recipe Base
If you need this soup to replace a can of condensed cream of celery in a casserole, adjust two things: use only three cups of broth instead of four, and add an extra half tablespoon of flour.
The result is thicker and more concentrated, which is exactly what casserole recipes are designed around.
One can of condensed cream of celery soup equals approximately one and a quarter cups of this homemade concentrated version.
Keep that ratio in your notes, and you’ll never need the canned version again.
Chunky Celery Soup: A Bowl That Earns a Spot at the Table
The chunky version of celery soup took me longer to appreciate than the smooth one, if I’m honest. For a long time, I thought of it as the easier recipe, less refined, less impressive.
Then I made a batch one winter with wild rice and celery leaf pesto drizzled on top, and I served it to my partner, who asked for it again the following week. Since then, it’s become the version I make more often at home.
Ingredients
- 1 large head of celery, stalks chopped into half-inch pieces, leaves reserved
- 1 large yellow onion, diced
- 2 medium carrots, diced
- 1 large potato (Yukon Gold works well), diced into half-inch cubes
- 3 garlic cloves, minced
- 2 tablespoons olive oil
- 5 cups vegetable broth
- 1 cup cooked grain of your choice (more on this below)
- Salt and black pepper to taste
- Optional finish: parmesan, celery leaf pesto, chili oil
On the grain choice:
| Grain | Texture in the Soup | Best When |
|---|---|---|
| Wild rice | Firm, slightly nutty | You want the soup to feel substantial |
| Brown rice | Soft, neutral | You want something comforting and mild |
| Barley | Chewy, earthy | You want the grain to be noticed |
| Wheat berries | Dense, filling | You’re making this for a serious meal |
Step-by-Step Instructions
Step 1: Prep all your vegetables to an equal size
The cutting here matters more than in the smooth version because uneven pieces cook at different rates. Keep everything close to the same size: half-inch cubes for the potato and carrot, similar-sized pieces for the celery. When everything is the same size, everything finishes cooking at the same time, and no one bites into a hard piece of carrot while the potato has gone mushy.
Step 2: Build the aromatic base
Heat the olive oil in your pot over medium heat and add the onion first. Let it cook for five minutes. Add the carrot and celery next, not the garlic yet. Cook everything together for another six to eight minutes.
Step 3: Add garlic
Add the garlic only after the other vegetables have started to soften, and cook it for just one more minute. Garlic burns easily and develops a bitter taste when it hits the heat before the other vegetables have had time to protect it.
Step 4: Add broth and season
Pour in the broth, season with salt and pepper, and bring it to a gentle simmer.
Step 5: Add the potato and cook through
Add the diced potato. Let everything cook uncovered for about twenty minutes, until the potato and carrot are completely tender when tested with a fork.
Step 6: Add cooked grain and warm through
Add your cooked grain to the soup in the last five minutes of cooking, just to warm it through. If you add it too early, grains like rice will continue absorbing liquid, and the soup becomes starchy and thick in a way you probably don’t want. If you’re using uncooked barley, add it with the broth at the beginning. It takes about 40 minutes to cook through and benefits from simmering in the soup directly, absorbing the vegetable flavor as it cooks.
Step 7: Finish and serve
Taste and adjust seasoning. Ladle into bowls and finish with your topping of choice.
Using Every Part of the Celery: Leaves, Stalks, and All
Celery leaves get thrown away in most home kitchens, and I find this genuinely frustrating to watch because they’re the most flavorful part of the plant. The leaves contain higher concentrations of the volatile oils that give celery its characteristic flavor: a slight bitterness, an herbal sharpness, a clean green quality that the stalks only hint at.
In the smooth soup, I add a handful of leaves during the simmering stage and blend them in. They deepen the celery flavor without adding any texture. In the chunky version, I hold them back and use them as a fresh topping, where they bring a bright, slightly bitter contrast to the warm, rich broth.
You can also dry celery leaves in a low oven (around 200 degrees F for 20 to 30 minutes and crumble them into a coarse herb. They keep for weeks in a jar and work well as a seasoning for roasted vegetables, grain bowls, or more soup.
Celery Leaf Pesto Recipe (A Finishing Drizzle Worth Making)
This is the topping that changed how I serve the chunky soup. It takes five minutes and keeps in the fridge for up to five days.
Ingredients:
- 1 cup packed celery leaves, stems removed
- 1/4 cup olive oil
- 1 small garlic clove
- Juice of half a lemon
- Salt to taste
- Optional: 2 tablespoons parmesan or 1 tablespoon pine nuts
Method:
Blend all ingredients together until you get a rough, bright green drizzle. The celery flavor is intense and bright in a way that works as a contrast against the soft, cooked flavors in the soup. I use it on roasted vegetables, pasta, and grain bowls throughout the week.
Other Topping Ideas That Elevate the Bowl
The topping you choose shifts the whole personality of the dish:
- A swirl of cream on the smooth version looks beautiful and adds richness right at the surface
- Croutons add crunch to the smooth version and make it feel more like a full meal
- Parmesan, finely grated, on the chunky version adds salt and savory depth
- Chili oil on either version adds heat and a slightly smoky complexity
- Tapenade works especially well with the chunky soup. The olive brine and the celery flavor have a natural affinity for each other
Serving, Storing, and Getting the Most Out of Your Soup
Serving Suggestions That Make Sense
Both versions of this soup serve well with good bread on the side: a crusty sourdough, a seeded rye, or even simple buttered toast. The smooth soup works as a starter before a heavier main. The chunky soup stands on its own as a complete meal, especially with a grain stirred through.
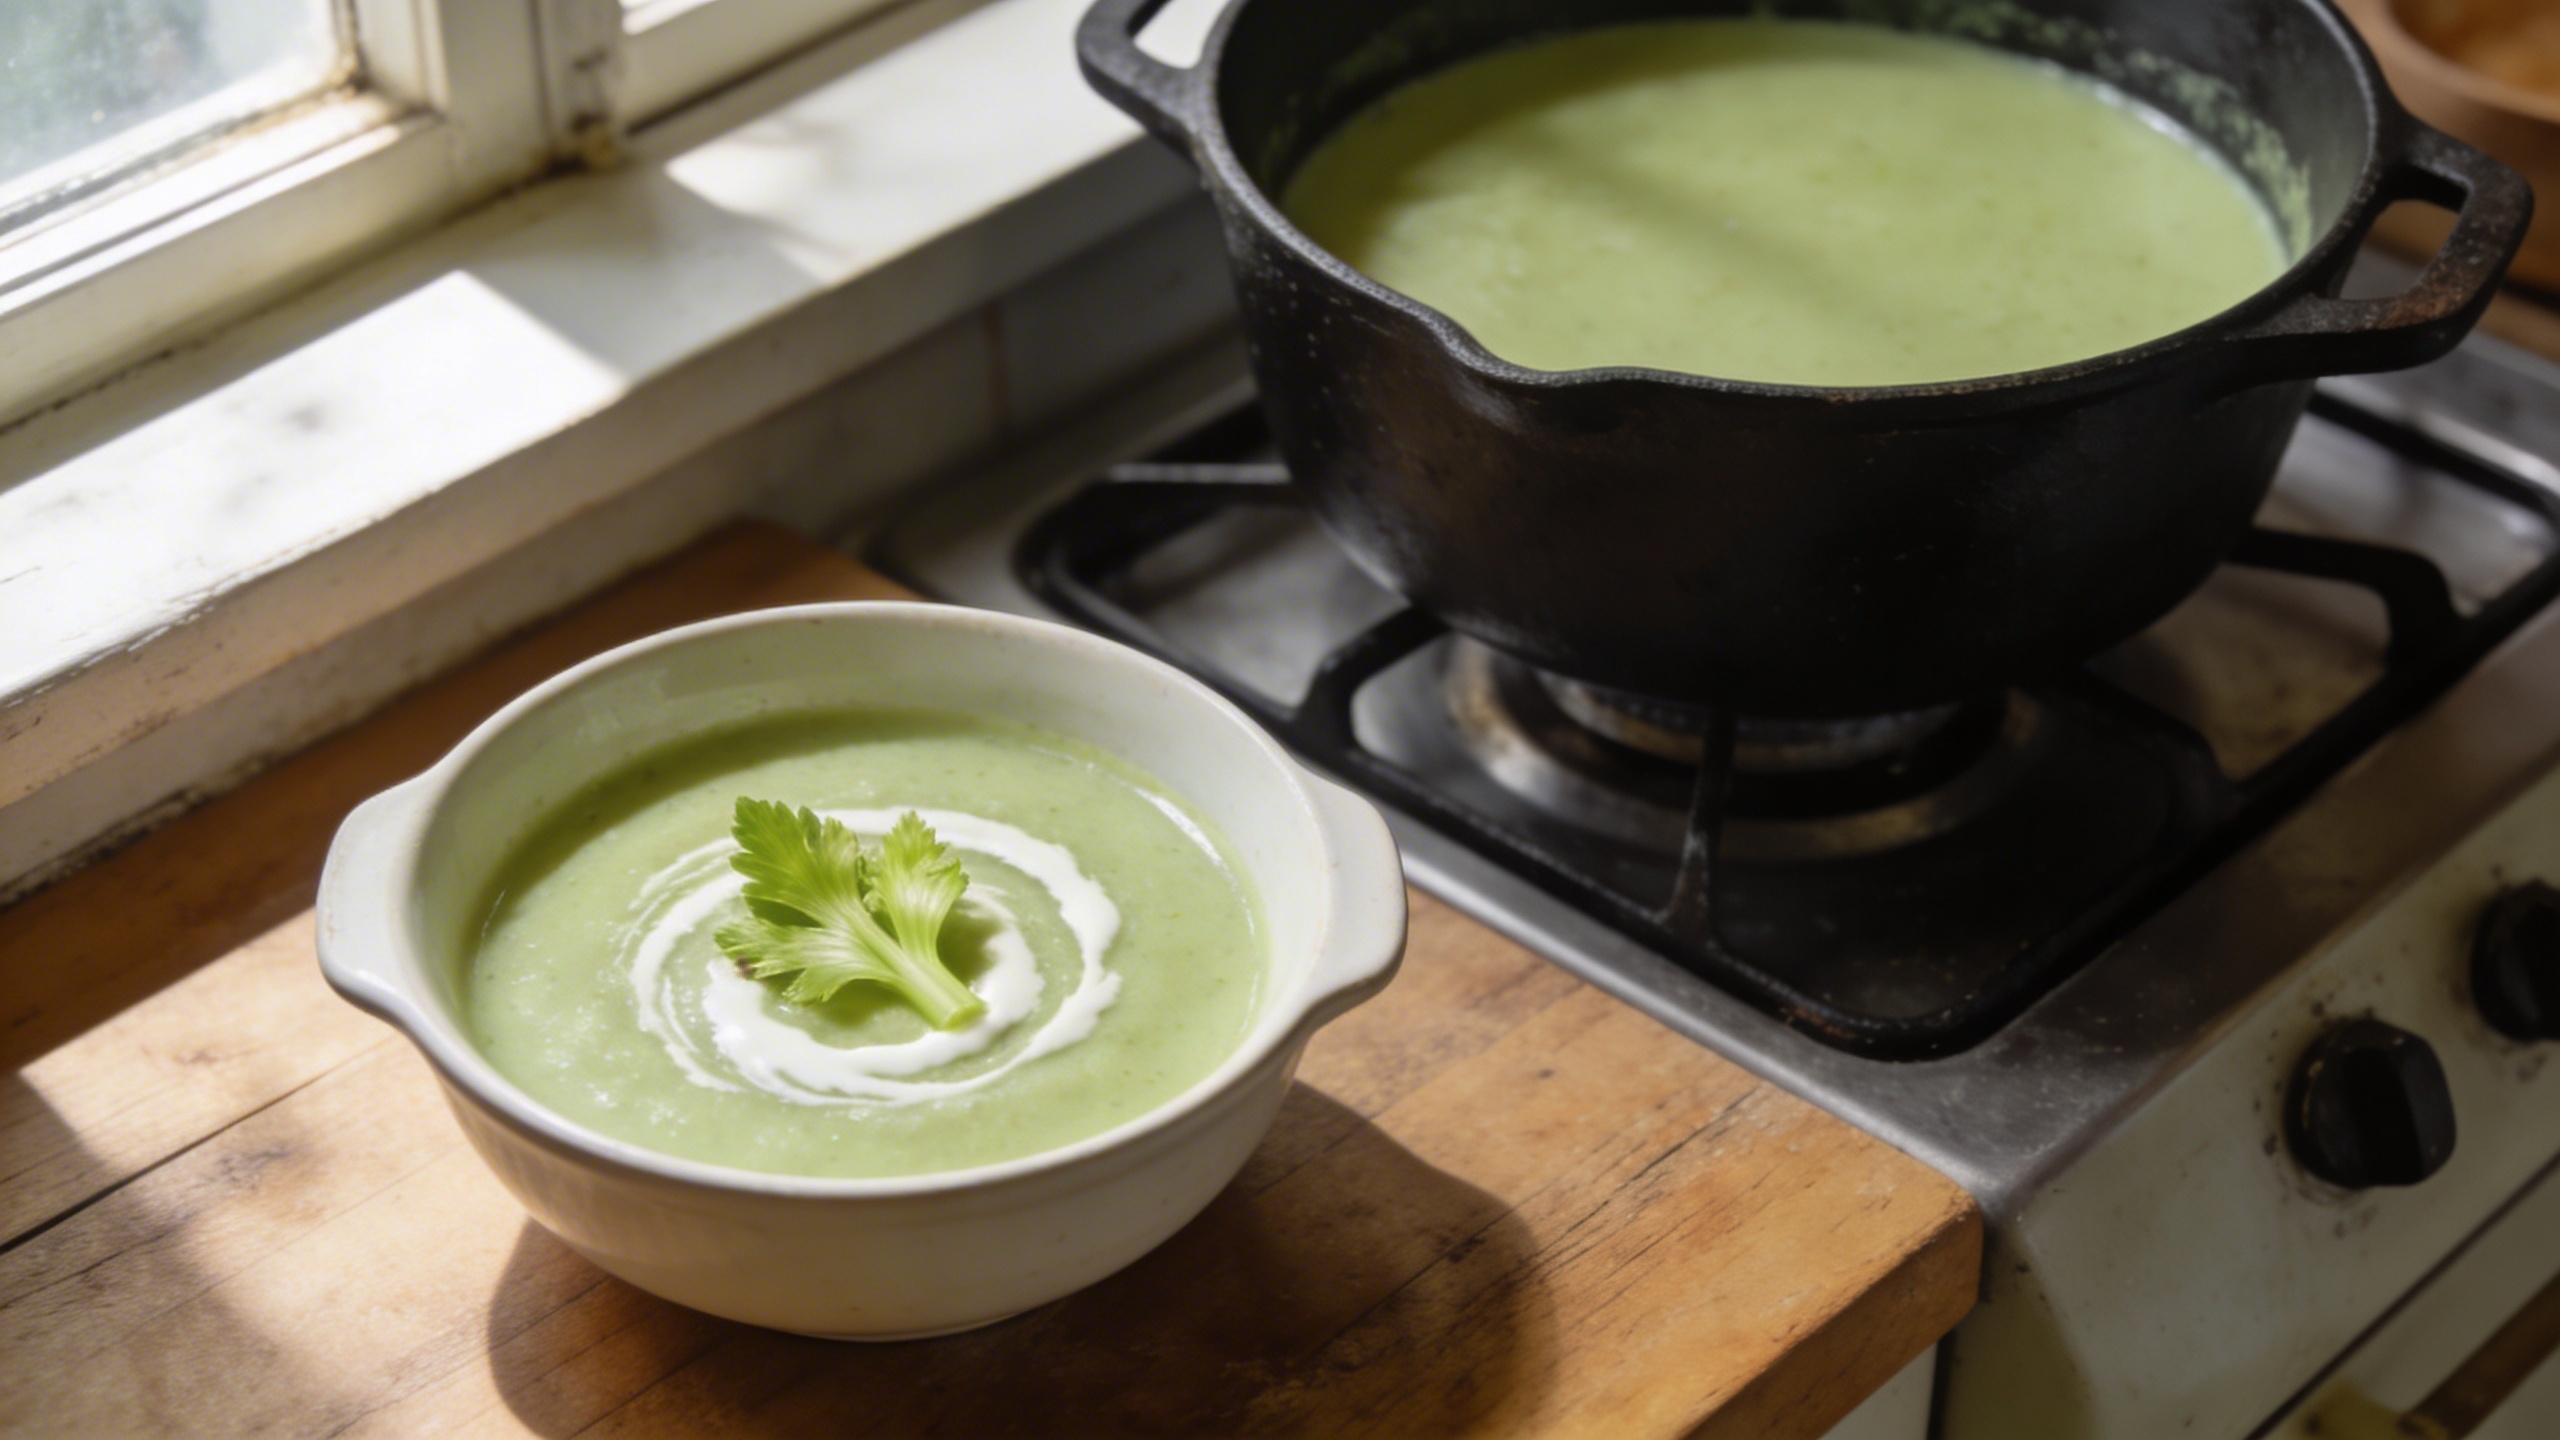
If you’re serving the smooth version to guests, a small cream swirl and a few fresh celery leaves in the center look clean and intentional without requiring any real effort.
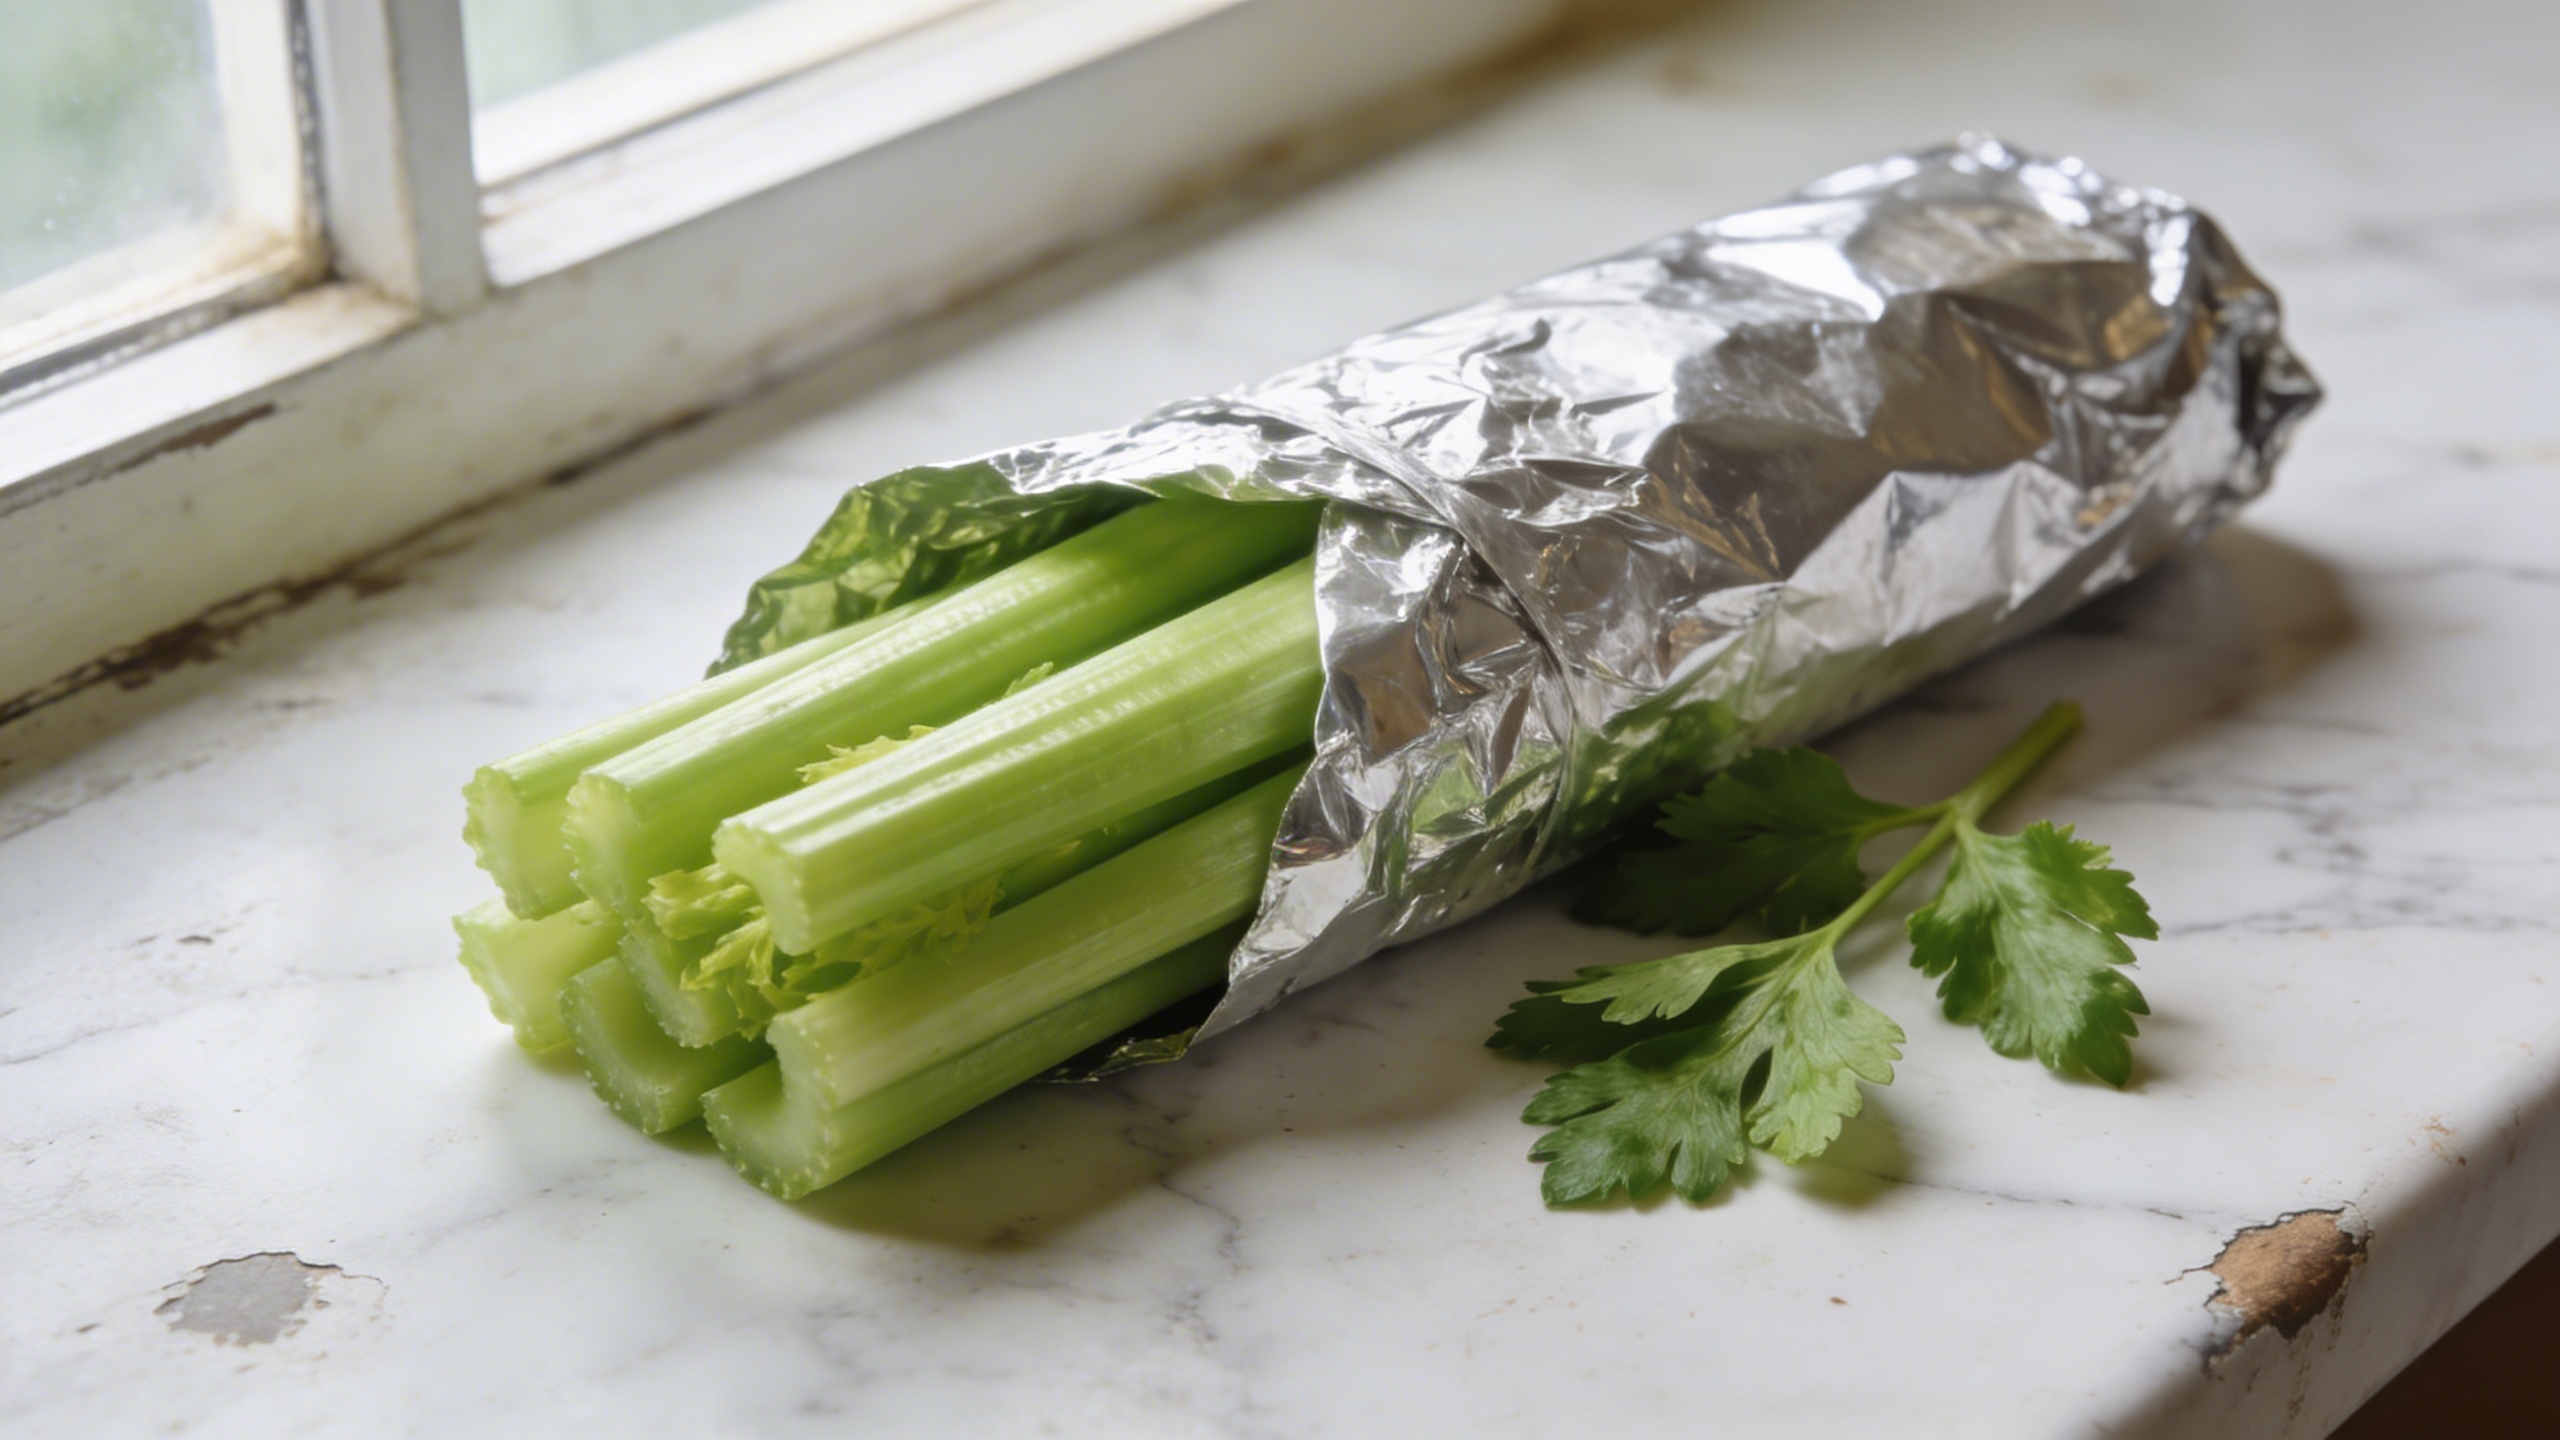
Storage and Reheating Without Losing Texture
Storage times:
- Fridge: both versions keep well for up to four days in an airtight container
- Freezer: the chunky version freezes beautifully for up to three months; the smooth creamy version can separate slightly after freezing, but a good stir while reheating usually brings it back together
Reheating the creamy smooth version: bring it back over low heat, stirring regularly. High heat can cause the dairy to separate and leave you with a grainy texture instead of a smooth one. If it looks like it’s splitting, a splash of cold cream stirred in quickly while it heats usually rescues it.
Reheating the chunky version: this one is more forgiving. Medium heat works fine. If the grains have absorbed extra liquid overnight, add a splash of broth to loosen it back to your preferred consistency.
Equipment That Makes the Process Easier
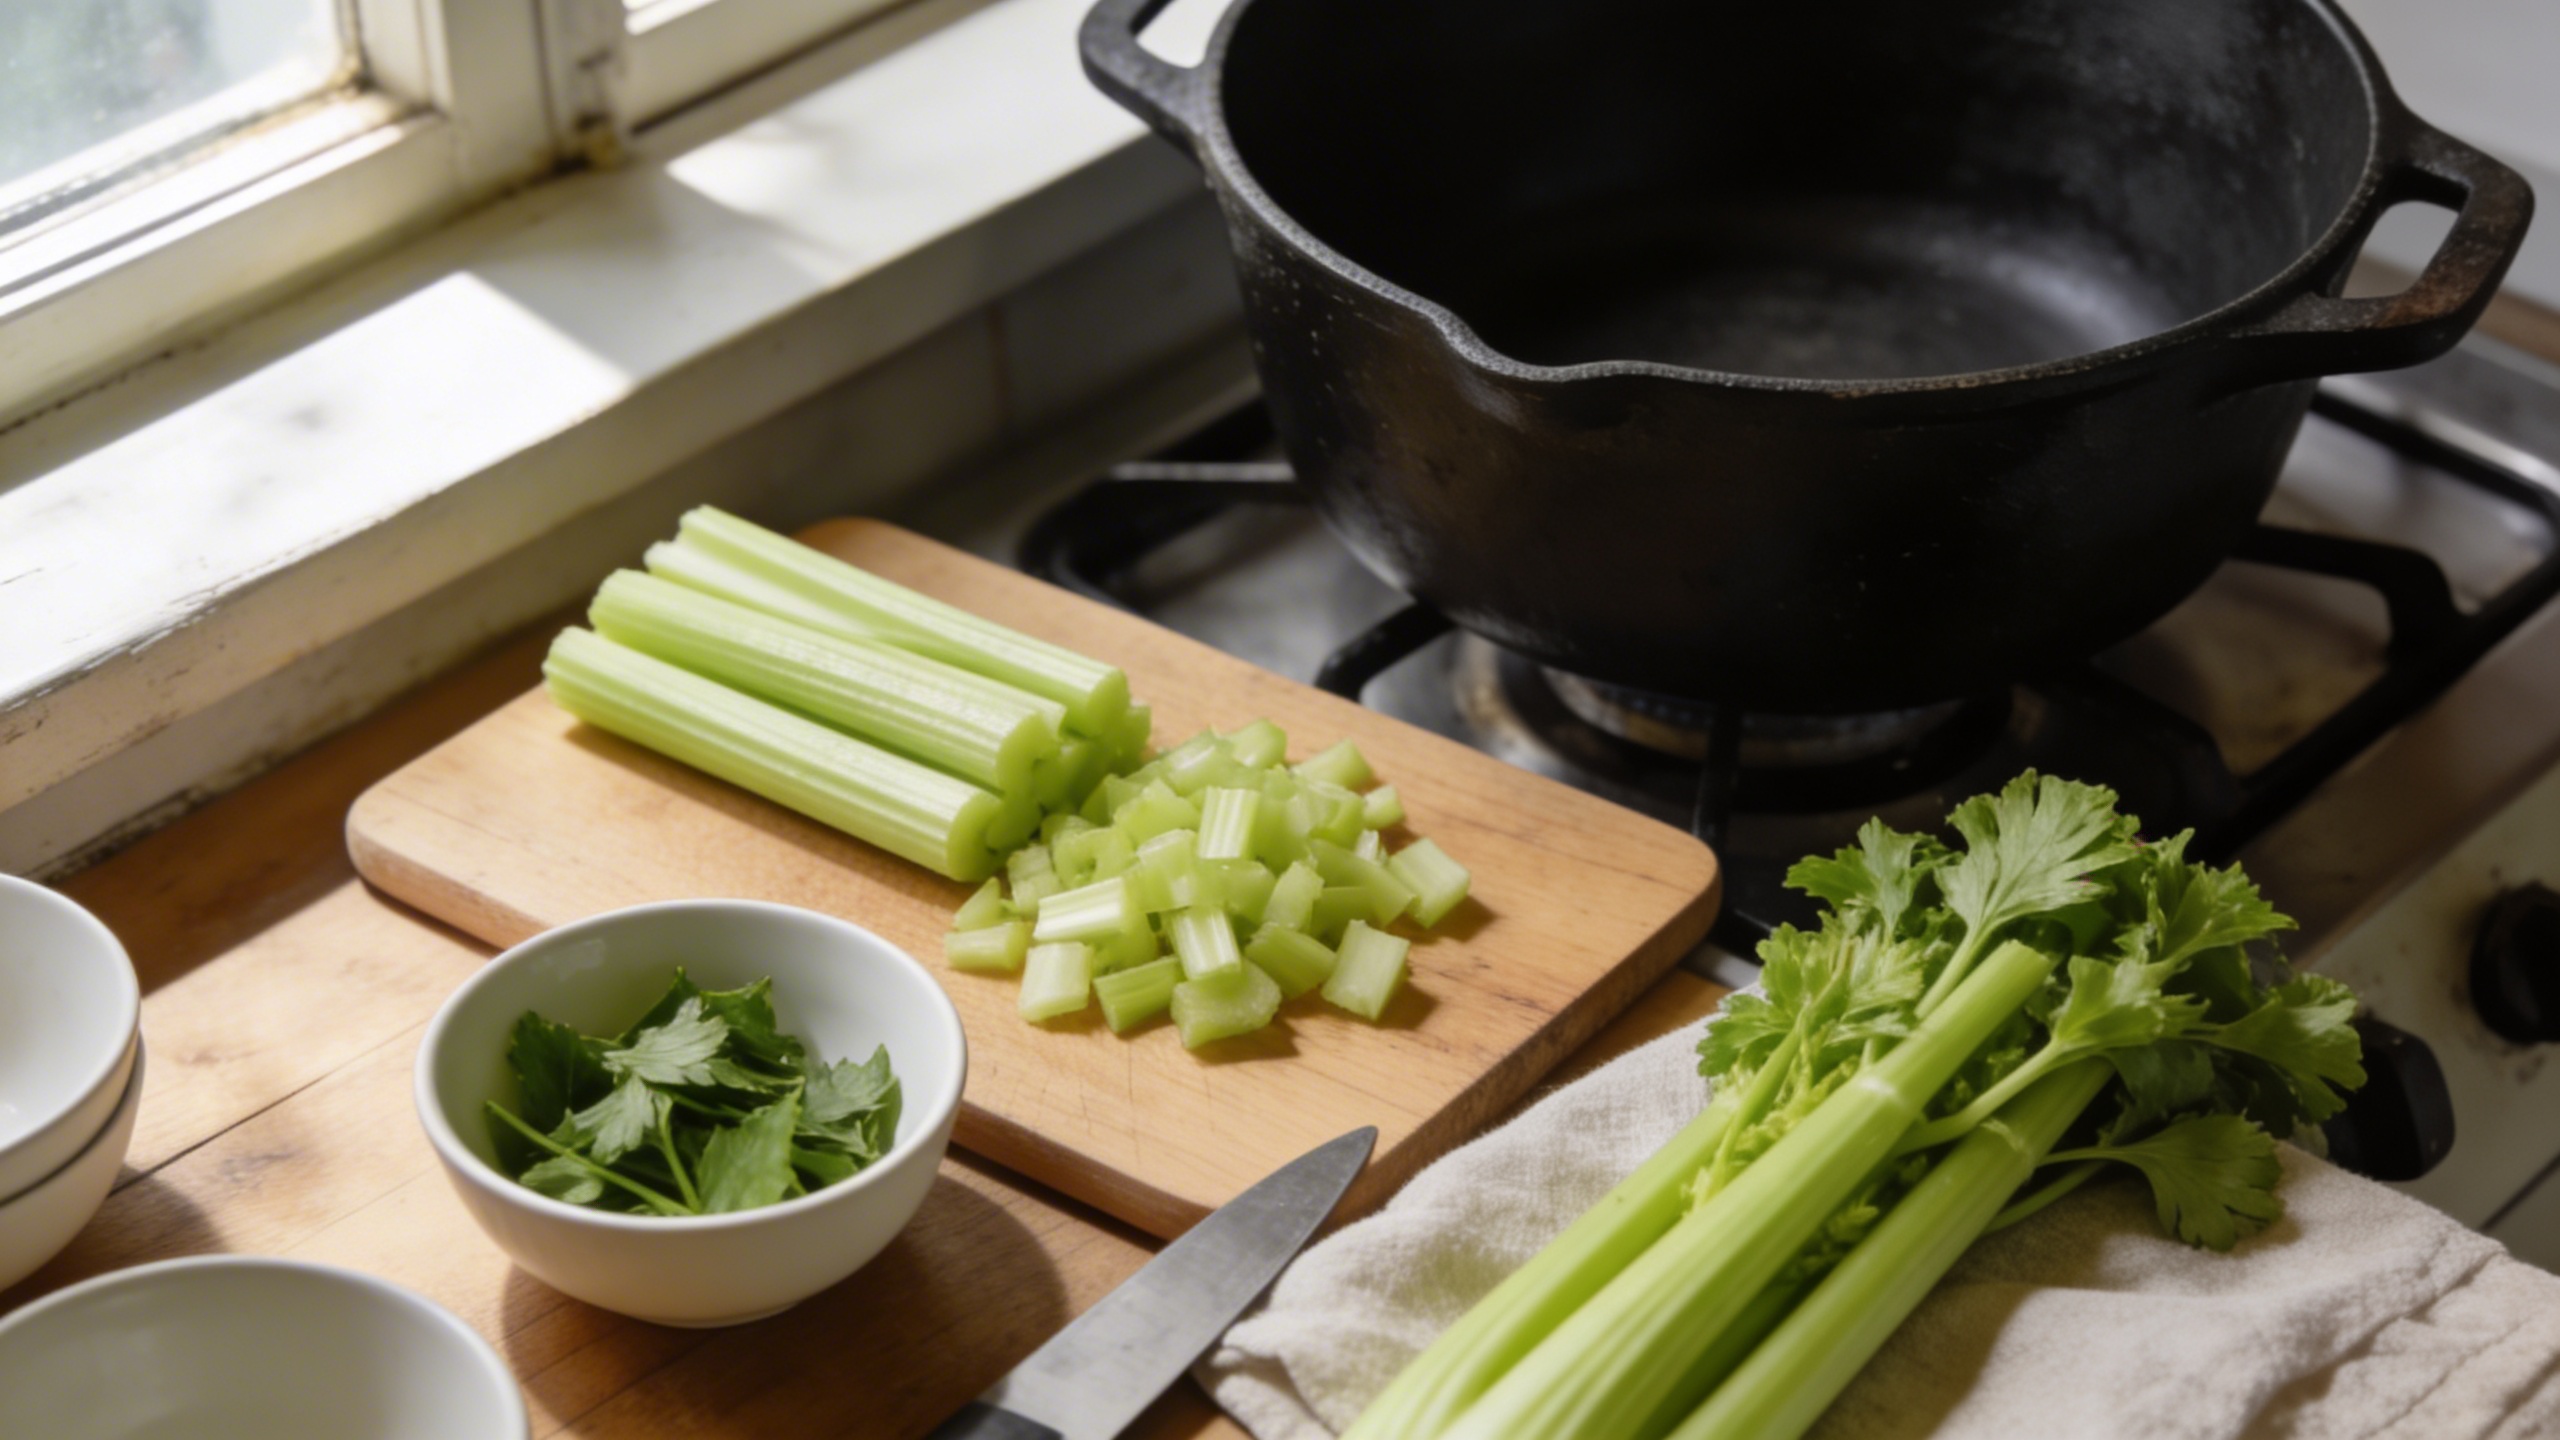
Why a Dutch Oven Is Worth It Here
I cook almost every soup I make in a Dutch oven, and celery soup is no exception. The thick cast-iron base distributes heat evenly, which matters most during the saute stage. You want gentle, consistent heat around the vegetables, and thin-bottomed pots create hot spots that can brown the garlic before the celery has a chance to soften.
If you don’t have a Dutch oven, a heavy stainless steel pot works well, too. What you want to avoid is a very thin aluminum pot, where heat control becomes harder to manage.
Blending Options: What Actually Works
Immersion blender: My first choice for this soup. You blend directly in the pot, no hot liquid transfers, and easy cleanup. The only limitation is that an immersion blender takes longer to achieve a fully smooth result. I run it for at least ninety seconds.
Countertop blender: Produces the smoothest result, but requires you to transfer hot liquid, which carries real burn risk. If you use this route, let the soup cool for at least five minutes, fill the blender no more than halfway, and hold a folded kitchen towel firmly over the lid while blending. The steam builds pressure, and a loose lid can come off suddenly.
Food processor: Works in a pinch but doesn’t produce the same smooth texture. Use it if that’s what you have. The flavor will still be there.
Recipe Notes From Ross’s Kitchen
These are the things I wish someone had told me during the first few years I was cooking professionally. The adjustments and mistakes that don’t make it into recipe cards make the difference between a soup that’s fine and one you actually remember.
Adjusting for Celery Quantity
If your celery head is on the smaller side, add the leaves more generously to compensate.
They carry concentrated flavor and pull more weight than you’d expect. If you have extra celery you need to use up, adding up to thirty percent more than the recipe calls for won’t break anything.
The soup will taste more intensely of celery, which, for this recipe, is entirely a good thing.
For anyone who cooks by weight rather than volume, I’d encourage you to start doing this for soups if you haven’t already.
A kitchen scale gives you consistent results every time, especially when celery heads vary so much in size from one bunch to the next.
The recipe above is built around approximately 700 grams of celery stalks before trimming.
Common Mistakes and How to Avoid Them
Over-salting before the end: broth already carries salt, and as the soup reduces, that salt concentrates. Taste and adjust seasoning only after the soup has finished cooking, never before.
Skipping the saute step: it’s worth repeating because it’s the single most common mistake that leads to a flat-tasting soup. Give the vegetables the full eight to ten minutes.
Blending while too hot: beyond the safety risk, blending immediately after cooking can affect the texture because the starches are still very active. Five minutes off the heat before blending produces a more stable, smoother result.
Under-seasoning with acid: that teaspoon of lemon juice at the end isn’t decoration. Acid lifts the entire flavor profile of a cream soup and brings the celery flavor forward in a way that salt alone can’t do. If your soup tastes vaguely flat even though the seasoning feels right, a little more lemon is almost always the answer.
Nutrition Information
Values are approximate, based on the smooth creamy version made with whole milk, divided across four servings. See the dairy and broth notes below for how these numbers shift with your choices.
| Nutrient | Per Serving (Approx.) |
|---|---|
| Calories | 185 kcal |
| Fat | 9g |
| Saturated Fat | 5g |
| Carbohydrates | 21g |
| Fibre | 4g |
| Protein | 5g |
| Sodium | 480mg (varies with broth) |
How your dairy choice affects the numbers:
- Swap whole milk for heavy cream, and calories rise to approximately 240 kcal per serving, with fat increasing to around 15g
- Swap to oat cream, and the profile stays close to the whole milk version, though carbohydrates increase slightly
- Using a low-sodium broth brings the sodium figure down significantly, worth doing if you’re mindful of sodium intake
Closing Thoughts
Celery soup has a way of surprising people, including me, which I didn’t expect when I first started developing this recipe. It looks modest in the bowl, but when you’ve built it properly from the saute up, it has a depth and a clean, herbal warmth that holds its own against far more complicated soups.
The technique matters more than any single ingredient here. Get the saute right, season at the end, and finish with lemon. Those three decisions are what separate a memorable celery soup from a forgettable one.
If this recipe has made you more curious about the vegetable itself, what the different parts of the plant actually do in cooking, how to select the best head at the store, and what the anatomy of a stalk tells you about flavor, the complete celery stalk guide is where to go next.