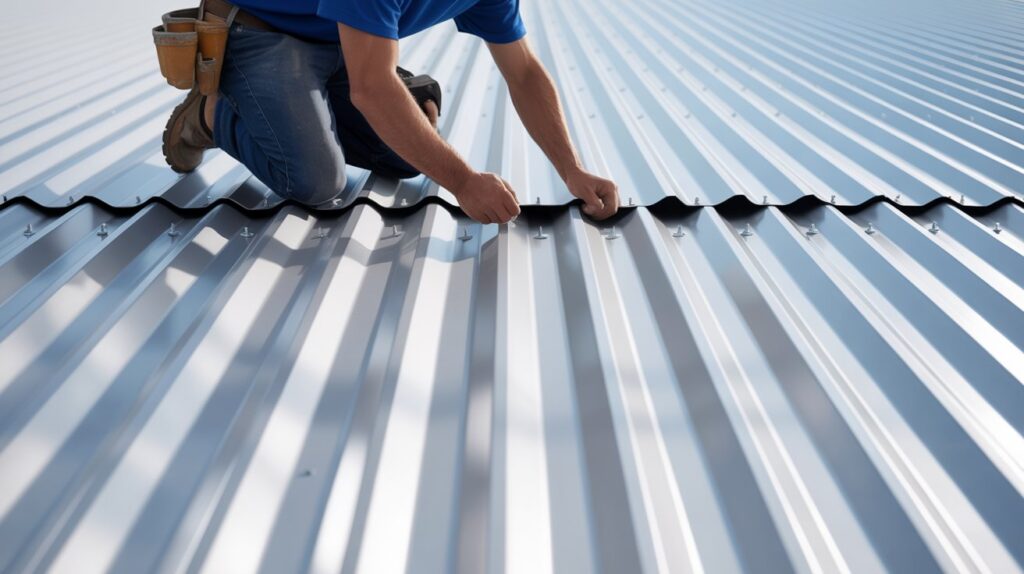

When you install a metal roof, understanding screw spacing becomes essential for the roof’s integrity. I learned this lesson the hard way on a rainy day when a roof I installed developed leaks due to improper spacing.
It does not just compromise your roof but also leads to costly repairs, makes you deal with warranty voids, and invites rust issues.
By learning why screw spacing is crucial, you can ensure your roof remains watertight and durable for years.
The Real Cost of Improper Metal Roof Screw Spacing: Leaks, Warranty Voids, & Rust
Imagine finally completing your dream home renovation, only to face leaks after the first heavy rain.
I’ve seen this scenario unfold when homeowners attempt to cut corners, thinking they can reduce screw counts or space them out.
When you do not follow the recommended spacing, you risk structural failure. For instance, improper screw placement can lead to water infiltration, which eventually rusts out the metal panels.
Proper screw spacing doesn’t just prevent leaks. It directly impacts how long your metal roof will actually last.
Fasteners are often the first failure point in any roofing system. And that same principle applies to other materials too.
For example, if you’re considering natural wood roofing, understanding the expected lifespan of cedar shake roofing helps you compare durability, maintenance needs, and long-term performance before making a decision.
Furthermore, these mistakes often void manufacturer warranties, leaving you footing the bill for repairs and damages.
How Spacing Prevents Wind Uplift & Water Infiltration
I vividly remember a project in a high-wind area where I had to educate the homeowner about the necessity of proper screw spacing. I explained how accurate spacing mitigates wind uplift and maintains waterproofing.
Inadequate screw spacing allows winds to sneak under the roof panels, potentially lifting them off and causing significant damage.
Ensuring screws are placed in the proper pattern secures the panels, protecting your investment against harsh weather conditions.
The Golden Rule: Standard Screw Spacing for Most Metal Roofs
Understanding the standard screw spacing rules helps ensure a successful installation.
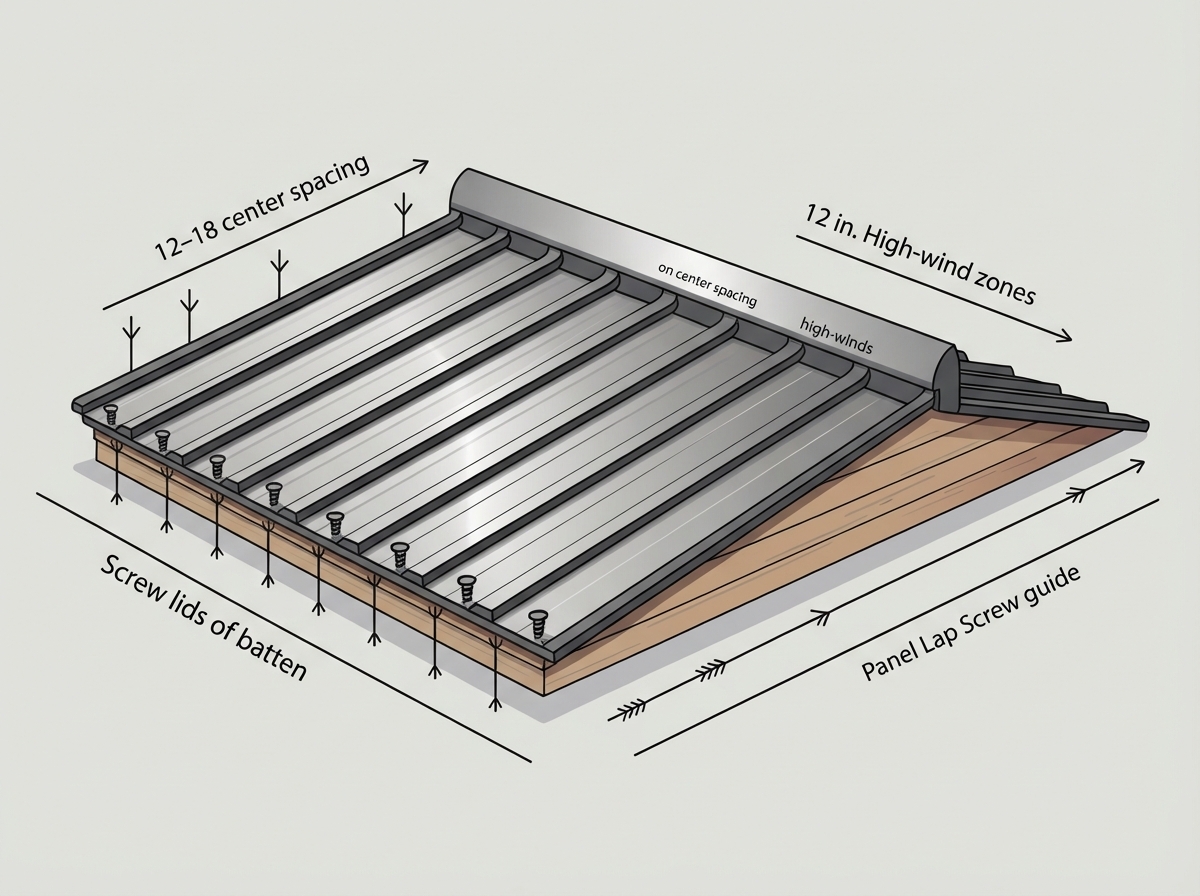
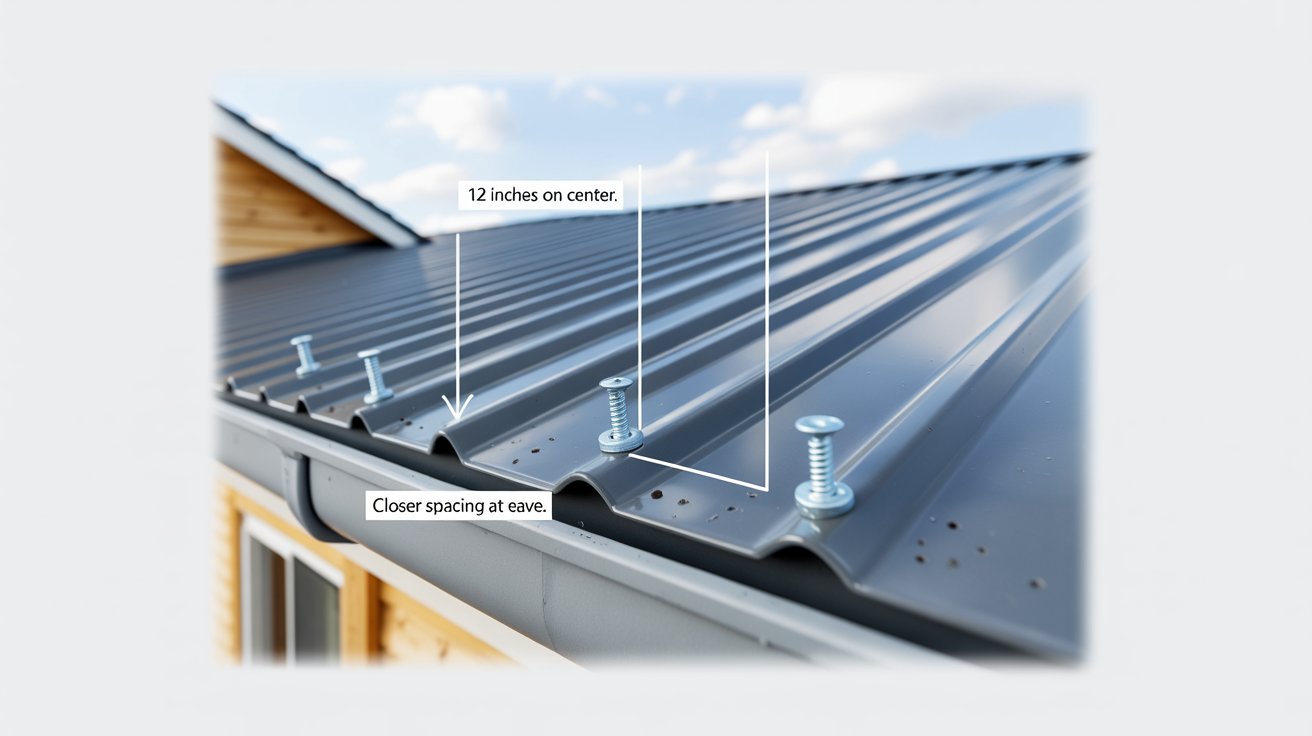
Horizontal Spacing: The 12–18 Inch Rule Explained
Most metal roofs require horizontal screw spacing between 12 and 18 inches.
I always advise homeowners to opt for the tighter spacing of 12 inches in areas prone to heavy winds or snowfall.
This extra precaution leads to more secure and durable installations.
Vertical Placement: Why Every Rib Matters
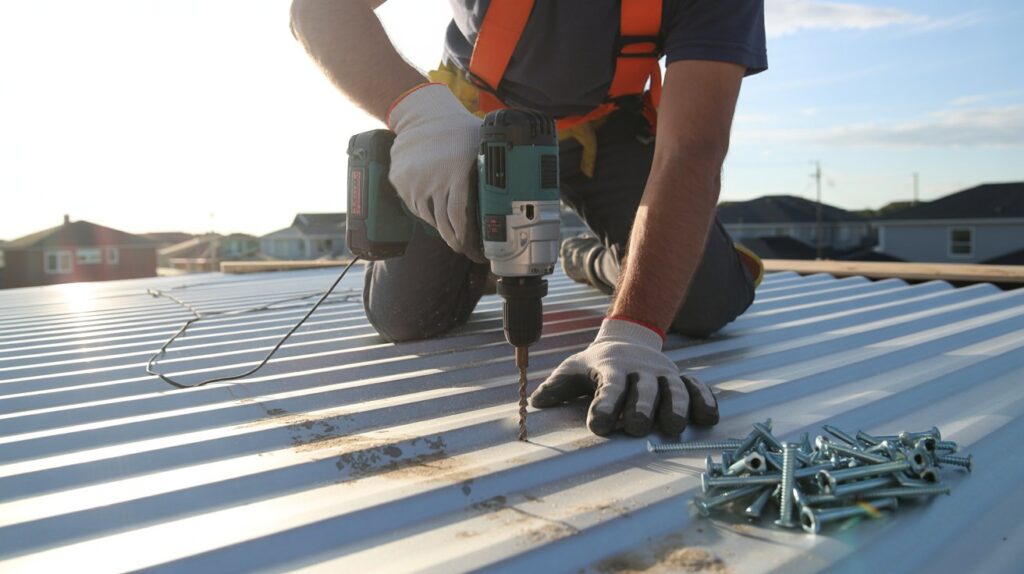
Every rib on your metal roofing panel serves as a structural reinforcement point. When I install screws, I ensure they land firmly in these ribs for optimal support.
This practice prevents any shifting or separation of panels over time, maintaining the roof’s strength and longevity.
How Climate & Roof Pitch Change Your Spacing Strategy
Climate plays a pivotal role in determining your screw spacing strategy.
For example, I’ve worked on roofs in wet regions where increased moisture can lead to premature rust. In these cases, I emphasize closer spacing for added security.
Additionally, steeply pitched roofs require careful consideration of screw placement due to gravity and runoff.
Understanding your local conditions prepares you to make the best decisions during installation.
Screw Spacing by Panel Type (Because Not All Metal Roofs Are Created Equal)
Not all metal roofs are the same, and knowing what you are working with makes a difference.
Corrugated Panels: Spacing for Maximum Durability
When working with corrugated panels, I always use the manufacturer’s specifications for spacing.
Corrugated panels are designed to handle loads, but they also need proper support to maintain their integrity.
I typically recommend a spacing of 12 inches for added durability against elements.
Standing Seam Panels: The Hidden Fastener Advantage
Standing seam panels feature concealed fasteners that offer aesthetic and functional benefits.
On my standing seam projects, I emphasize maintaining consistent vertical spacing according to manufacturer specifications.
This ensures optimal performance in both functionality and appearance.
R-Panel & 5-Rib: Where Homeowners Usually Go Wrong
I often encounter homeowners who overlook the specific requirements for R-panel and 5-rib installations.
Since they can seem straightforward, people tend to make mistakes regarding spacing.
I guide my clients to carefully follow spacing guidelines and avoid the urge to cut corners if they want to prevent future issues.
The Installation Reality Check: Calculating Your Total Screw Count
Calculating the total number of screws needed simplifies your installation process.
How to Calculate Screws for Your Specific Roof
To determine your screw requirements, start with the total square footage of your roof.
As a rule of thumb, you will need about 80 screws per 100 square feet.
However, adjust this count based on the chosen panel and environmental conditions.
Why 80 Screws Per Square Is Just a Starting Point
While 80 screws per square is a general guideline, I recommend assessing your specific conditions before finalizing the screw count.
Engage local building codes and manufacturer recommendations to make informed choices that suit your installation.
The 5 Most Expensive Mistakes (And How to Avoid Them)
Avoid these costly errors that many homeowners encounter.
| Area of Roof | Recommended Spacing | Why It Matters | Common Mistake |
|---|---|---|---|
| Panel Edges | 12–18 inches | Handles wind uplift | Too far apart |
| Field (Middle Area) | 18–24 inches | Distributes load evenly | Inconsistent spacing |
| Ridge Cap | 12 inches | Prevents lift during storms | Skipping screws |
| Eaves | 12–18 inches | High wind exposure zone | Under-fastening |
| High Wind Zones | Closer than standard | Increased uplift pressure | Using standard spacing |
Quick Reference: Screw Spacing Comparison Table
| Panel Type | Horizontal Spacing | Vertical Placement |
|---|---|---|
| Corrugated Panels | 12 inches | Every rib |
| Standing Seam Panels | Manufacturer specified | Every rib |
| R-Panel & 5-Rib | Manufacturer specified | Every rib |
Tools & Tips From My 12+ Years of Installation Experience
With over a decade of experience, I have developed helpful tips that can streamline your installation.
Pre-Drilling: When It’s Worth Your Time
For certain panel types, pre-drilling pilot holes saves time and ensures accuracy. I often employ this technique to avoid splitting panels and help place screws with precision.
Screw Tension: The Feel vs. The Wrench
You’ll find that experience helps you to gain a feel for the right tension. When I use a wrench, I recommend paying attention to how it feels rather than relying solely on torque specifications. This method leads to better outcomes.
Weather Considerations: When to Pause Installation
Weather affects your installation process. I always advise halting work during heavy rain or high winds to maintain safety and ensure you achieve a quality installation.
Your Screw Spacing Questions Answered
Can I space screws farther apart to save money?
I advise against this tactic. While it may seem cost-effective, insufficient spacing leads to more substantial problems and potential future repairs.
What happens if my screws are slightly off-spacing?
Even slight deviations can lead to leaks and insufficient attachment. Strive to follow guidelines as closely as possible for optimal performance.
Do I need different spacing for roof vs. wall panels?
Yes, different panel types may require distinct spacing regulations. Ensure you check the specifications provided by the manufacturer.
How tight should screws actually be?
Tighten screws until they feel secure, but never too tight to damage the panel or compress the seal. Trust your experience and intuition.
Final Checklist: Before You Install
- Verify that you have the right screws and tools.
- Measure and calculate your total roof area.
- Confirm your spacing plan according to panel type.
- Review manufacturer specifications.
- Take weather conditions into account before starting.
- Perform a final inspection of tools and materials.
After installation, regularly inspect your roof for loose screws and signs of wear. Early detection of issues is essential for maintaining the structural integrity of your roof. Every few months, check for rust on screws and ensure that the seals are intact to prevent water infiltration.
By following these guidelines and utilizing this experience-driven approach, you will successfully navigate your metal roofing installation and avoid the pitfalls that many face. Embrace this knowledge with confidence as you take on your roofing project.